
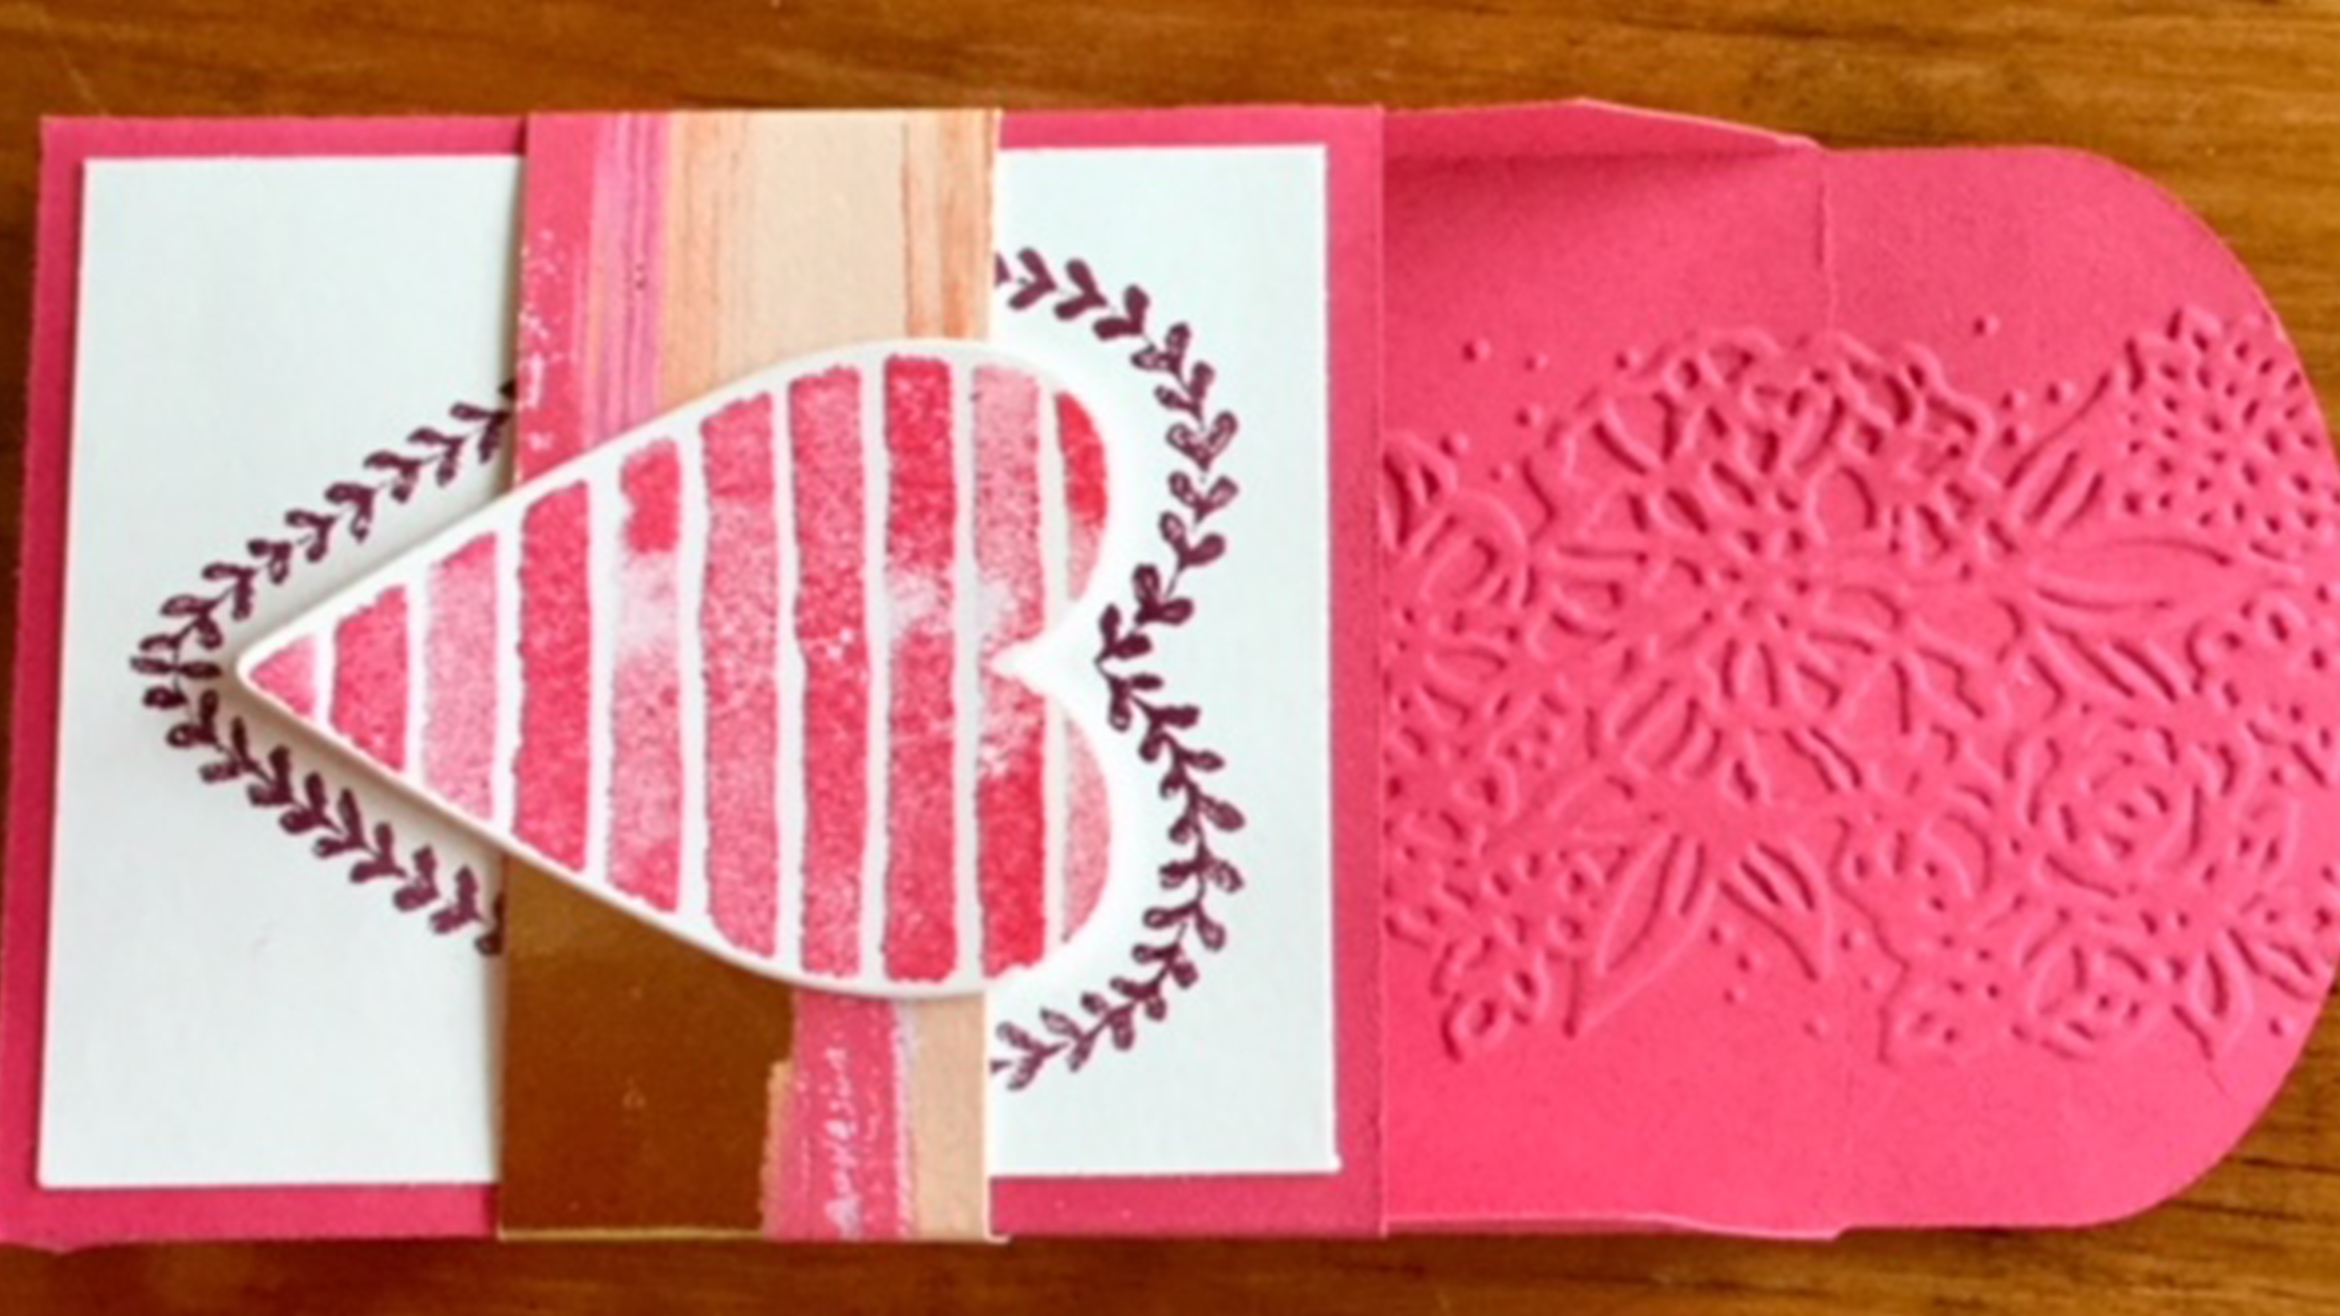
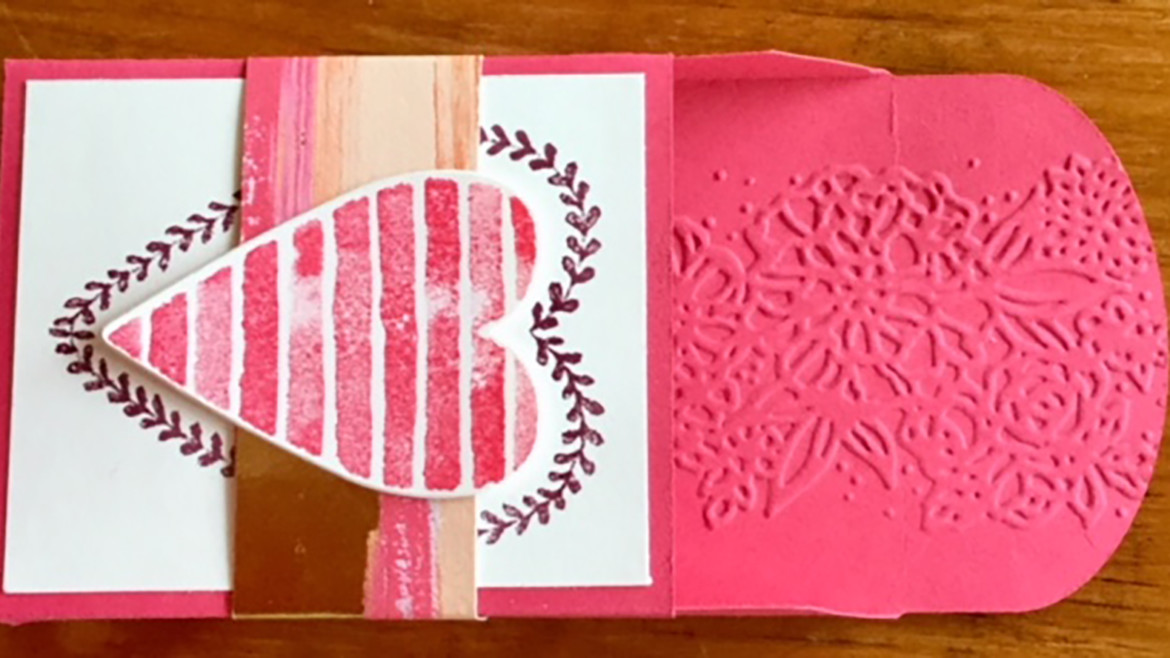
In my last blog, I shared the Painted with Love Suite and promised to give you the directions for a new look for the Lots to Love box….to open up even more fabulous possibilities. I’ve used it as a gift holder to present the narrow note cards and envelopes.
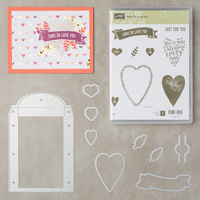
There are all manner of lovely things in the suite; Sure Do Love You Bundle, Heart Happiness co-ordinated additional stamp set, Gold Glitter Flakes, Painted Love Gold Vinyl Stickers, Painted with Love Specialty Designer Series Paper, Whisper White Narrow Note Cards and Envelopes, Love Mini Tinsel Trim Combo Pack and 12”x12” Cardstock pack.
All are featured on pages 18, 19 & 20 of the Occasions Catalogue.
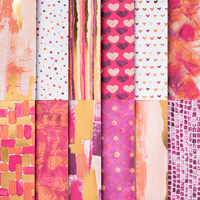
You could certainly use the Painted with Love Specialty Designer Series Paper as it is a suitable weight to make 3D items. The double side DSP is gorgeous….colourful, sophisticated and with gold foil accents.
We still use the box die but I have adapted the design to use ½ sheet of regular A4 card stock to make each box. If you were using the Designer Series Paper, just reduce the length of the piece to 29.7cm.
You will need a piece of cardstock or Specialty Designer Series Paper measuring 10.5 cm by 29.7cm (the length of the A4 card stock)
These are the steps:
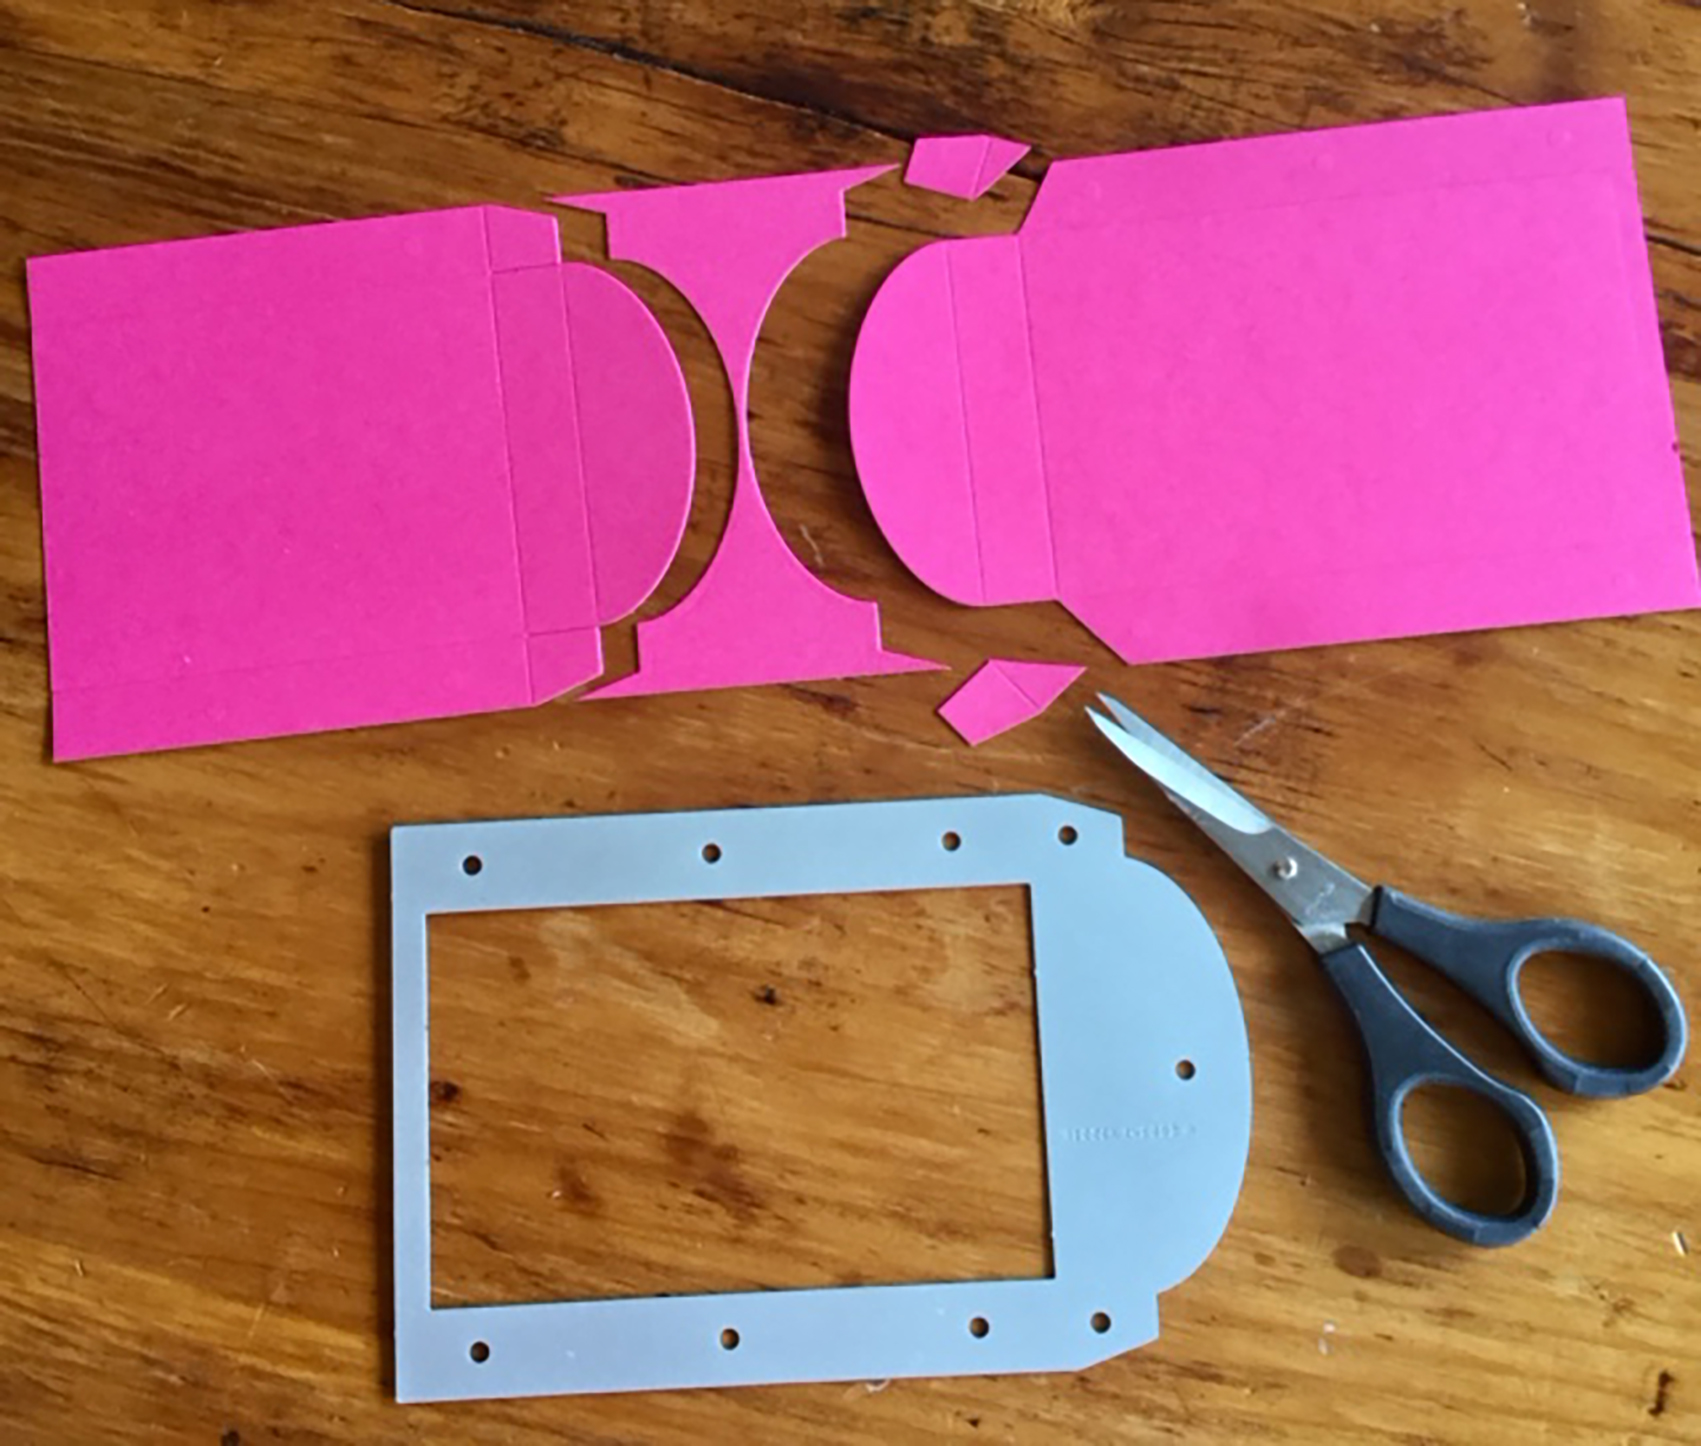
Step 1.
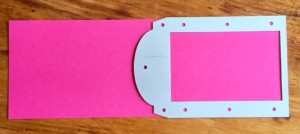
Cut one full piece of the box. The cut sides with fit just inside all the straight cut lines…..you will only be ‘cutting’ the curved shape, the tabs and scoring all lines with your bigshot.
This piece forms the back of the box.
Step 2.
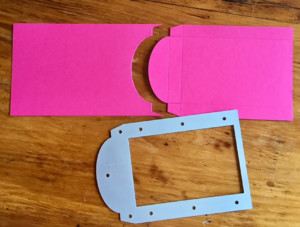
Cut the second box piece. It will have the curved piece and with be shorter than the piece cut in Step 1.
It forms the front of the box.
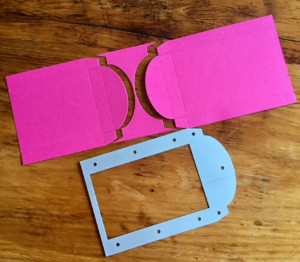
Step 3.
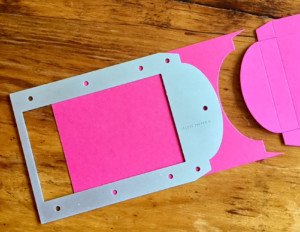
Trim, at an angle, the two tabs on the long piece (back of the box). If you want to emboss or stamp the pieces….this is the time.
Step 4.
Lightly burnish all score/fold lines.
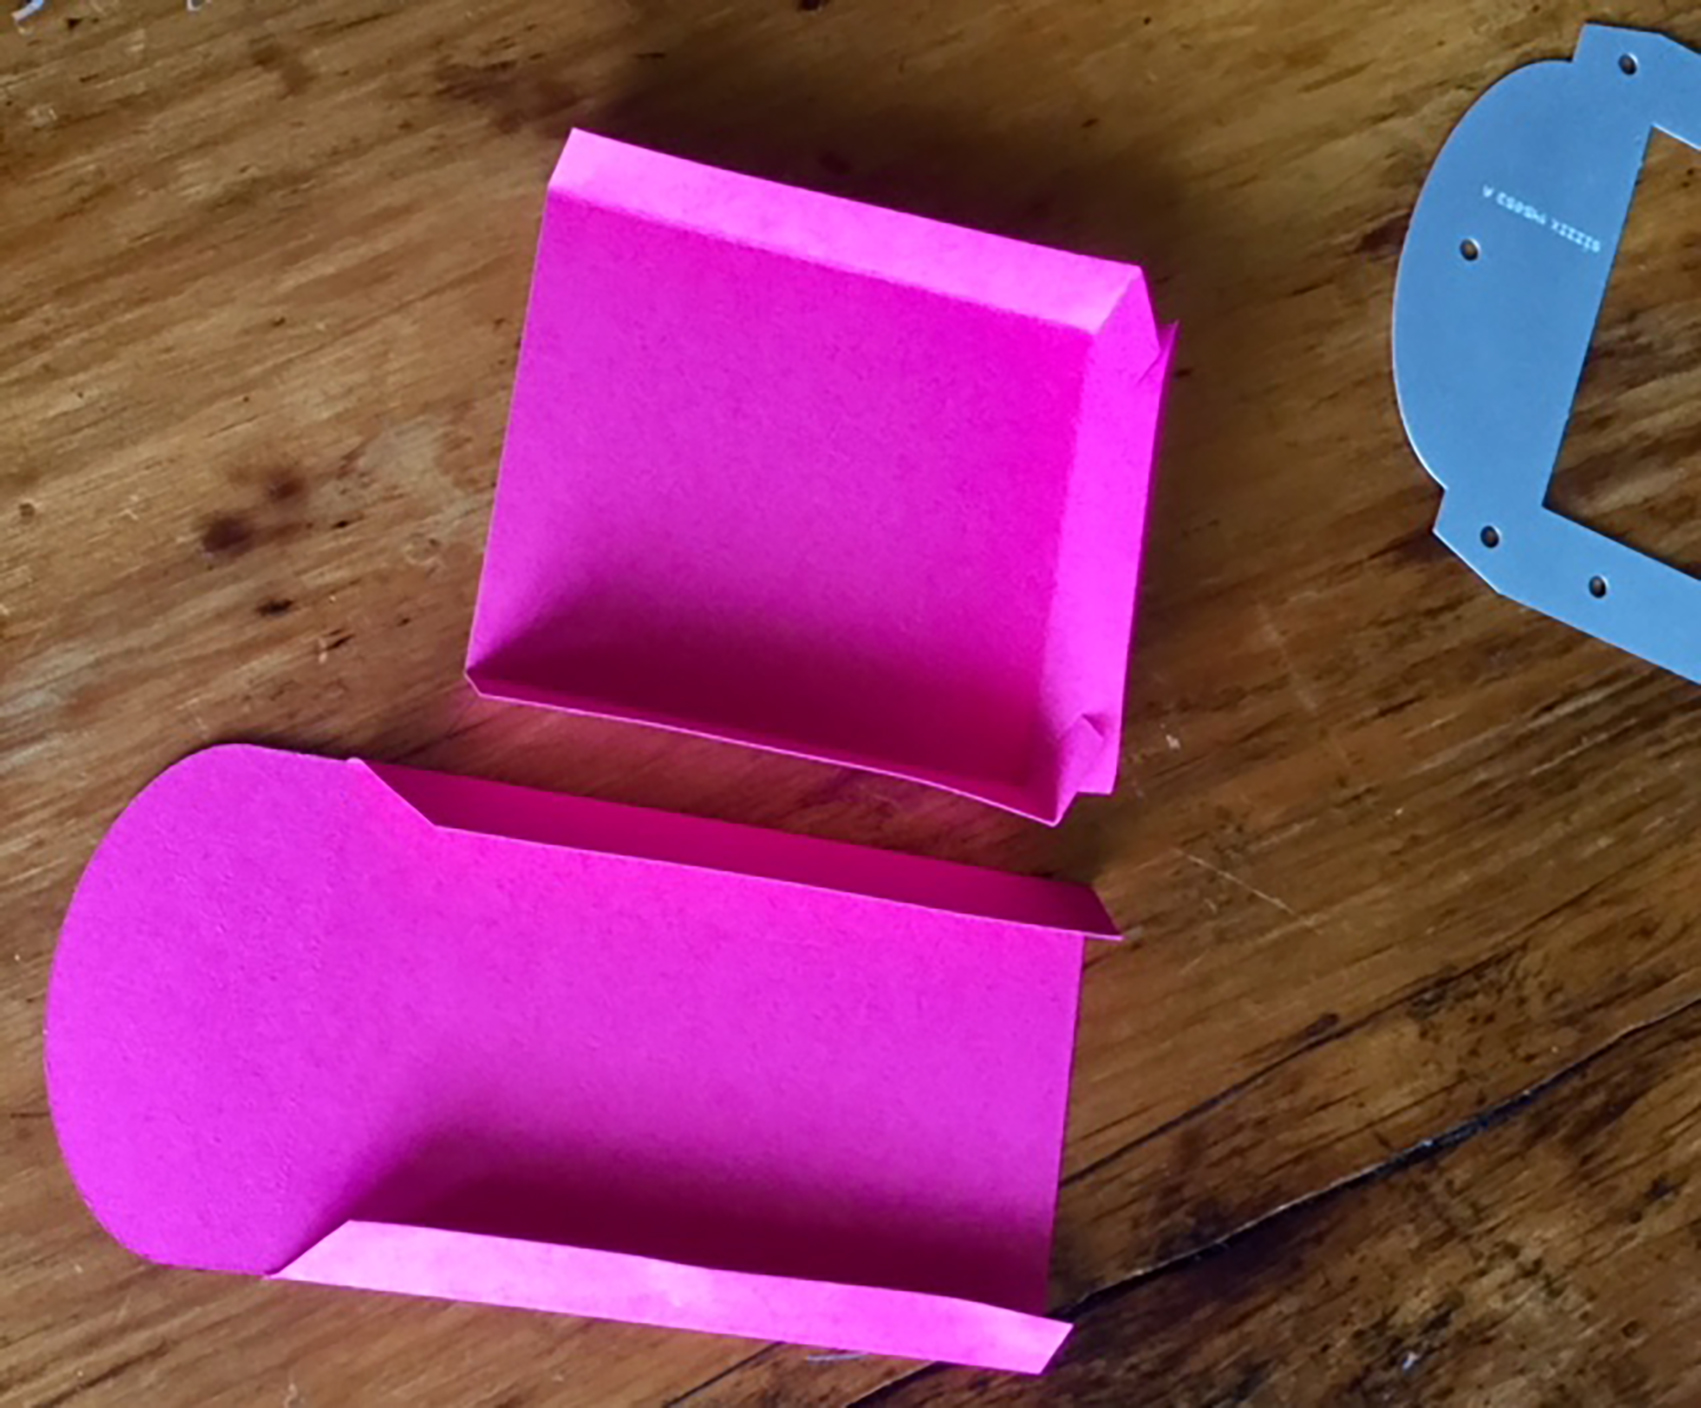
Step 5.
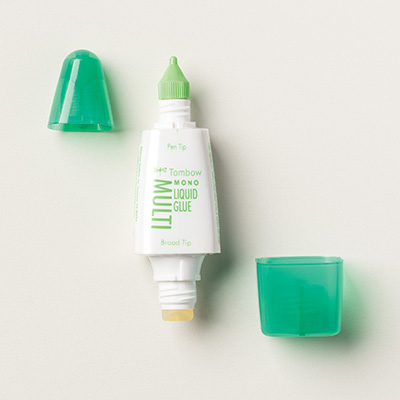
Attach front and back of the box. It is just ‘placed’ in this photo. I used our Multi Purpose Liquid Glue for a good strong bond. The bottom of the box can be opened.
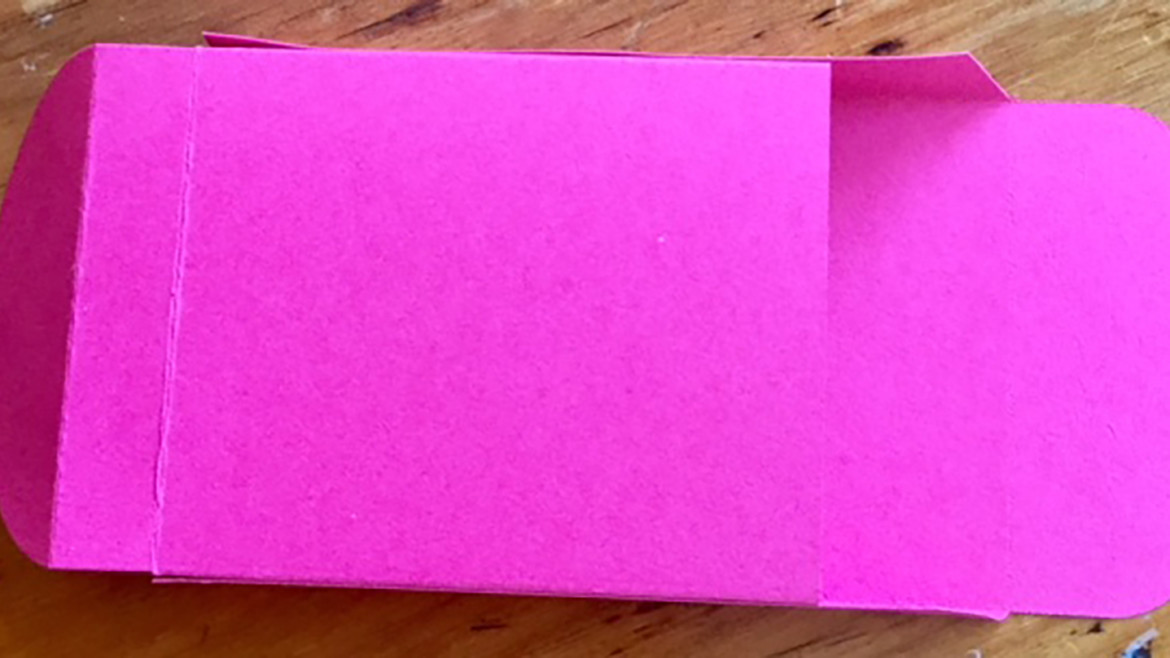
Step 6.
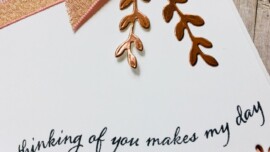
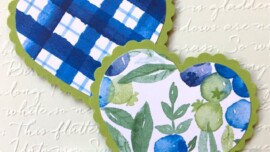
Decorate the display box as desired.
Please chat with me about any ideas or queries that you may have. Please feel free to use the examples for your own designs and inspirations.
Don’t forget to follow me on social!
Facebook: https://www.facebook.com/margistamps | Pintrest: https://au.pinterest.com/margisank/
………..Until next time.
Please enjoy and have fun!
– Margi
Here are a few of the heroes:
 |
 |
 |
|
Price: $84.50
|
Painted With Love Specialty Designer Series Paper
Price: $21.00 |
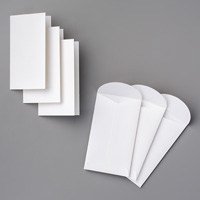
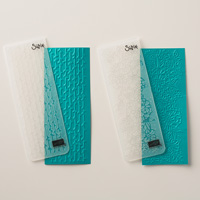
Whisper White Narrow Note Cards & Envelopes
Price: $14.00 |
 |
 |
 |
|
Price: $7.00
|
Price: $16.00
|
Price: $14.00
|
