
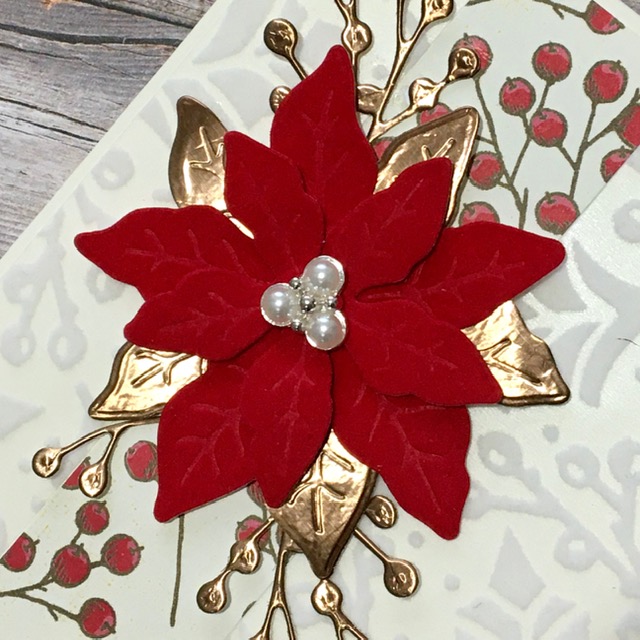
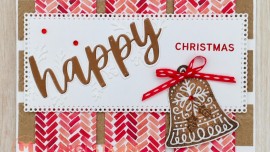
For today’s card, ‘Opulence in ISO’, I have teamed Poinsettia Petals Stamp Set and Dies Bundle with Plush Poinsettia Specialty Paper, Poinsettia Place Designer Series Paper, sumptuous Red Velvet, Beaded Pearls and Brushed Metallic Cardstock. Poinsettia Place DSP is on sale during October at a 15% saving for you. The links to my blogs on all Designer Series Papers on our October Sale are HERE and HERE
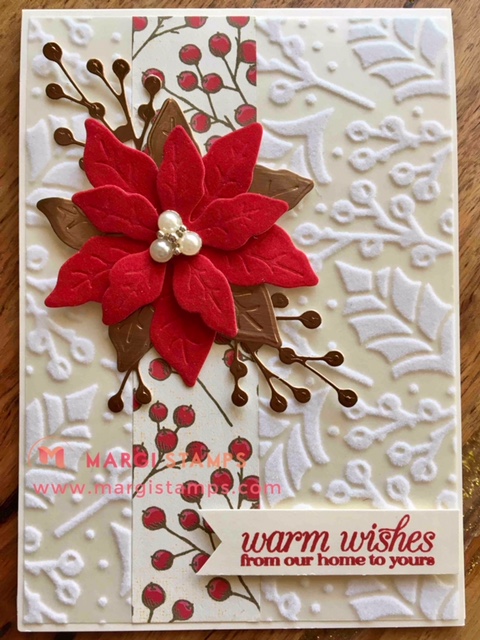
This is the opulent version of our recent Class Kit Card and draws on the rich design elements, colours and textures of the supplies. We include textural elements of the Plush Poinsettia and Red Velvet, which emboss and cut beautifully, paired with shiny elements of Brushed Metallic Cardstock and Beaded Pearls. These elements are then brought together by visual design and graphics of the co-ordinating DSP and our greeting.
Lets get started:
I adhered my base layer of Plush Poinsettia Specialty Paper pieces, and the red berry design strip of Poinsettia Place DSP to my Very Vanilla (Thick) card base.
Here’s a hint to share with you: I used a section of a Stamping Sponge to sponge (sparingly) Multi Purpose Liquid Glue on the back of the Plush Poinsettia Paper to ensure the glue was not visible on the card front.
I then die cut and embossed the second and third largest Poinsettia flowers in Red Velvet. You can cut and emboss at the same time as the dies line up beautifully.
With the darkest of the Brushed Metallic Cardstock, I cut and embossed the second largest flower (to make the backing poinsettia leaves) and two sprigs of berries.
The next step is to layer up your leaves and flower pieces. To achieve a 3D effect, I used a combination of Mini Glue Dots, Mini Dimensionals and Multi Purpose Liquid Glue. Complete your flower centre with one of the Beaded Pearls. Tack your Brushed Metallic berry sprigs onto the back of your flower with Mini Glue Dots and adhere all to the card front.
You are now ready to stamp your chosen greeting in Real Red on a scrap of Very Vanilla Cardstock and adhere to your card front with Dimensionals. I used the pretty greeting from Poinsettia Petals Stamp Set.
All products used on my card today are available to purchase from my online store. Or, if you prefer, you can contact me to place your order for you. This link will get you directly to the complete product list and you can also access my store by my SHOP NOW button, or any of the links below.
Here is your product list.
Product List")


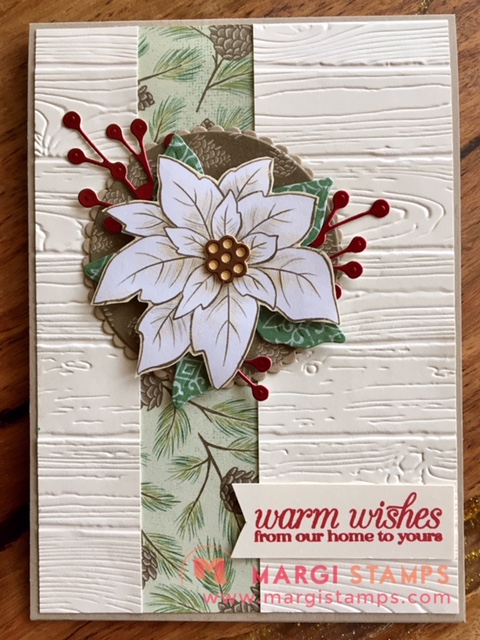
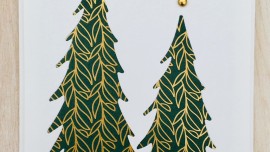
Here is our Class Kit card. This version of my design, uses Very Vanilla Cardstock embossed with Pinewood Planks 3D Embossing Folder, various Layering Circles, Red Foil, Crumb Cake card base and our Poinsettia heroes; the Poinsettia Petals Bundle and Poinsettia Place DSP. HERE is the full product list for of all supplies needed for this class card.
Naturally, please chat with me about any queries you have. Please feel free to opt into my Newsletter email list to keep in touch. You’ll find the link on my Side Bar or send me a message.
……… till next time, stay safe, have fun!

LOVE IT. LIVE IT. SHARE IT.