
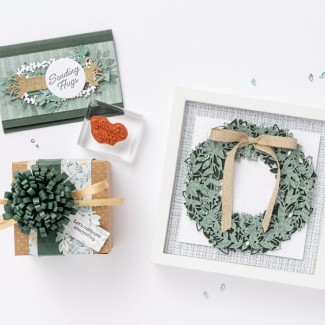
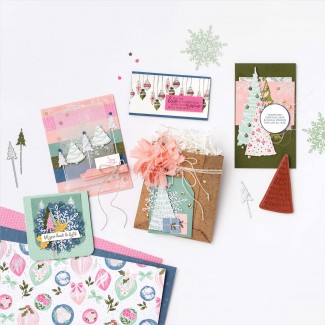
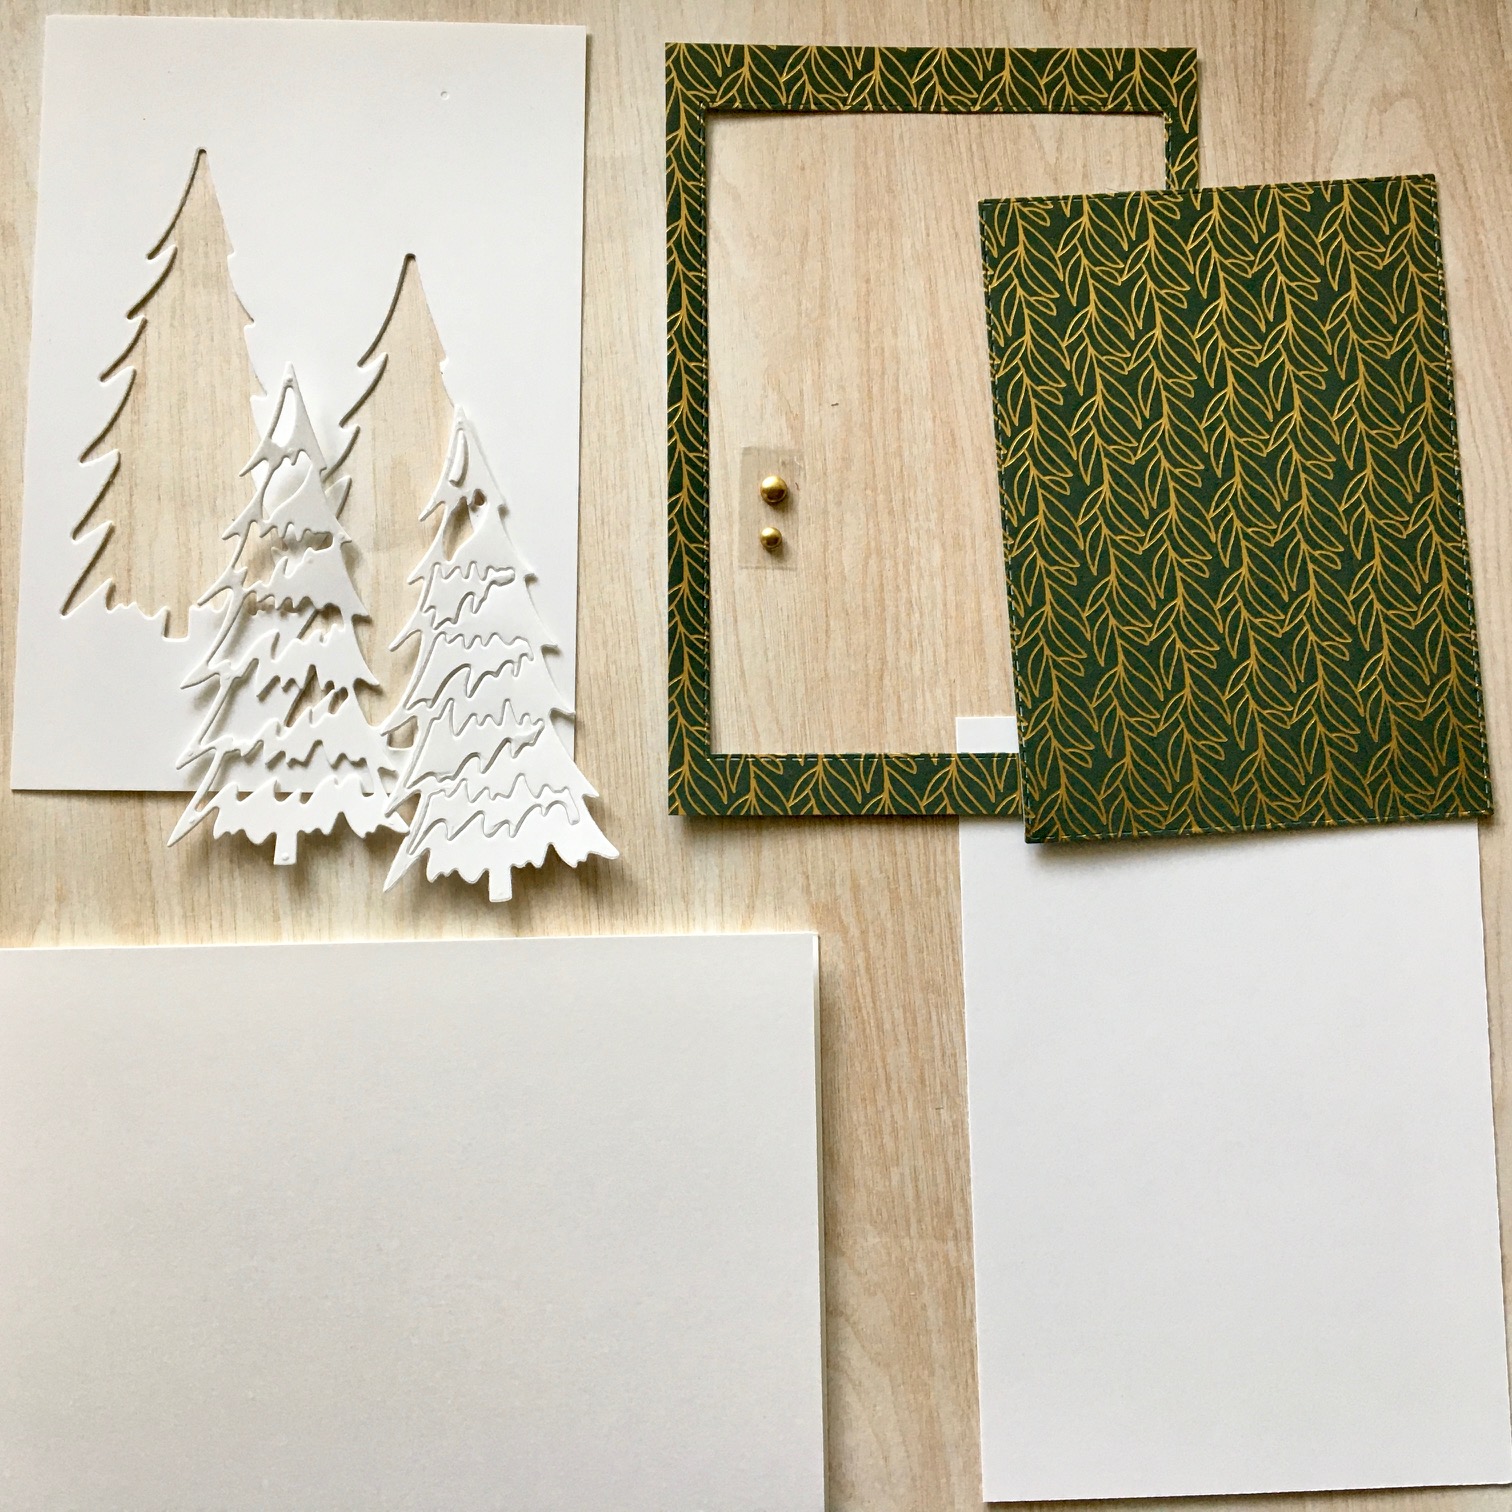
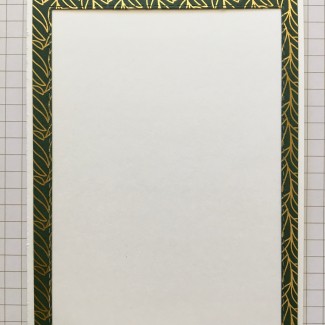
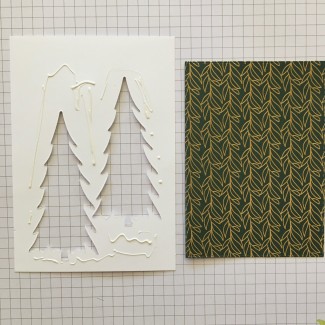
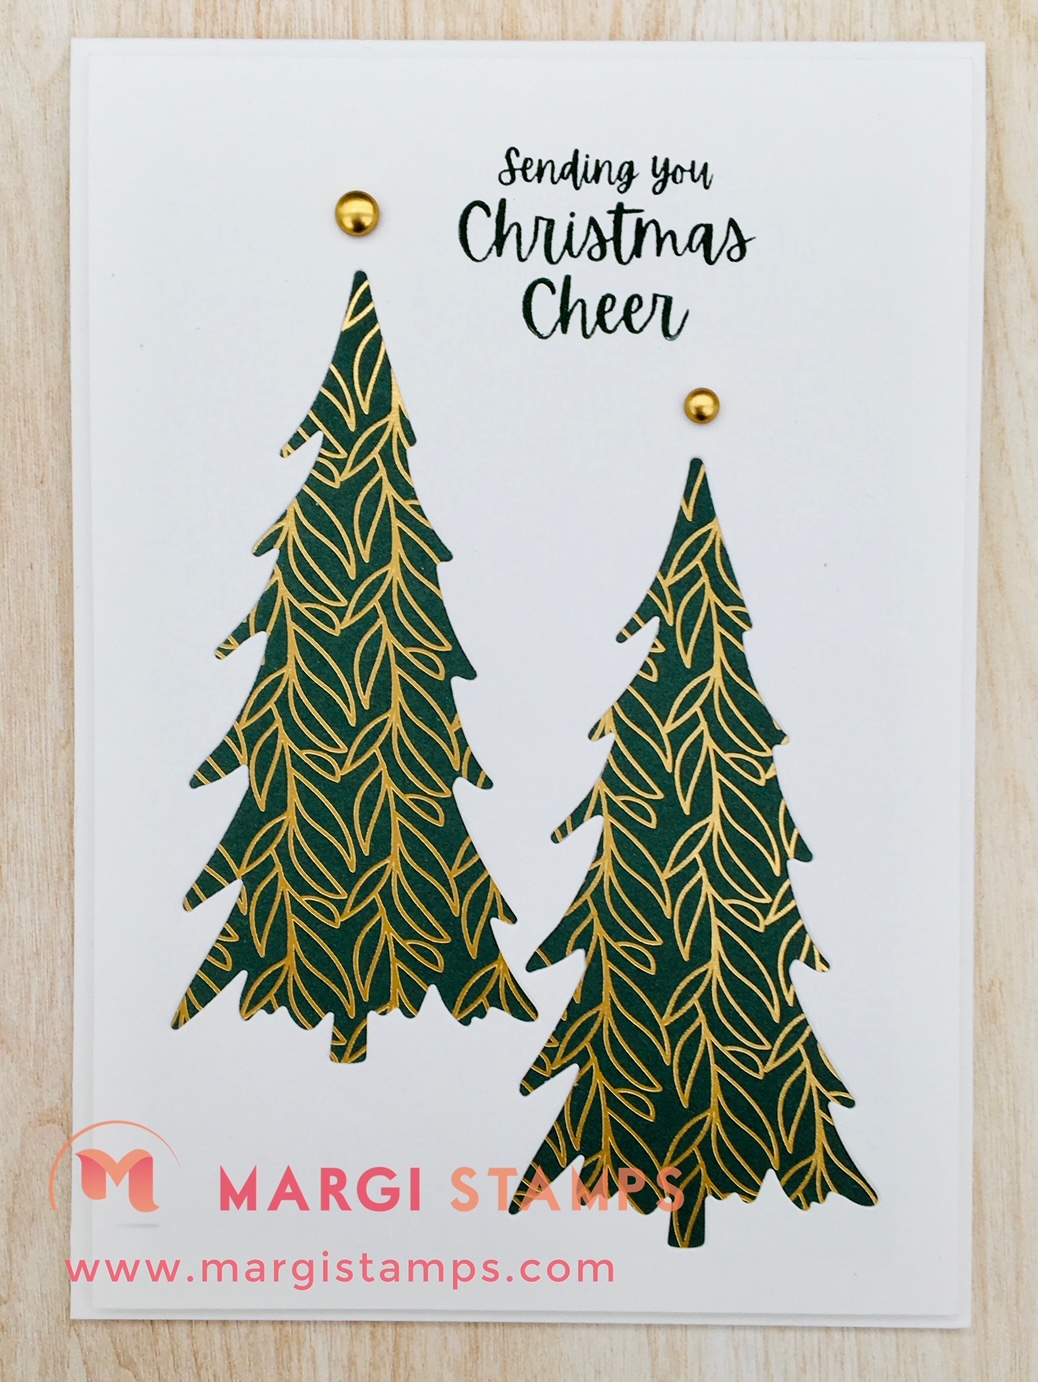
Welcome to your Make it With Margi November Tutorial Card #2. We’re making Positives from the Negative spaces; making our Ever Eden Paper, Positive & Negative Space, Christmas Card. We are using Christmas Trees Dies and Stitched Rectangle Dies to create the ‘spaces’.
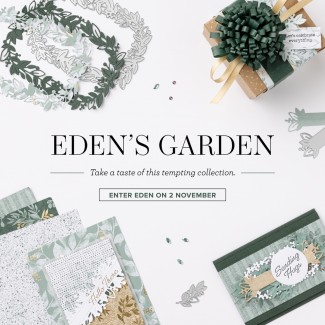
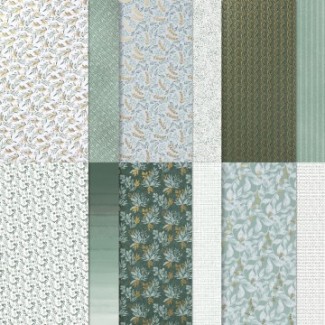
Even Eden Speciality Designer Series Paper is part of the Eden’s Garden Collection exclusive and limited release. It is only available from 2 November 2021 to 3 January 2022. The Paper is gold foiled with two In Colors; Soft Succulent and Evening Evergreen on a Basic White Base. We are using the classic elegance of the Paper paired with White to make this card. Brushed Metallic Adhesive-Backed Dots compliment the gold foiling in the paper.
If you’re not in my class groups, you are welcome to enjoy these designs and your own creativity. If you would like to join one of my groups (online – at the moment) and live in Australia, please contact me. I would love to hear from you.
Ever Eden Specialty Paper and Eden’s Garden Collection.
The Eden’s Garden Collection is available from 2 November 2021 to 3 January 2022. It includes Eden’s Garden Stamp Set, Eden Dies, Ever Eden Specialty Designer Series Paper, Ever Eden Cotton Paper and Garden Gems. The stamp set and dies will continue into the upcoming catalogue, but the papers and gems are only available until 3 January 2022 and while stocks last.
Let’s have a look at the Collection before we hop into our Positive card!
HERE is the link to the collection.
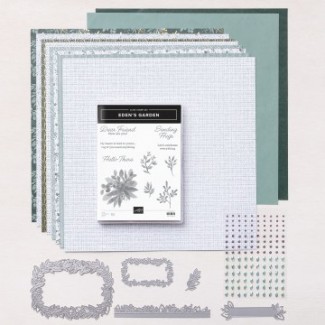

Ingredients for our Positive & Negative Space Card
Let’s step through the ingredients used for our Card. Some are in the July-December 2021 Mini Catalogue, and some are the limited & exclusive Eden’s Garden Collection.
Ever Eden Specialty Designer Series Paper
Add gorgeous greenery and glimmers of gold to any paper project with the Ever Eden 12″ x 12″ (30.5 x 30.5 cm) Specialty Designer Series Paper. The beautiful berries, branches, and layers of leaves feature a wonderful watercolour effect that’ll make your masterpiece both enchanting and elegant! Alternate the intricate imagery on one side with the basic pattern on the other for a completely coordinated creation. Don’t delay—this pretty pack of paper is only available while supplies last!
Click HERE for the product link in my 24/7 Online Store.
WHIMSICAL TREES BUNDLE
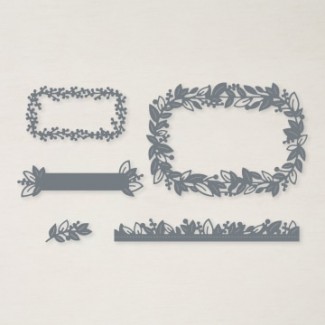
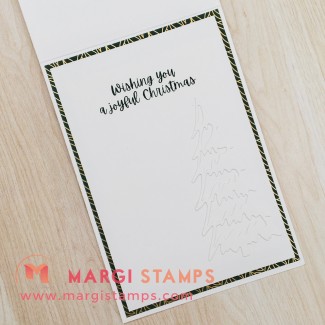
We are using Christmas Trees Dies to create our Negative space on the front of the card, and the Positive die cut for the inside of the card. These Christmas Trees Dies are part of the Whimsical Trees Bundle.
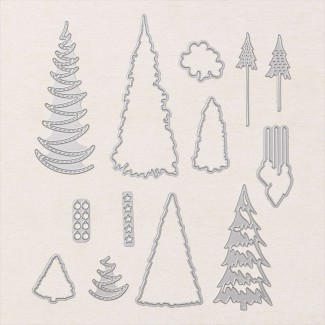
Click HERE for the product link in my 24/7 Online Store.
Stitched Rectangle Dies
These dies compliment our positive/negative card. We are using both positive and negative Ever Eden Specialty DSP die cuts.
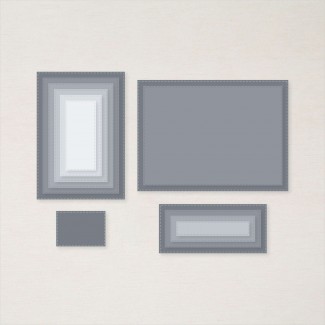
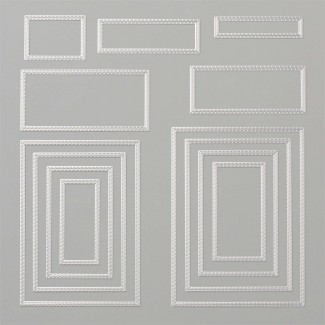
Click HERE for the product link in my 24/7 Online Store.
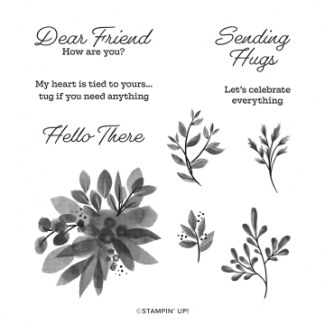
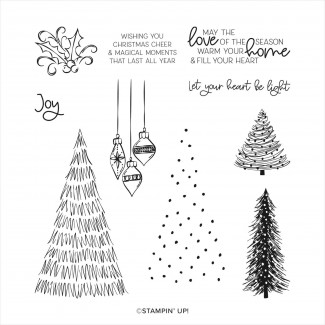
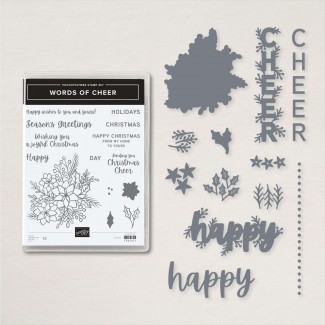
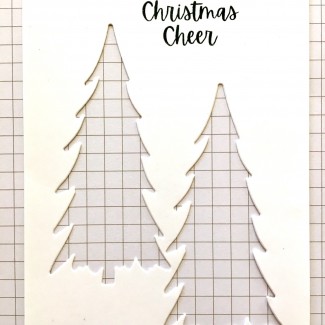
Stamp Set Greetings: Words of Cheer
WORDS OF CHEER STAMP SET & BUNDLE
Click HERE is the product link in my 24/7 Online Store.
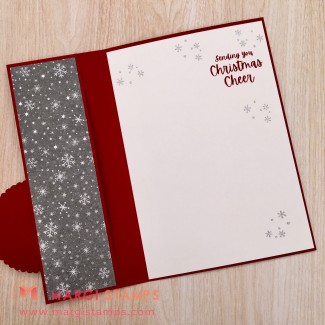
Ever Eden Specialty Designer Series Paper Positive & Negative Space Christmas Card
Here is your class kit.
SUPPLIES
- Stamp Sets, Dies & Embossing Folders: Christmas Trees Dies, Stitched Rectangle Dies, Words of Cheer Stamps Set,
- Papers; Ever Eden Specialty DSP, Basic White and Basic White Thick card stock.
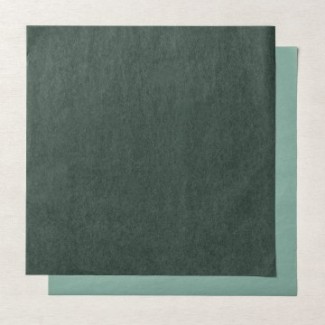
- Inks: Evening Evergreen stamp pad
- Other: Brushed Metallic Adhesive-Backed Dots, Dimensionals, Multipurpose Liquid Glue, Take your Pick Tool, Trimmer, Cut & Emboss Machine
HERE is the direct link to all current products in my 24/7 Online Store
DIMENSIONS
- Card Base: Basic White Thick, 29.7 x 10.5 cm scored at 14.85 (I have done this for you),
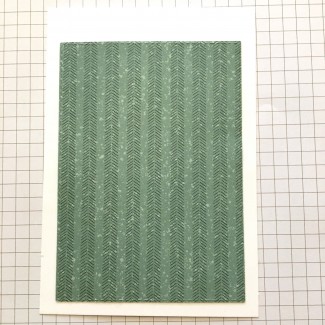
- DSP: Even Eden Specialty DSP 14.4 x 10cm die cut using second largest Stitched Rectangle Die. I centred the die as we will will use both positive and negative pieces.
- White Layer: Basic White 14.4 x 10 cm die cut twice with one of the Christmas Trees Dies. As I die-cut two layers of Basic White at the same time, you will need to separate your die-cut trees.
- Card Insert: Basic White 13.9 x 9.5 cm
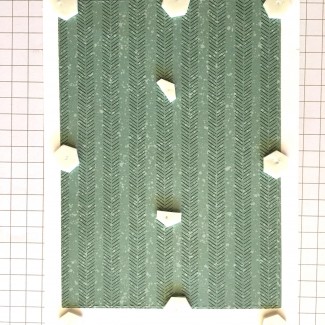
- Other: Brushed Metallic Adhesive-Backed Dots..
STEP BY STEP DIRECTIONS –
-
- Burnish card base score line.
- Adhere outer Stitched Rectangle Specialty DSP to the inside of the card.
- Stamp greeting on Basic White insert. I stamped Words of Cheers greeting in Evening Evergreen Ink.
- Adhere White tree die cut to insert. (You have two trees in your kit, and you may need to separate them. You might like to use the remaining tree on another project.)
- Adhere the completed insert to card base.
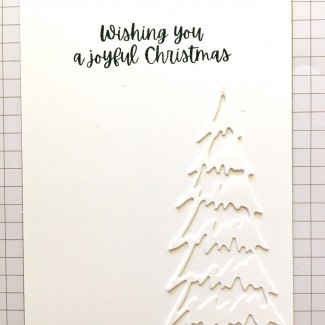
- Stamp greeting on die-cut layer for front of card. Leave enough room for the Brushed Metallic Dosts. I stamped Words of Cheers greeting in Evening Evergreen Ink.
- Apply liquid glue to the back of this panel and adhere to the Stitched Rectangle die cut
- Apply dimensionals to the back of this panel.
- Adhere to card front.
- Add Brushed Metallic Dots.
Recap CARD #1 November Tutorial; Peaceful Place Paper Fancy Fold Gift Card Holder.
HERE is the link back to the tutorial.

CREATIVE WOW TUTORIAL: HERE IS THE NOVEMBER 2021 SNEAK PEEK
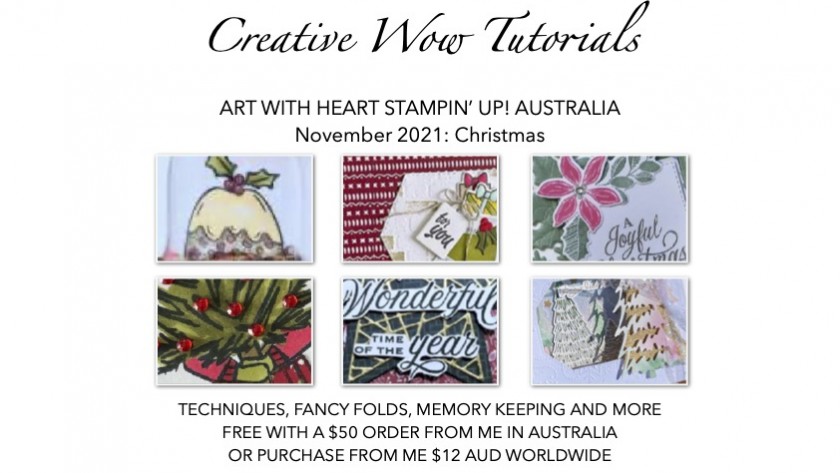
BE INSPIRED BY THESE FABULOUS CHRISTMAS IDEAS.
There are stunning designs and many different ideas, from standard cards, fancy folds, 3D cards, ornaments, and gift packaging.
I have emailed all the Tutorials for the previous months. As the files are quite large, please let me know if you have not received your copy. Please be in touch if you would like to purchase back copies of previous Tutorials or, this current Tutorial.
Join my Team – November Treat:
Join just for yourself to get a discount, and/or build a business, be part of my team and meet friends who love to craft. The choice is yours, and I’m only too happy to chat with you OR, you might like to hop on over to my JOINING PAGE
Here’s a quick look at the offer including the November treat!
- Choose $235 product for a $
169$130 spend ($66$105 for FREE) from our current Catalogues. - FREE Shipping
- FREE Business Kit, including current catalogues.
- And the opportunity to order from any existing catalogue (and upcoming Catalogue) at 20% discount.
JOIN MY CLASSES:
Please contact me if you would like to join my paper-crafting classes. I run several class groups.
You might like to arrange a private class for you and your friends, or you might like to join my online/virtual class with prepared class kits and PDF/web Tutorials.
Please chat to me about your ideas or queries.
Have Fun Crafting. Enjoy the samples and your own wonderful creativity.
Facebook page is:
https://www.facebook.com/margistamps/
Pinterest site is:
https://www.pinterest.com.au/margisank/
Stampin’ Up! 24/7 Online Store is HERE
My Stampin’ Up! website is HERE
My blog website is:http://www.margistamps.com/
……… till next time, stay safe, have fun!
![]()
LOVE IT. LIVE IT. SHARE IT.

