Big Shot Embossing Mats, new in the Stampin’ Up! 2018-2019 Annual Catalogue are a real winner!
There are many ways to use this product and extend the use of your existing tools; Framelits, Thinlits and Edgelits dies and Decorative Masks. Even leaves from the garden.
Our favourite Framelits, Thinlits and Edgelits dies can do so much more when paired with Big Shot Embossing Mats. You can use with dies that have delicate ejection holes, for additional embossing. Or use with cutting dies to emboss rather than cut. These mats add so much versatility to our items.
The cost of the mats is wonderful …. only $26 plus the usual shipping. What a winner!
The Embossing Mats include a white Impression Pad, a thin blue silicone rubber mat and a thick grey silicone rubber mat.
Here is a photo including the link to my on line store:

I’m sure you’ll also come up with great Embossing Mats ideas and creativity to extend the use your own crafting tools.
Let me share with you some of my discoveries in exploring the techniques and possibilities of the Big Shot Embossing Mats.
Tips and Techniques
Basic Tips
Use with your Big Shot in Embossing mode. Use one standard cutting pad immediately above the platform, then the die or item to be used to emboss (facing up), your card-stock, your silicone rubber mat (blue or grey), then lastly your impressions pad.
You will need to anchor the embossing item to the card stock using either washi or post it notes. This will then ensure correct placement of the embossing. I found reducing the stickiness of the washi was helpful, so that the washi did not remain adhered to the cardstock.
Thin Blue Silicone Rubber Mat
Use the blue mat in the sandwich if the die is a cutting die.
Thich Grey Blue Silicone Rubber Mat
Use the grey mat if the die or item is an embossing die, leaf, decorative mask.
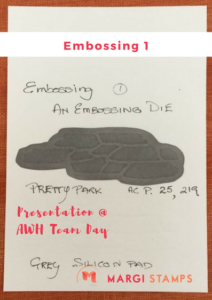
Technique 1 – Embossing using Embossing Dies
I started with just using the mats to emboss our dies that are designed to emboss. I found the texture and depths of the embossing was enhanced compared with using our standard cutting pads. (1)
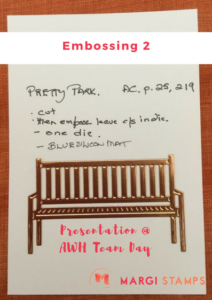
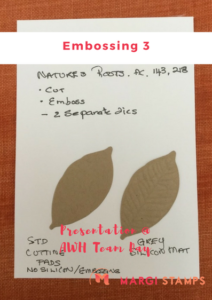
Technique 2 & 3- Embossing using Embossing & Cutting Dies
I then used dies that are designed to emboss as well as cut, as a two-step process. (2) & (3)
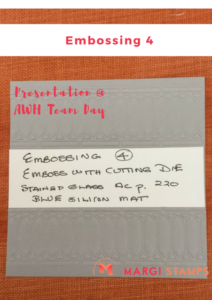
Technique 4 – Embossing using Cutting Dies
My next experiment was to use a die designed to cut, to emboss only. (4)
In this example I have used both the die-cut and the embossed elements.
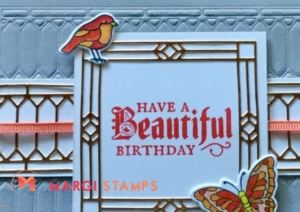
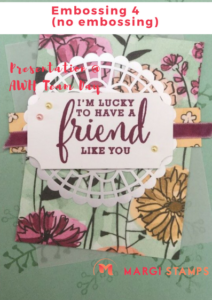
I played around this application using many different dies and found that the embossed card stock looked goods as a background. The following two cards illustrate this. One card has a stamped background, whilst the other is embossed.

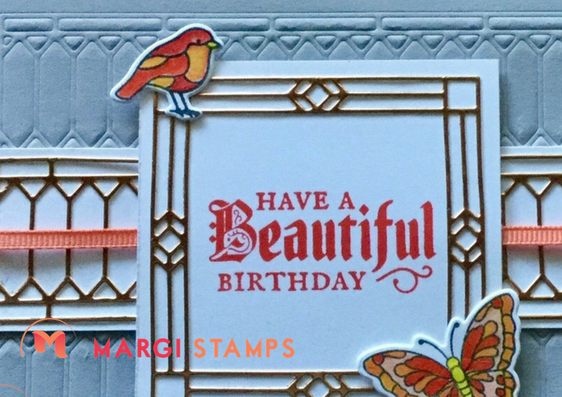
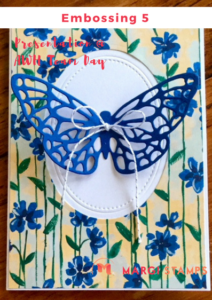
Technique 5 – Embossing using Cutting Dies to frame
I then thought we could pair our Layering Circle, Oval and Square Framelits with our coordinating Stitched Shape Framelits. This was one of the cards using Layering Ovals and Stitched Shapes. (5)
I’ve been showcasing this card in my recent classes and will share the ‘How To” in my next blog.
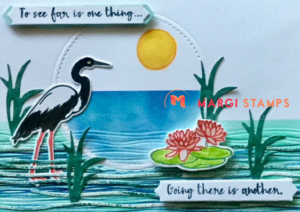
Of course, the possibilities are endless, and my mind was agog with ideas. Many of our friends are travelling north and I thought of the possibilities with Lilypad Lake Bundle and scenes from our tropics; in this case the Kimberley.

Now, if we can do all these things with dies, what can we do with our other tools?
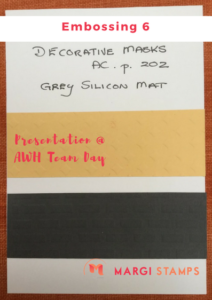
Technique 6 – Embossing using decorative masks
Of course, we have Pattern Party Decorative Masks. We can also use these with the Big Shot and our Embossing Mats.
Technique 7 – Embossing using natural elements – leaves
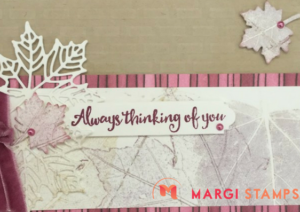
And my last foray for the session, was to show what we can do with elements from our own gardens. Our Lipstick Maple tree was awash with autumn colour. I used the some of the leaves, paired with Big Shot and the Embossing Mats to design and create my own textured and pattered paper.
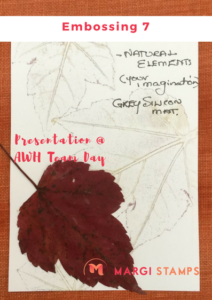
This card shows the use of Decorative Mask and our Maple leaves form the garden.
presentation notes
If you would like a copy of my presentation notes, please don’t hesitate to leave a comment and your contact details and I’ll forward a copy to you.
I’m sure the list of possibilities is endless!
LOVE IT. LIVE IT. SHARE IT.

