
Welcome to your Make it With Margi October Tutorial. Here is your Peaceful Place Specialty Designer Series Paper & Evergreen Forest 3D Embossed – Card #1 for this month’s tutorial.
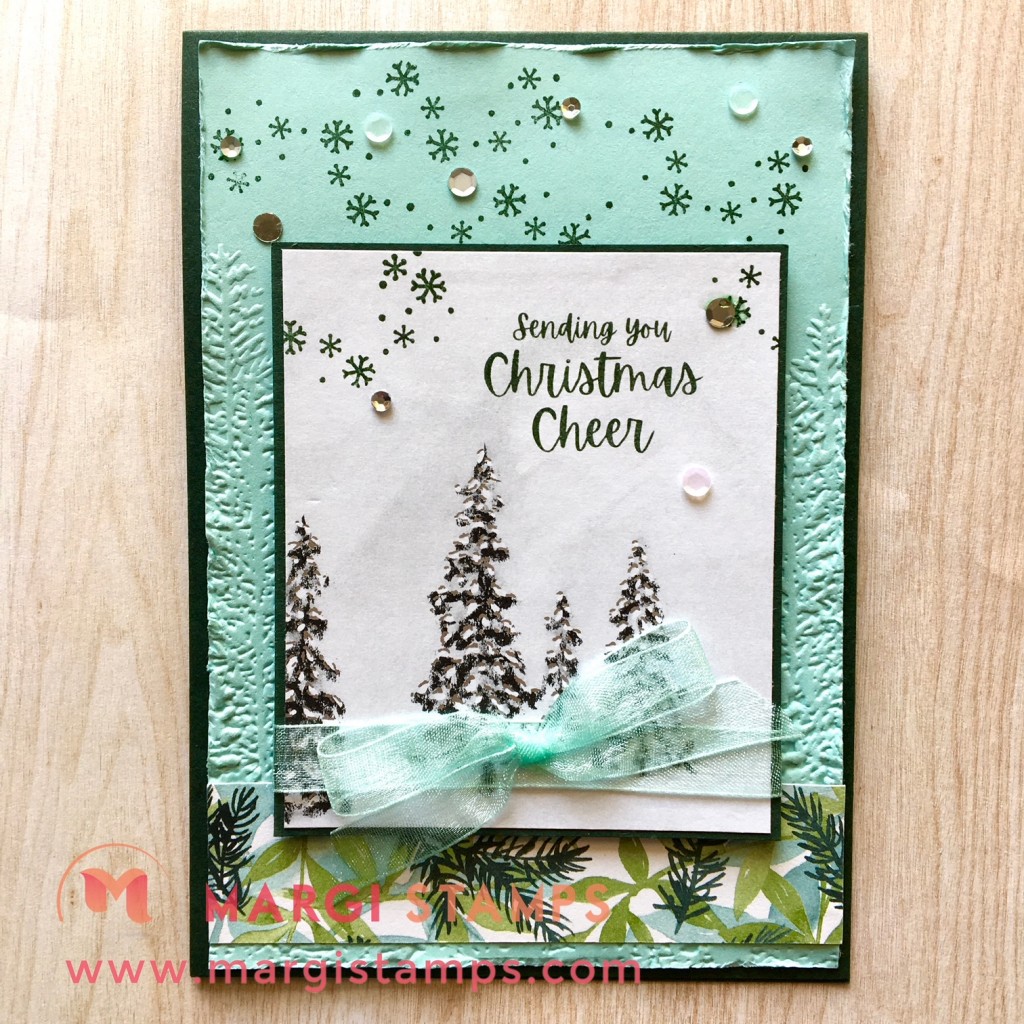
We are using the stunning, shimmery, silver-foiled Peaceful Place Specialty Designer Series Paper as our focal point, with the Embossed Evergreen Forest as our backdrop. The colours used are Evening Evergreen (2021-2023 In Color) and Pool Party to add that shimmer of soft blue/green. We are adding a strip of Painted Christmas DSP to add colour resonant of our Australian foliage and summer.
If you’re not in my class groups, you are welcome to enjoy these designs and your own creativity. If you would like to join one of my groups (online – at the moment) and live in Australia, please contact me. I would love to hear from you.
Peaceful Place Specialty DSP and Evergreen Forest 3D Embossed Card

Ingredients for Peaceful Place Specialty DSP and Evergreen Forest 3D Embossed Card.
Let’s step through the ingredients used for our Card. Some are in the Annual Catalogue and some in the July-December Mini Catalogue.
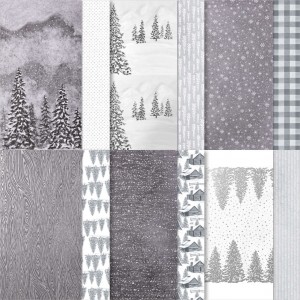
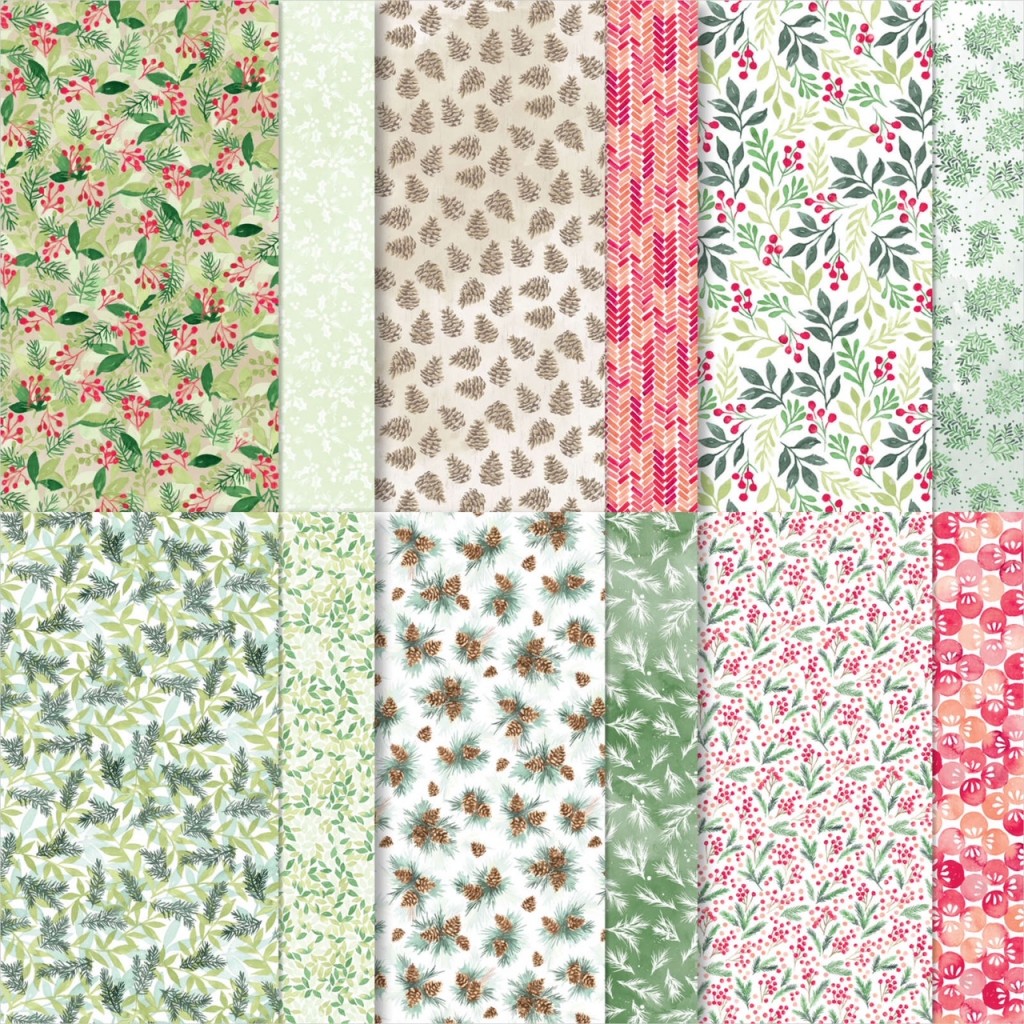
Peaceful Place Specialty Designer Series Paper
Evoke a tranquil setting when you craft with this Peaceful Place Designer Series Paper or add a pop of colour for an exciting change. It’s shimmery and silver foiled, with both scenes, pattern and texture. No matter what you’re making, from greeting cards to scrapbook pages, these calming nature scenes and muted colour schemes will set the perfect mood.
HERE is the product link in my 24/7 Online Store.
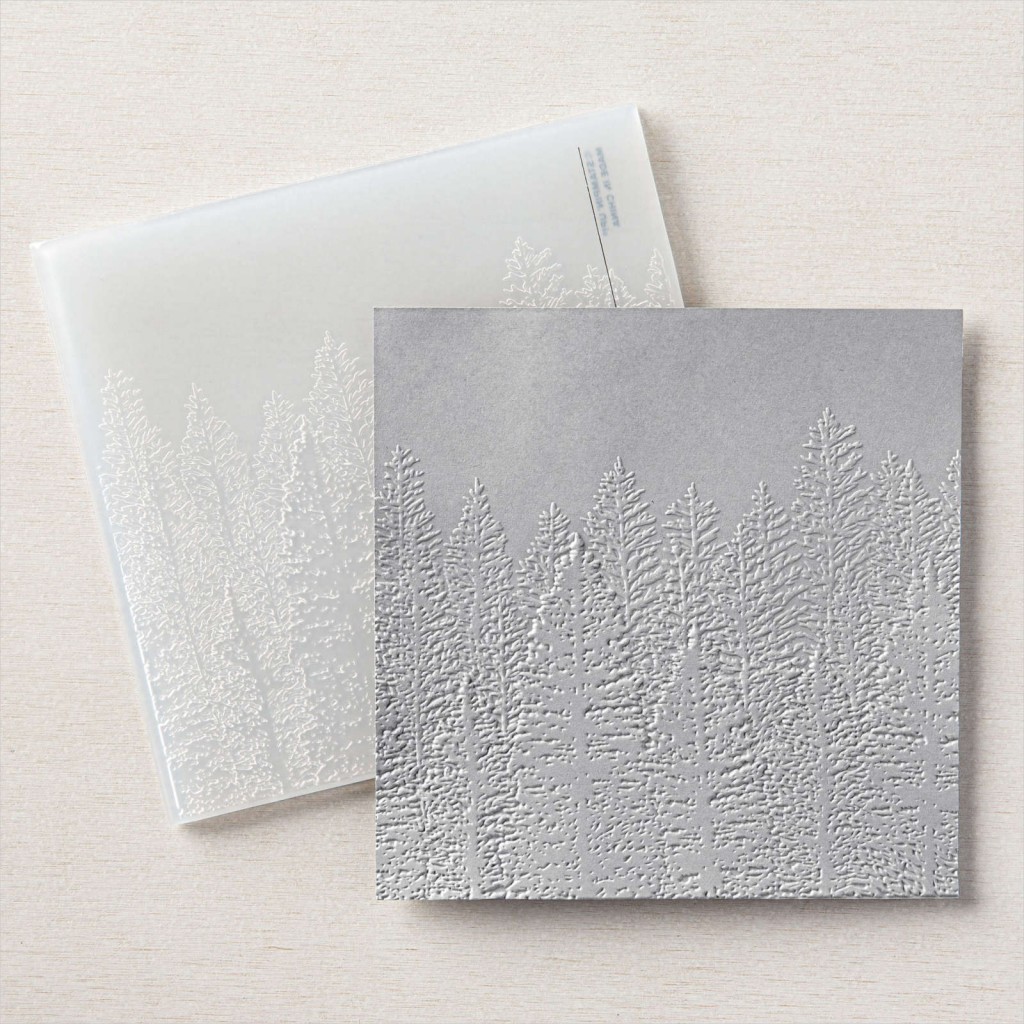
Evergreen Forest
Create beautiful embossed backgrounds and accents using the Evergreen Forest 3D Embossing Folder. It’s a great way to elevate your projects and give them some dimension and texture. Use it on card backgrounds and other elements for paper projects.
It’s easy to make a great impression! Just place flat cardstock in this embossing folder, run it through a Stampin’ Cut & Emboss Machine, and out comes cardstock with a bold textured design.
HERE is the product link in my 24/7 Online Store.
Painted Christmas Designer Series Paper
Hearken back to the joyful days of Christmas past with the elegant, nature-inspired watercolour images in the Painted Christmas Designer Series Paper.
HERE is the product link in my 24/7 Online Store.
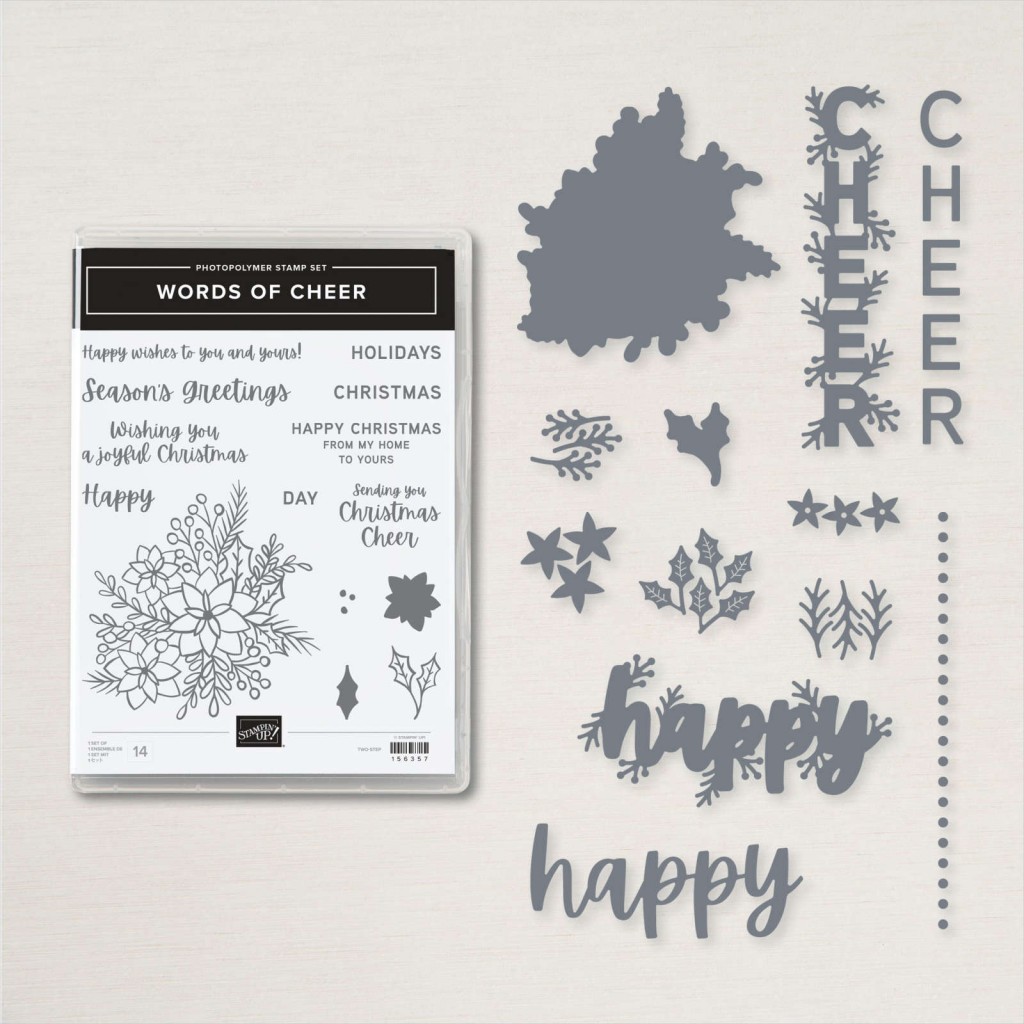
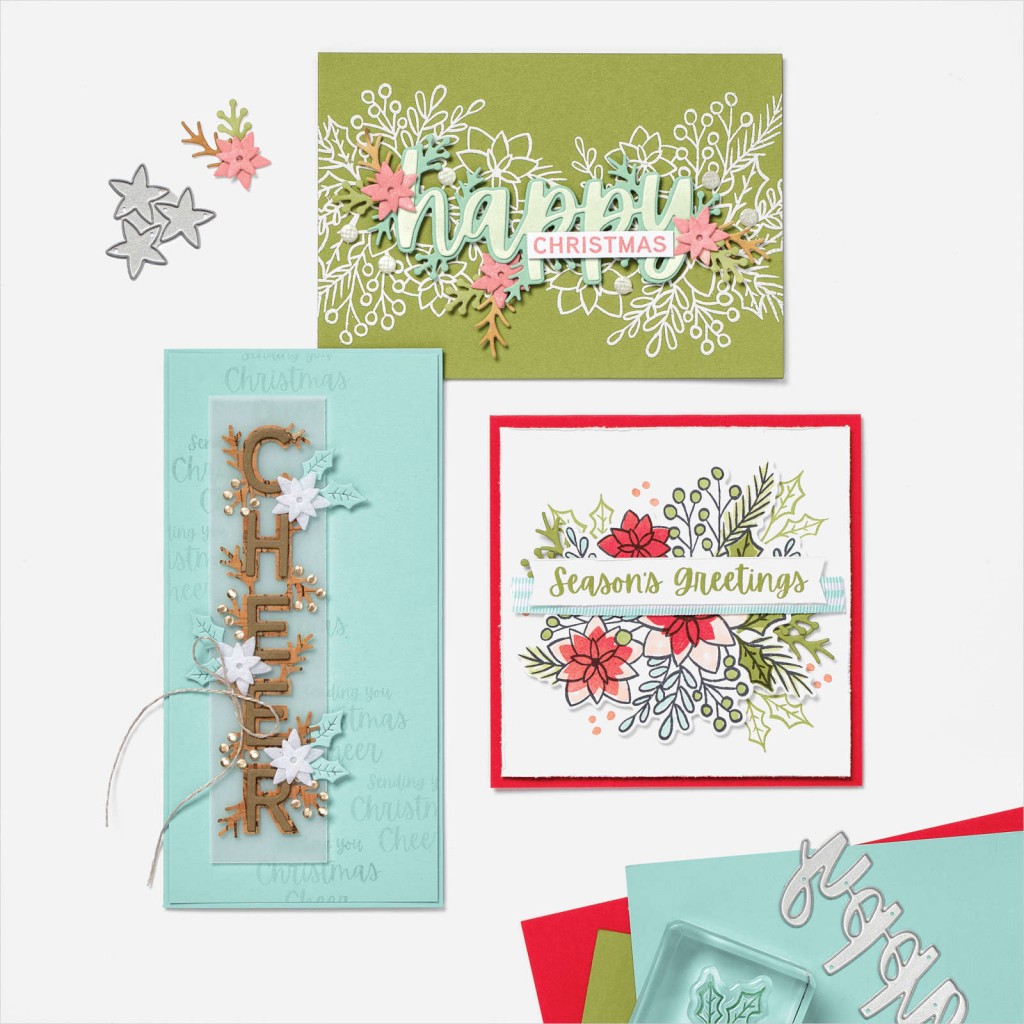
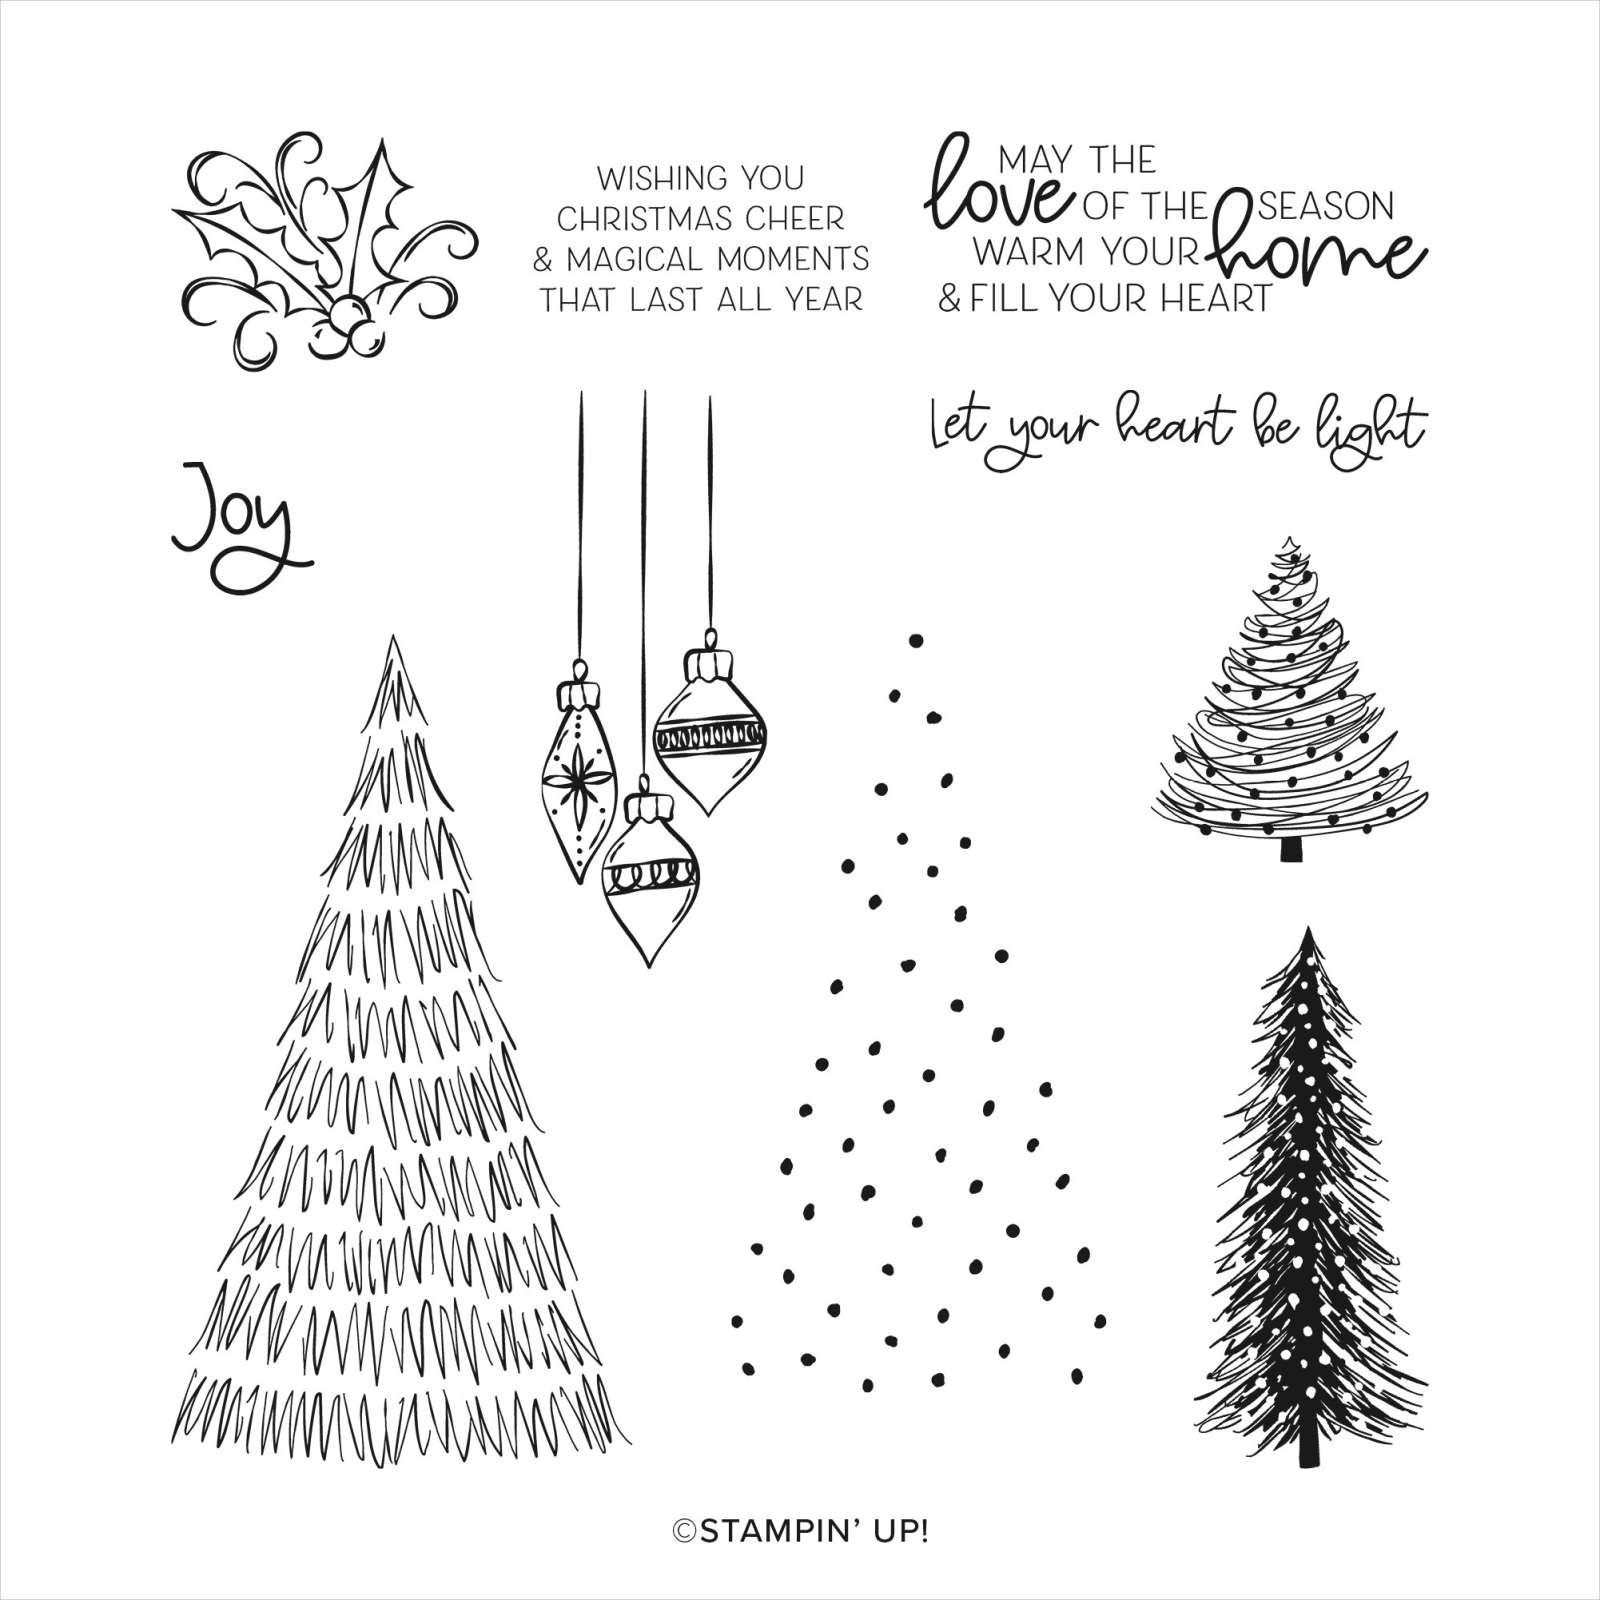
Stamp Set Greetings: Words of Cheer, Whimsical Christmas and Snowflake Wishes
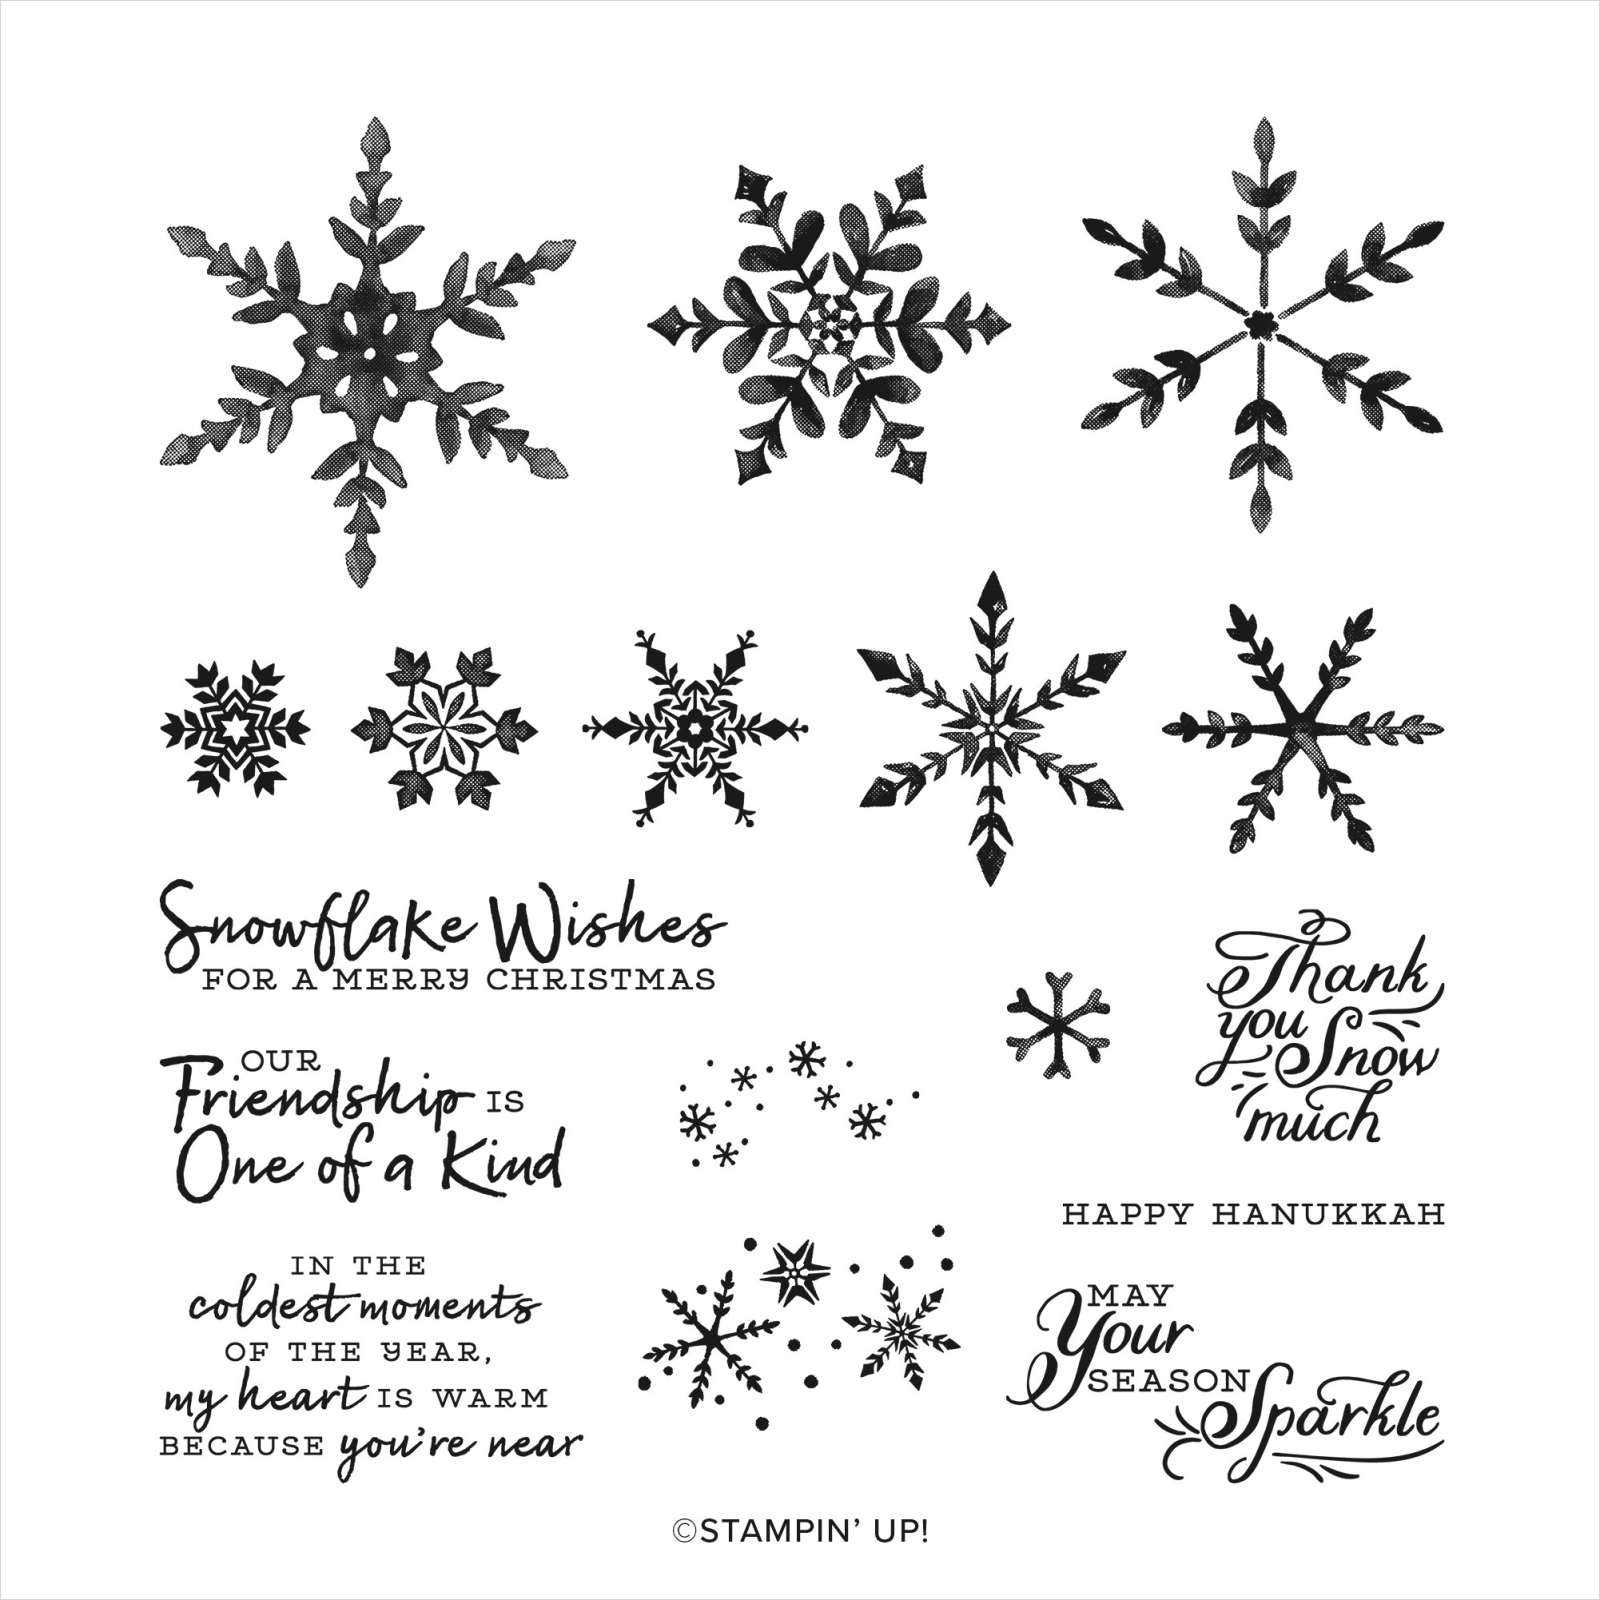
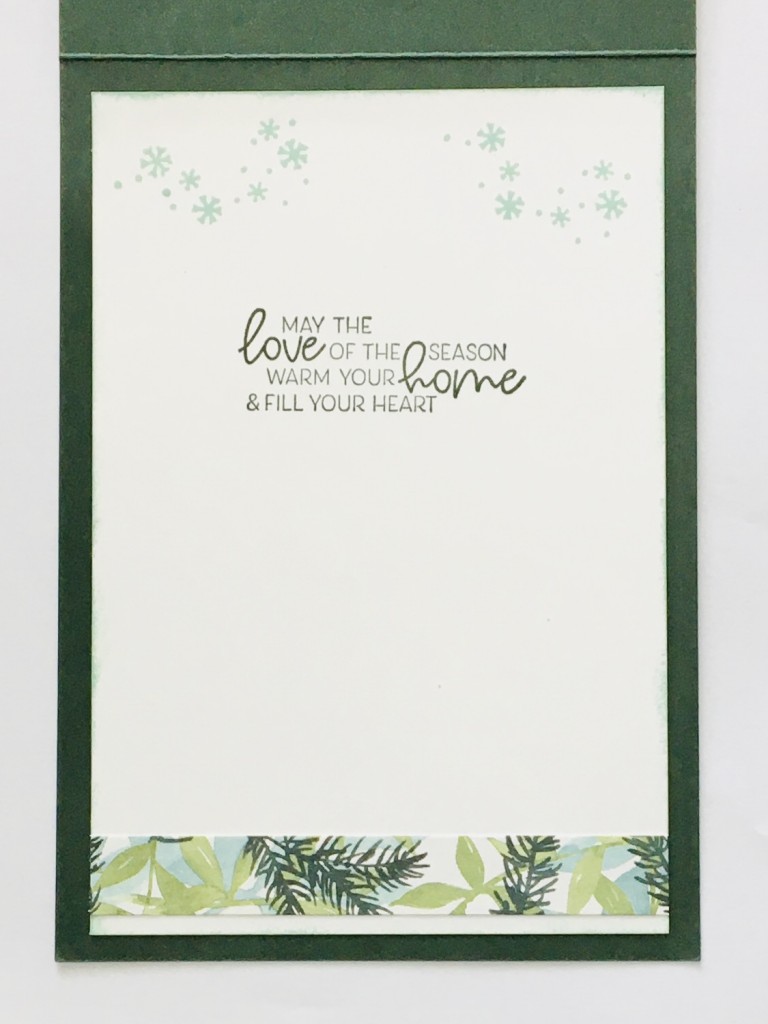
In this design, I have pulled in various stamp sets for my stars and greetings. I used Words of Cheer for the greeting and mini snowflakes/stars from Snowflake Wishes for the card front. I added one of the greetings from Whimsical Christmas on the card insert. Isn’t it fabulous to be able to use what products we have on hand to create great handmade cards. I love both of these greetings and thought they worked well for designing our cards this year.
You might have the same or other greetings and stars/snowflakes that will work for the design. Have fun putting your own creativity to play.
Words of Cheer Stamp Set & Bundle
HERE is the product link in my 24/7 Online Store.
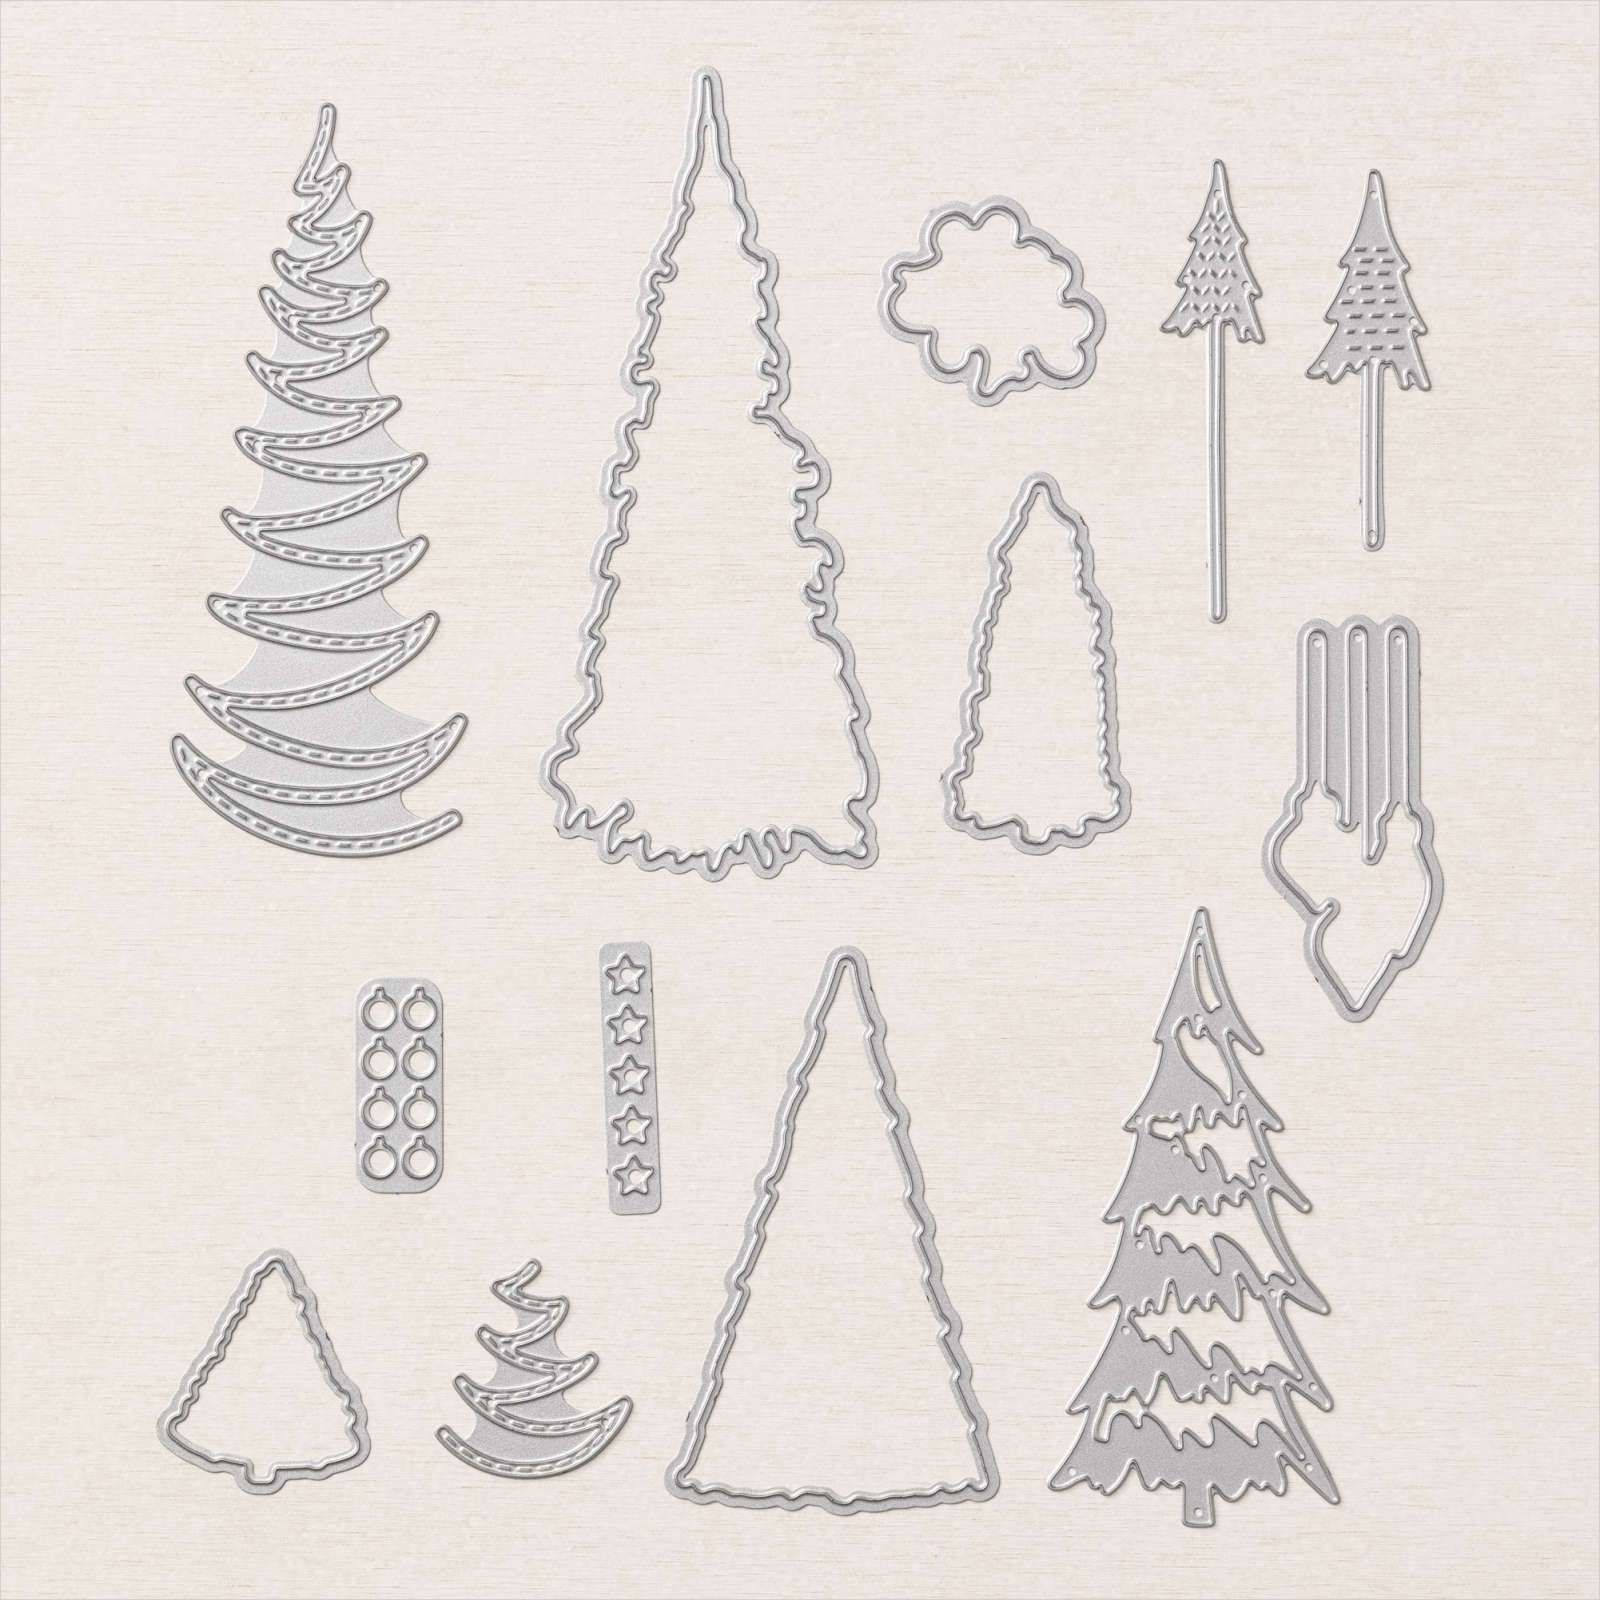
Whimsical Trees Stamp Set & Bundle

HERE is the product link in my 24/7 Online Store.
Snowflake Wishes Stamp Set.

HERE is the product link in my 24/7 Online Store
Peaceful Place & Evergreen Forest Card.
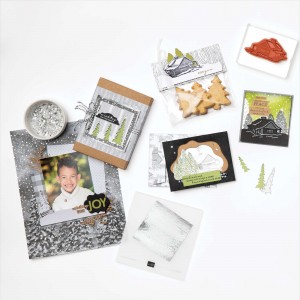
Here is your class kit. (NOTE: there are two different Peaceful Place SDSP scenes options. Your kit will contain one option and both provide enough space for your greeting)
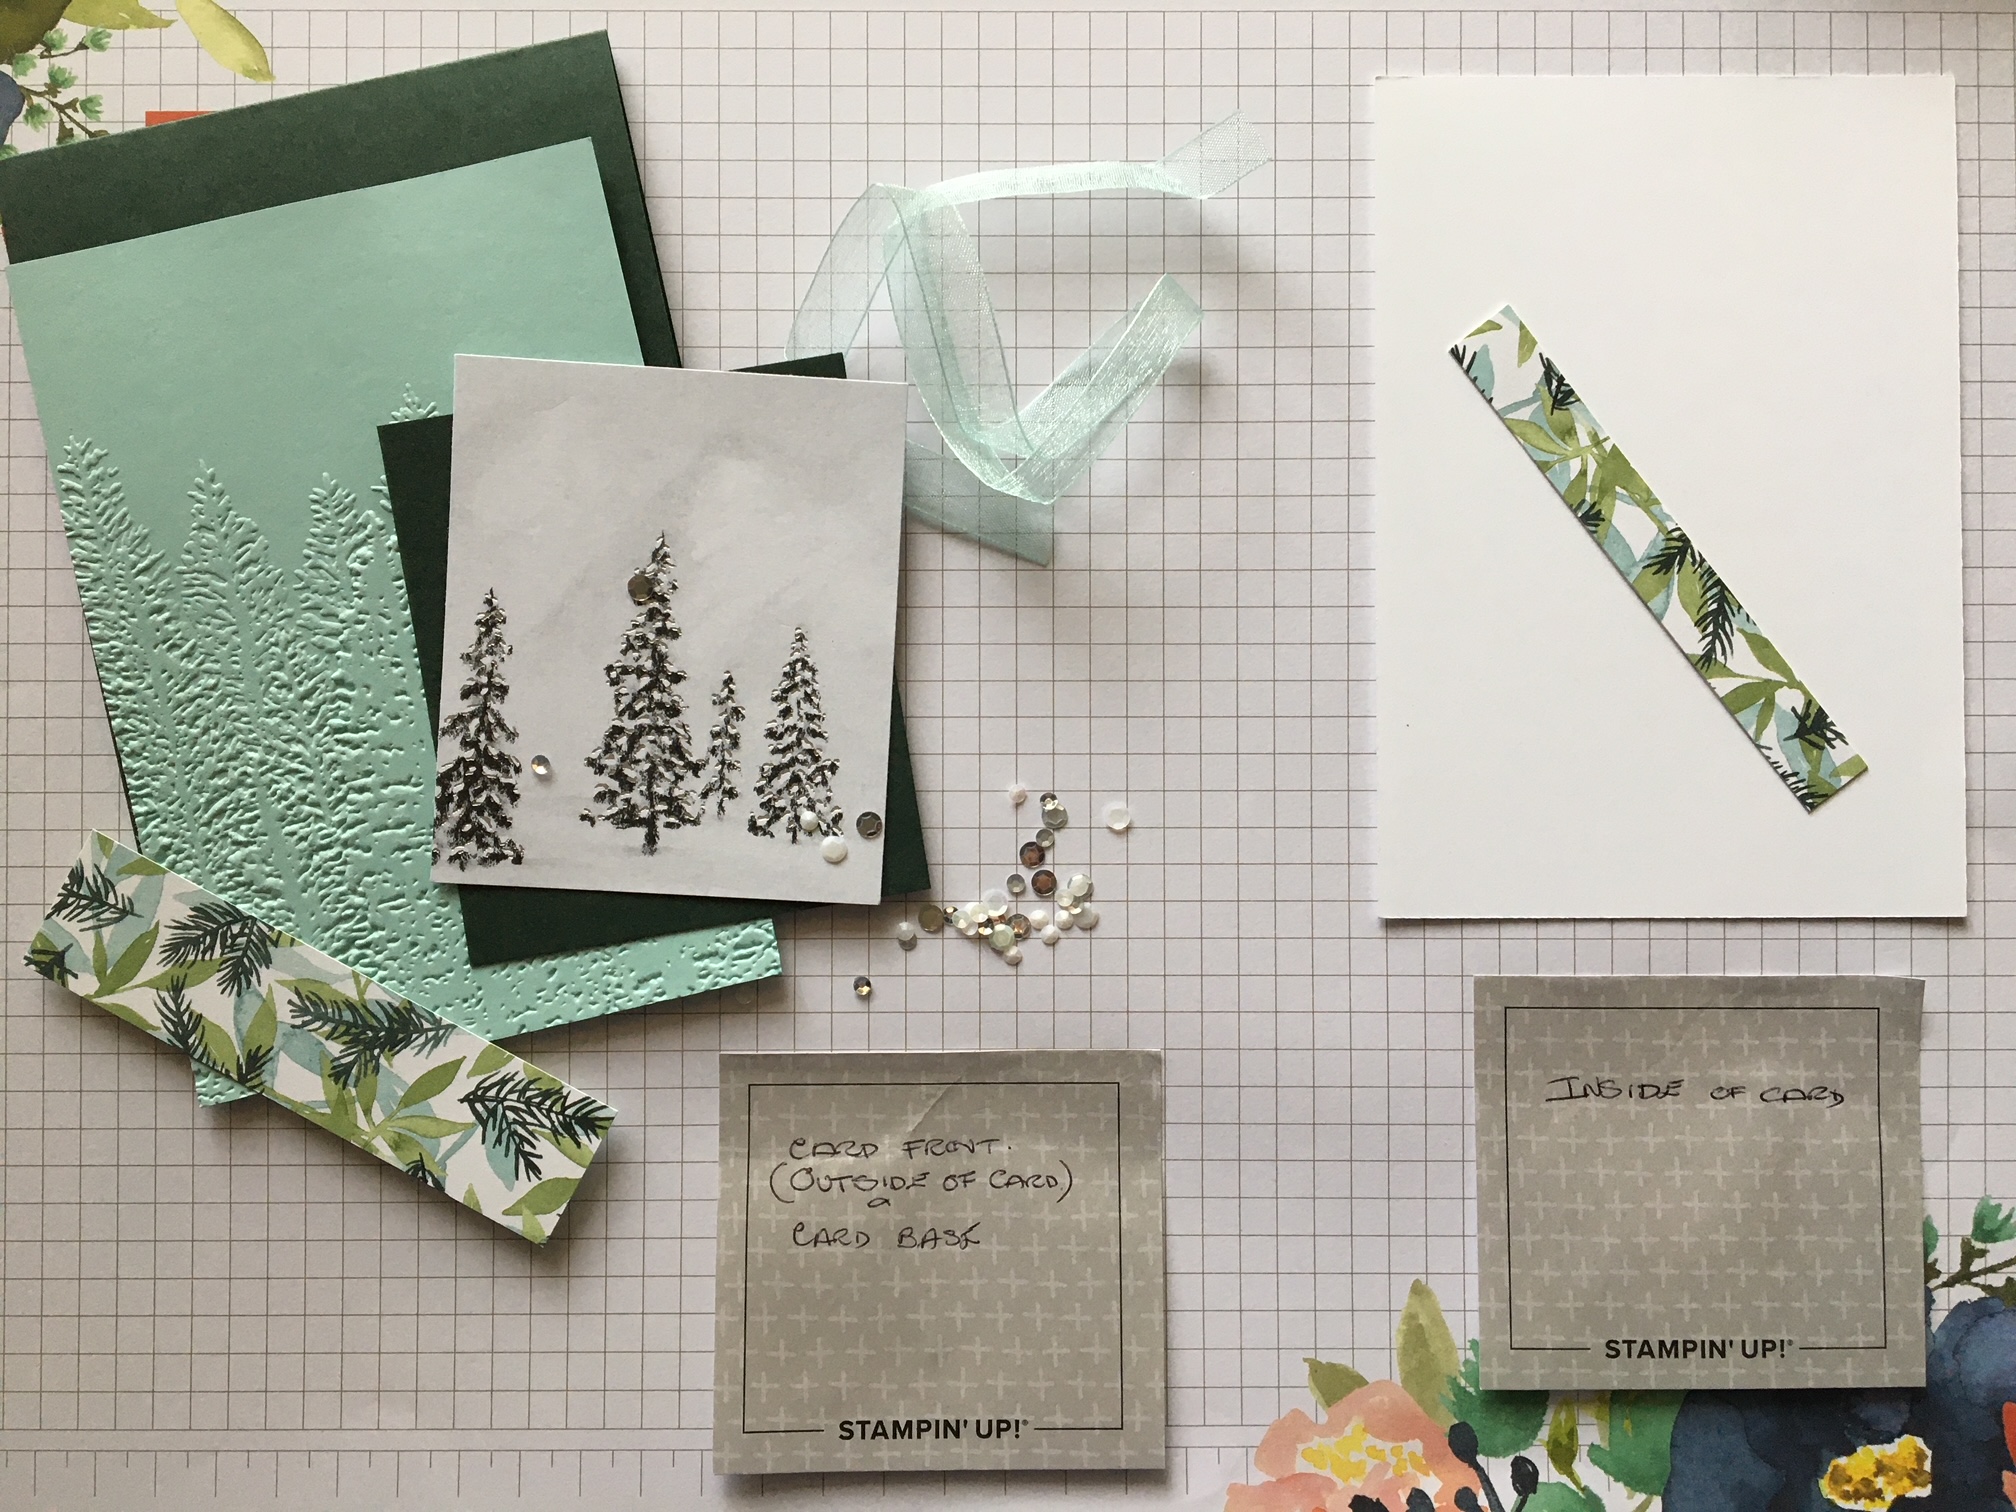
Supplies
- Stamp Sets, Dies & Embossing Folders: Evergreen Forest 3D Embossing Folder, Words of Cheer, Whimsical Christmas and Snowflake Wishes Stamps Sets.
- Papers; Peaceful Place Specialty and Painted Christmas DSP, Evening Evergreen, Pool Party and Basic White card stock.
- Inks: Evening Evergreen and Pool Party stamp pads
- Other: Pool Party Sheer Ribbon, Subtle Shimmer Sequins, Mini Dimensionals, Multipurpose Liquid Glue, Mini Glue Dots, Fine-Tip Glue Pen, Take your Pick Tool, Trimmer, Cut & Emboss Machine.
HERE is the direct link to all products in my 24/7 Online Store
Dimensions
- Card Base: Evening Evergreen, 29.7 x 10.5 cm scored at 14.85,
- Evergreen Forest 3D Embossed Layer: Pool Party 14.4 x 10 cm, (I have done this for you),
- Layering DSP: Peaceful Place SDSP 8.9 x 7.6cm (3 1/2″ x 3″)
- Layering Mat: Evening Evergreen 9.2 x7.9 cm (3 5/8″ x 3 1/8″)
- DSP Strip: Painted Christmas, 10 x 2.5 cm
- Card Insert: Basic White 13.9 x 9.5 cm, strip DSP 9.5 x 1.3cm
- Other: Pool Party Shimmer Ribbon, Subtle Shimmer Sequins.
Step by Step Directions –
-
- Burnish card base score line
- Distress the edges of your Pool Party Evergreen Forest 3D embossed layer. HINT: I used my fingernails. You could also use the edge of a steel rule or a blunt knife for example.
- Stamp stars/snowflakes in Evening Evergreen ink randomly on the top of this Pool Party layer. HINT: stay away from the trees.
- Adhere 2.5 cm (1″) strip of Painted Christmas DSP to this embossed layer, approximately 1/2 cm up from the bottom edge.
- Then, adhere this layer to your card base.
- Using Evening Evergreen ink, stamp greeting and stars/snowflakes on Peaceful Place SDSP (tree scene). In either of the Peaceful Place card kit selections, there is room for many different greeting options.
- Adhere this piece of stamped SDSP to the Evening Evergreen cardstock mat. There is a small border only.
- Cut your ribbon into two lengths; 10 cm for the panel and the remainder for a small bow.
- Adhere ribbon to the panel by anchoring the ends of the ribbon on the back of the panel with glue dots or Tear & Tape.
- Then, adhere this layer onto your card front with dimensionals.
- Adhere ribbon to card front with glue dot and adhere sequins with Fine Tip Glue Pen.
Inside of card
-
- Adhere DSP strip to bottom of Basic White insert.
- Stamp greeting in Evening Evergreen Ink, stars/snowflakes in Pool Party Ink.
- Sponge the edges of the insert with Pool Party ink and adhere to card base.
Here is an example for you.
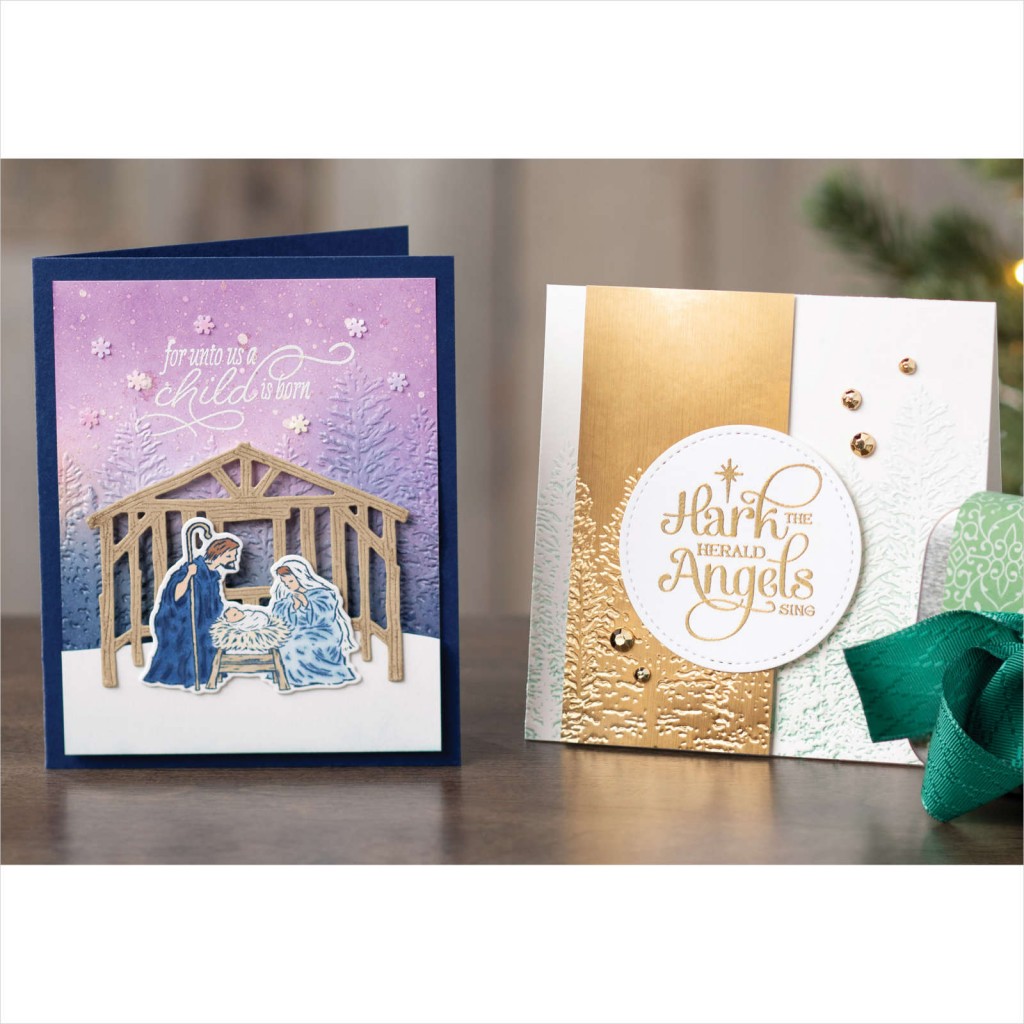
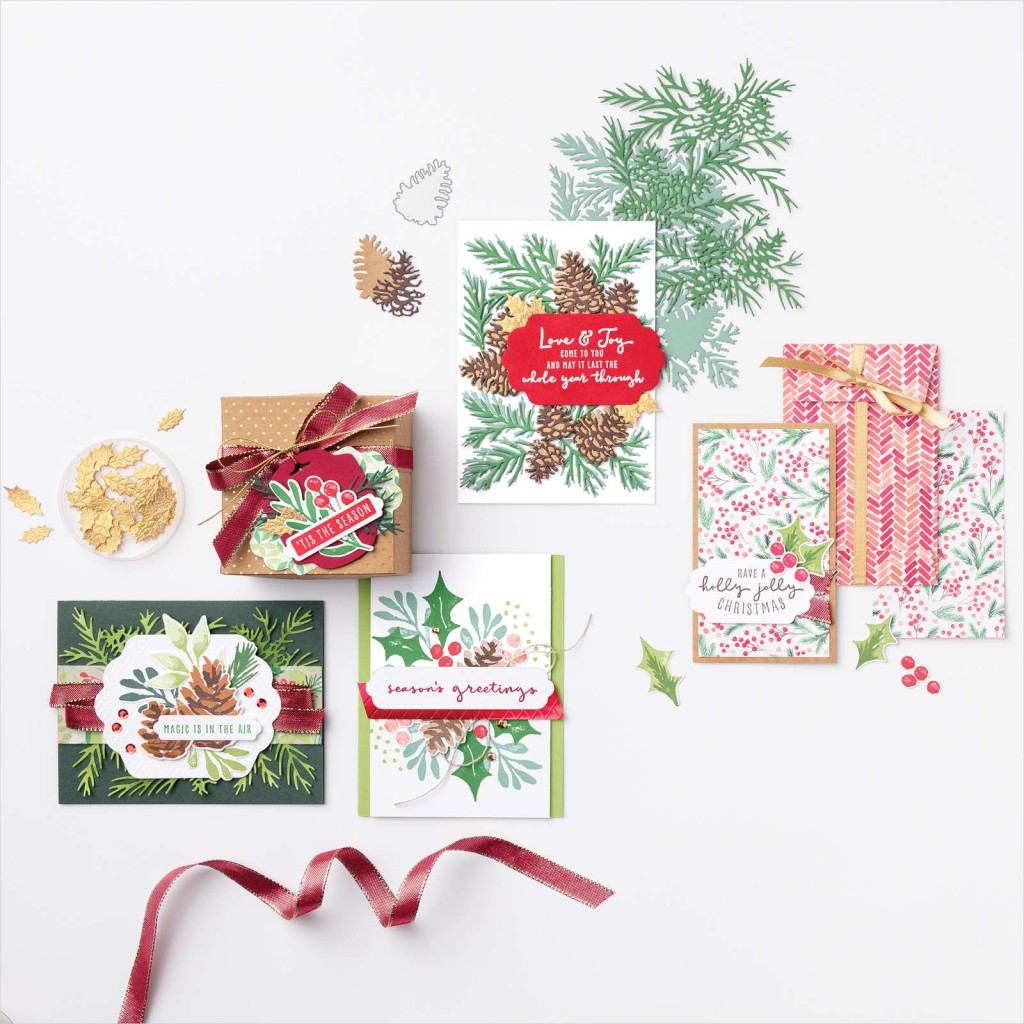
Peaceful Place Specialty DSP Samples & Ideas.
Please enjoy these other samples. All feature Peaceful Place Specialty Designer Series Paper.
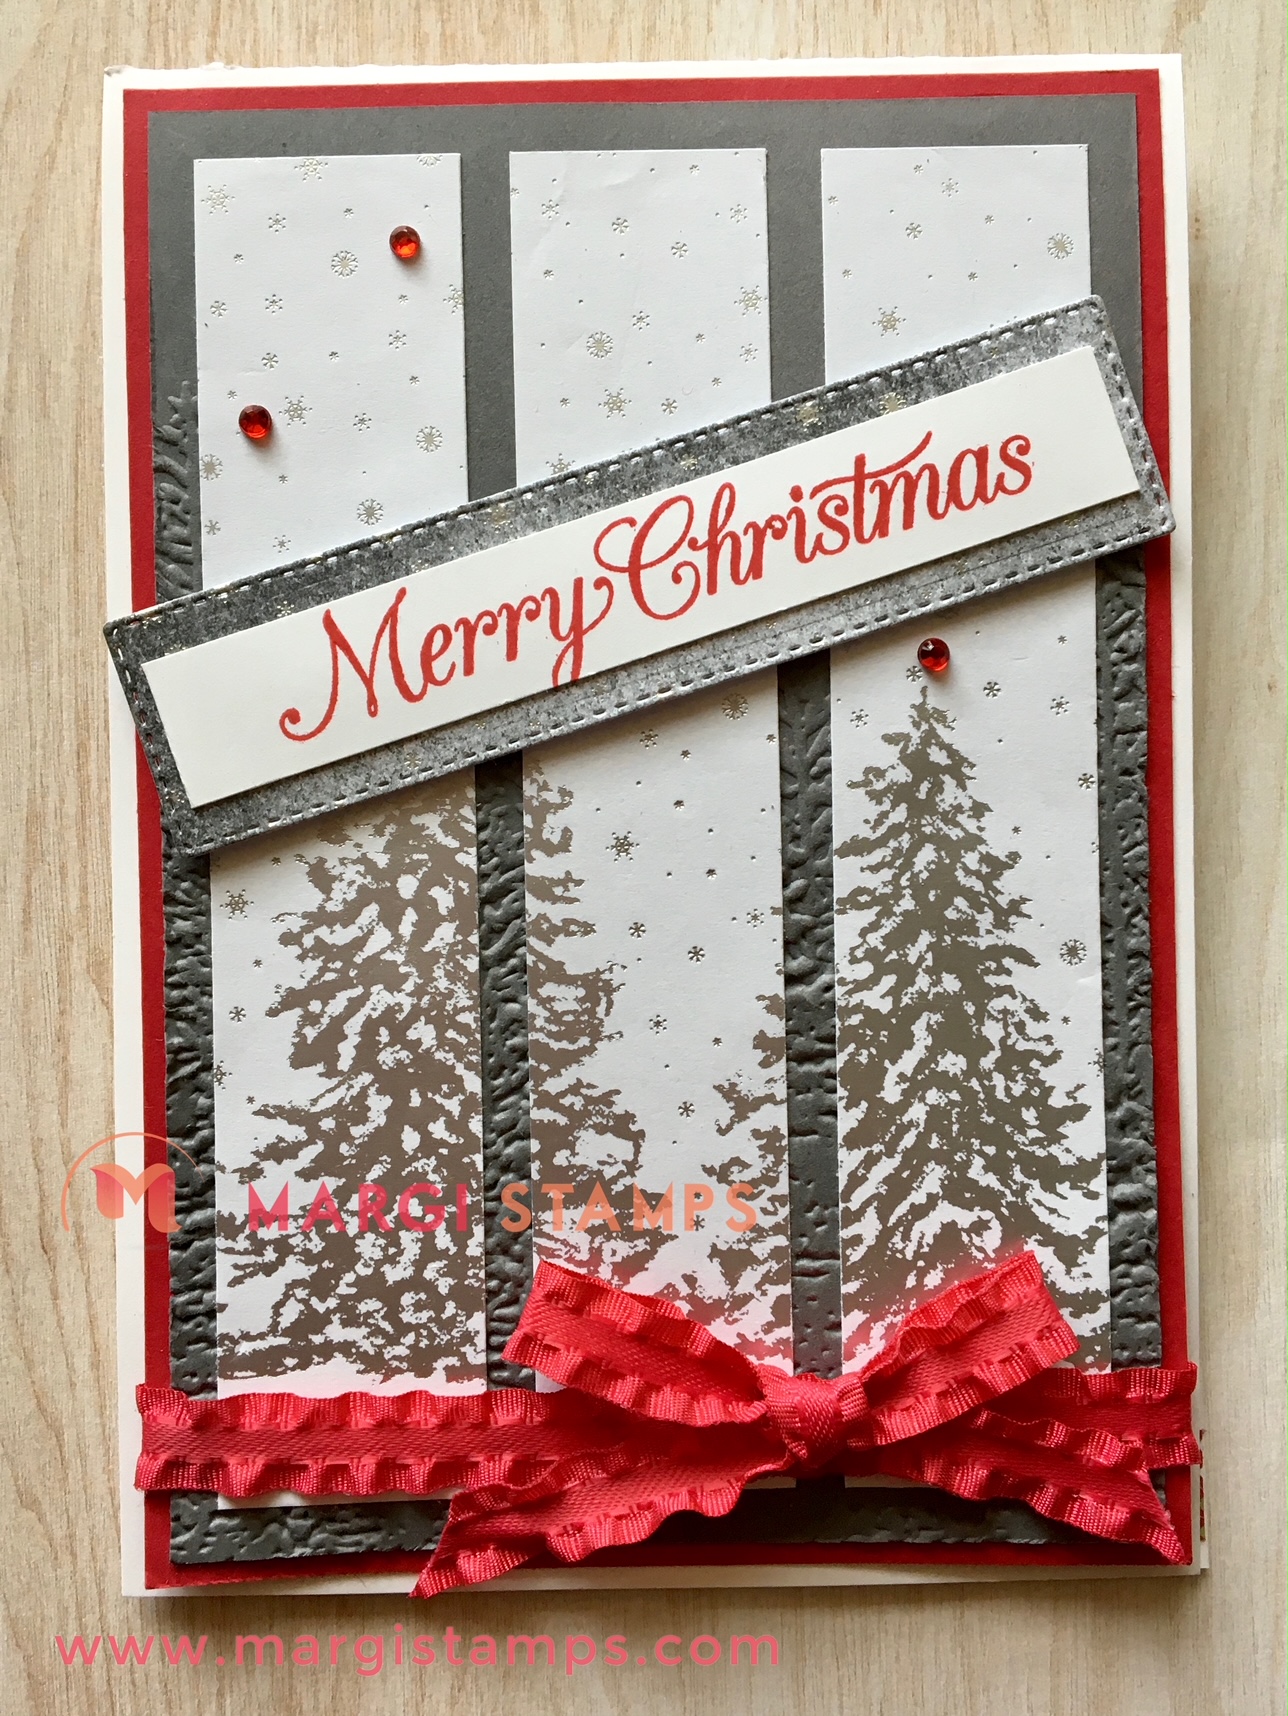
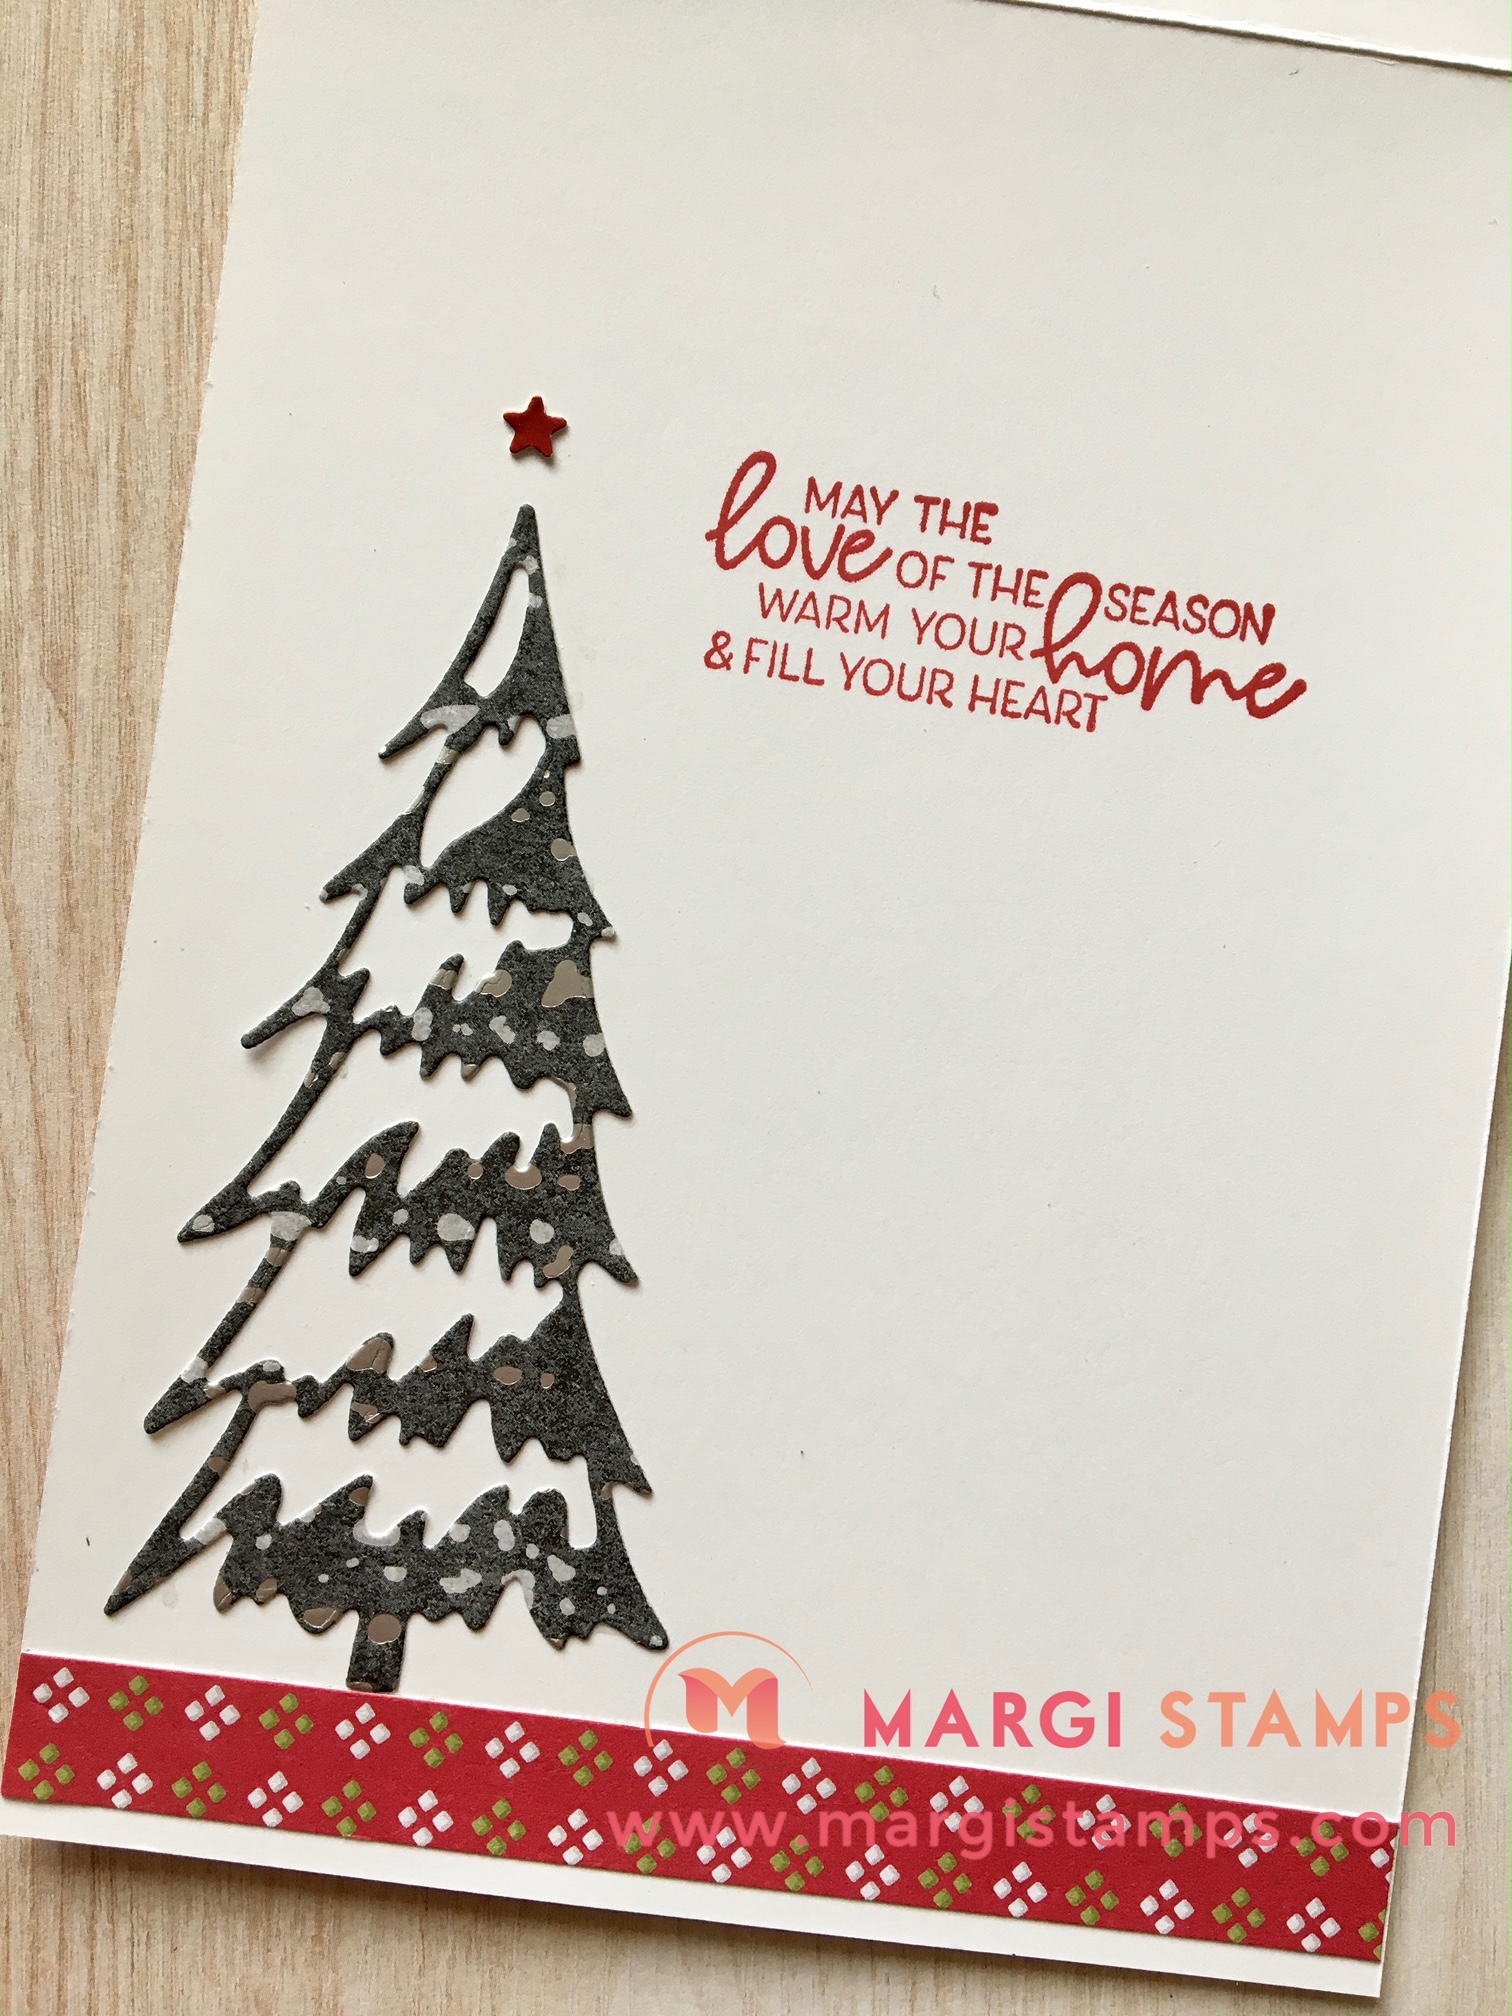
The first example is a standard card base with various layers. Once again, I have used Evergreen Forest 3D Embossing Folder. Real Red is the pop of colour. The die cut tree on the insert is die cut using Whimsical Trees Bundle (Christmas Trees Dies).
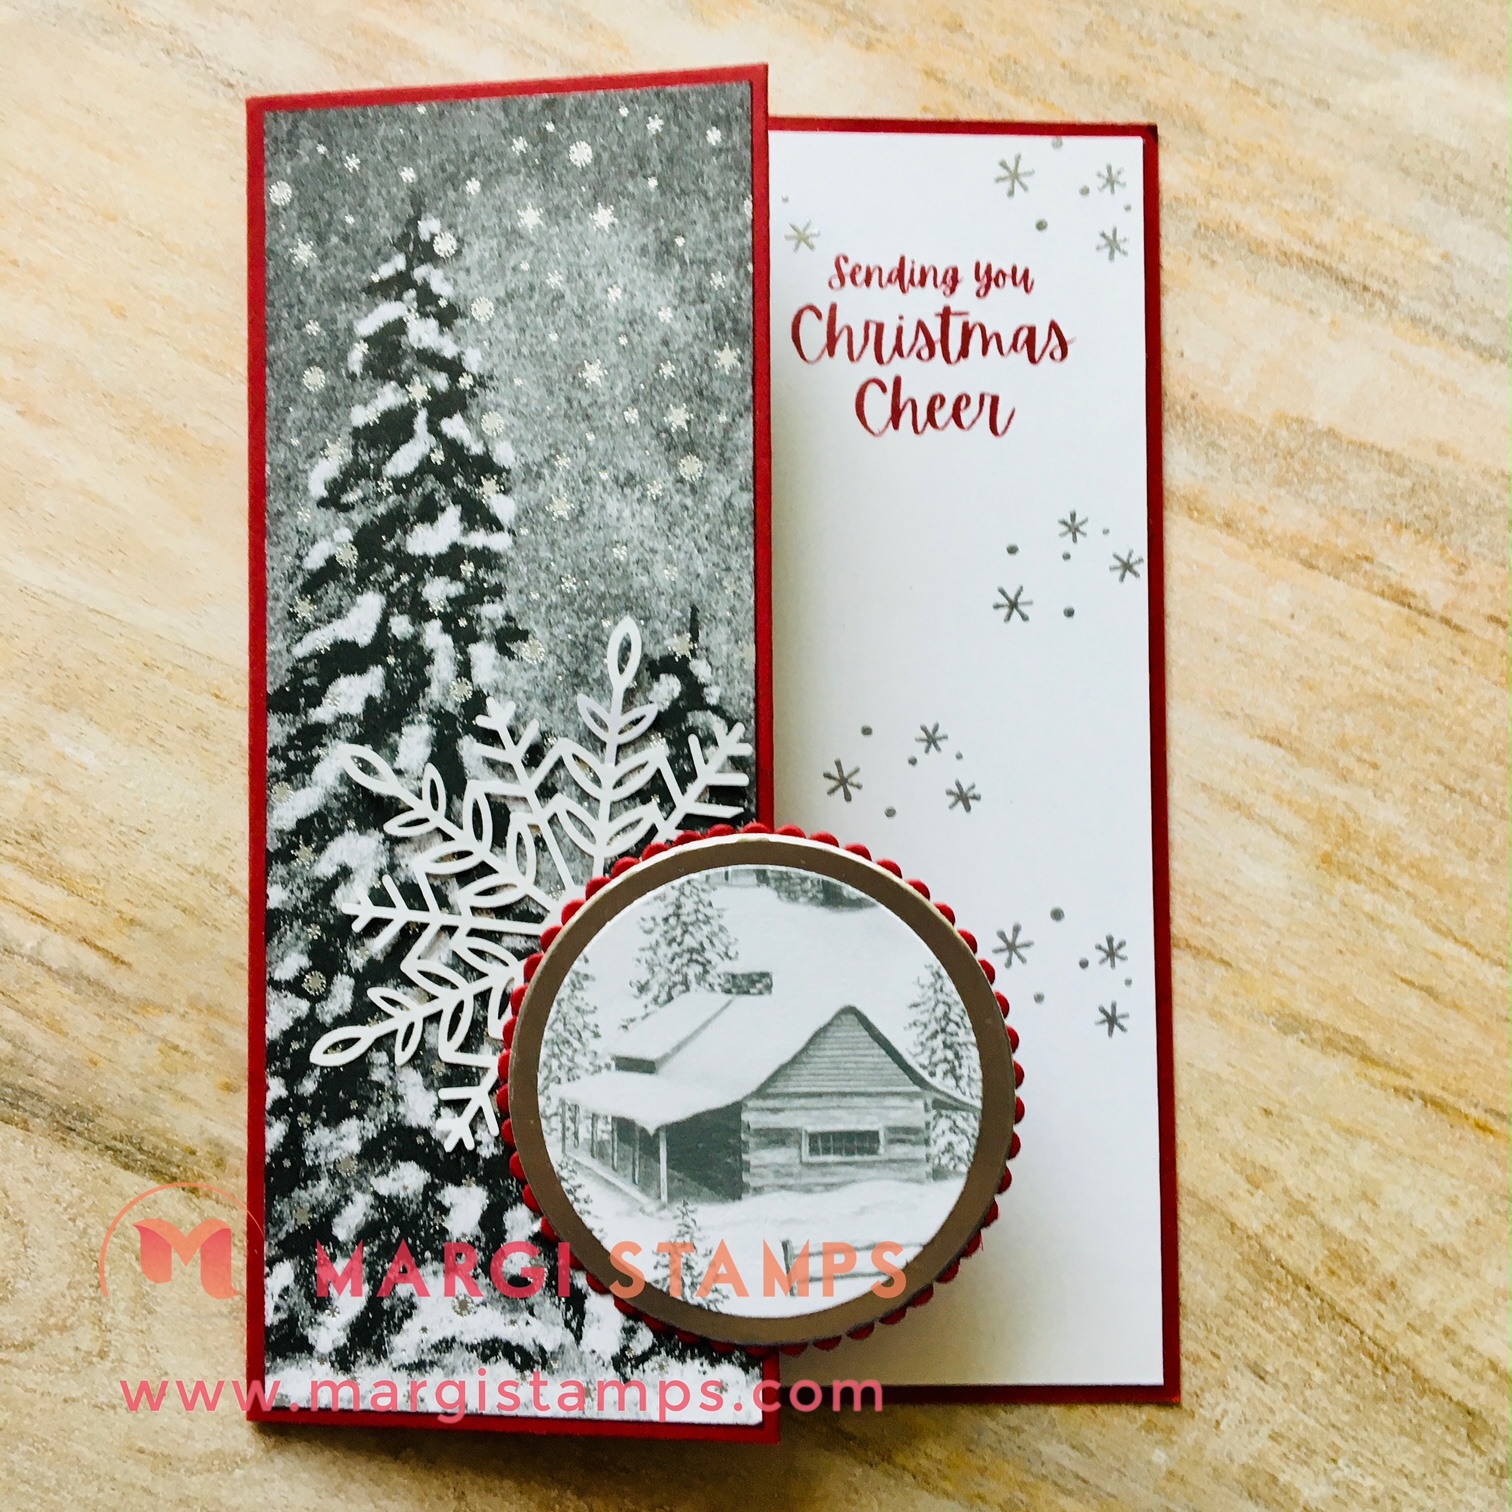
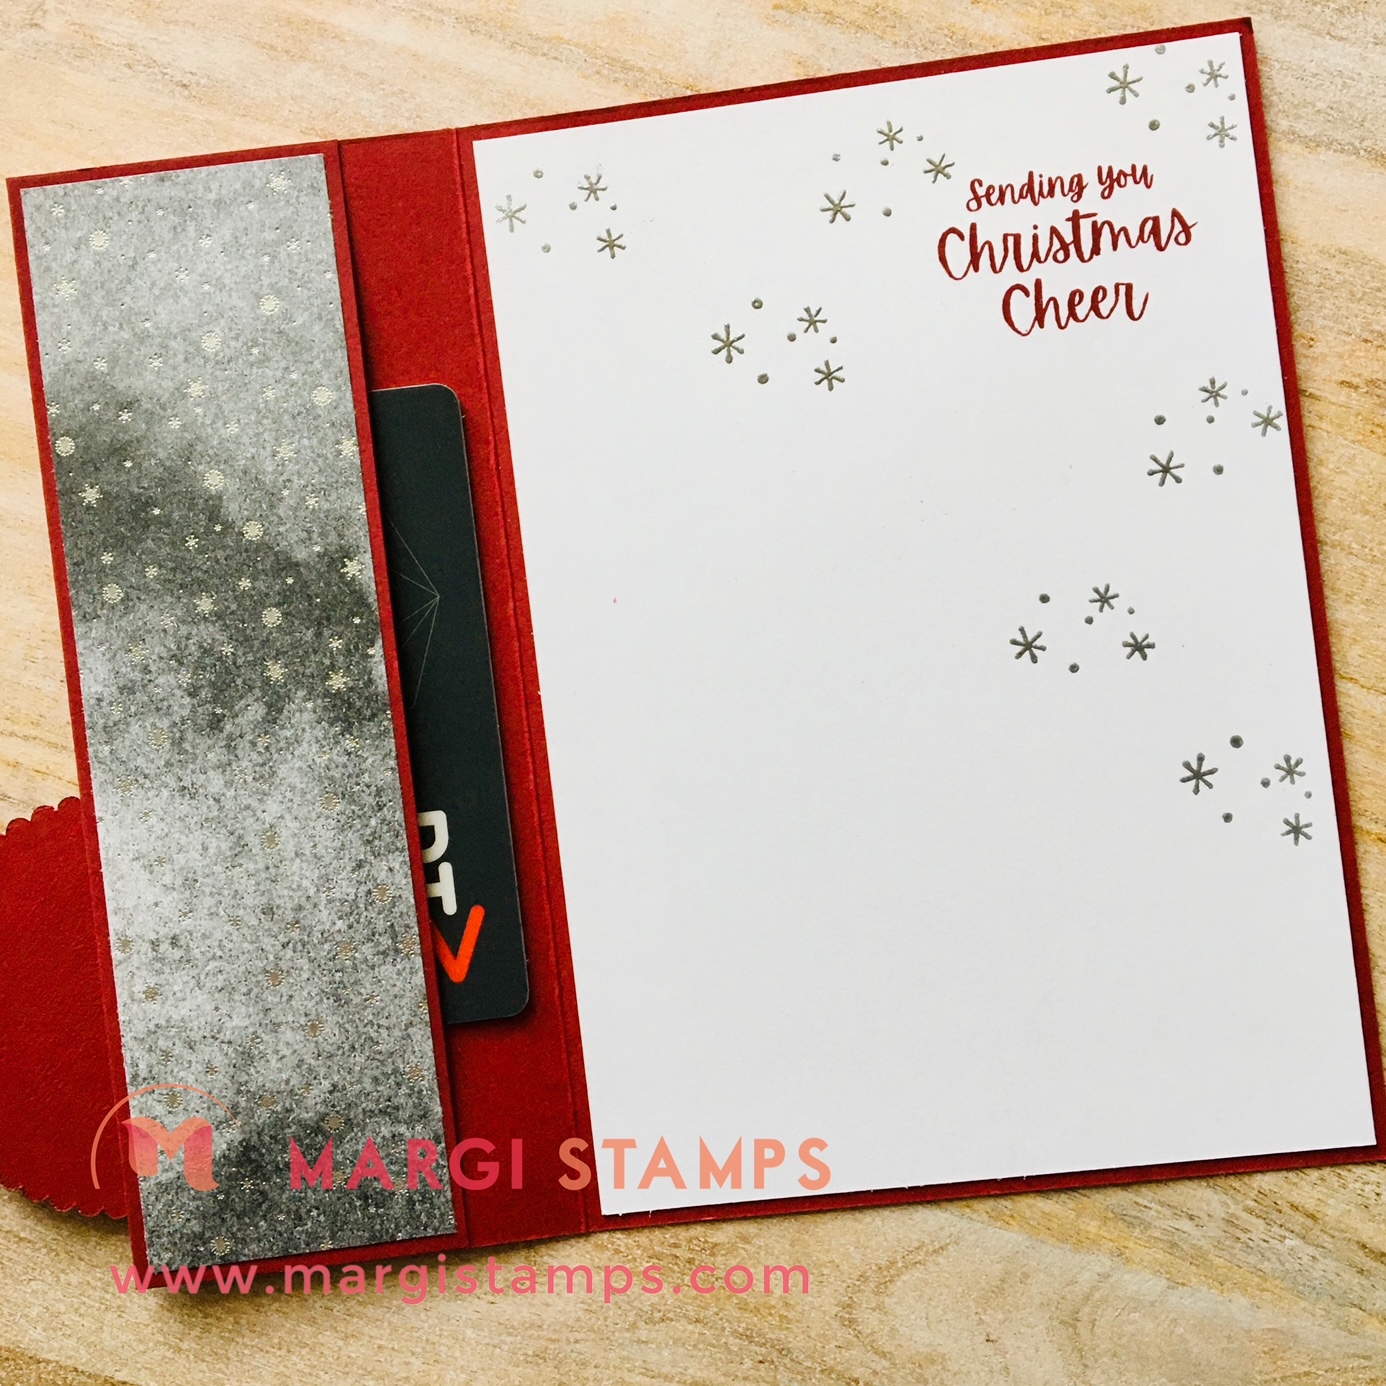
The second example is a gift card holder, perfect for giving at Christmas or any time. You might spot my MYKI card to demonstrate the size of the pocket. One of my fellow Aussie Demonstrators, Heidi Bell, created this brilliant brilliant design which I have tweaked it a little bit.
I used Layering Circles to frame my Peaceful Place Specialty DSP cabin scene, Cherry Cobbler is the pop of colour, Wonderful Snowflakes add the bling to the already silver embossed paper. The little stars on the card insert are silver heat embossed. Once again the greeting is from Words of Cheer Stamp Set.
Words of Cheer Bundle

Creative WOW Tutorial: Here is the October 2021 Sneak Peek
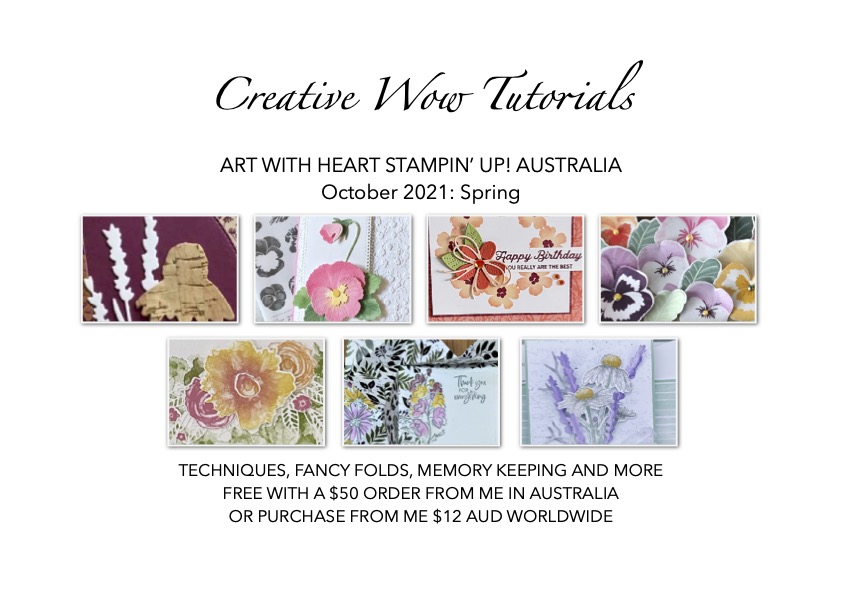
Can you spot my contribution this month?
This selection of Tutorials is based around our Flower, Spring and our gorgeous creations.
There are stunning designs and many different ideas, from standard cards, fancy folds, 3D cards, ornaments, and gift packaging.
I have emailed all the Tutorials for the previous months. As the files are quite large, please let me know if you have not received your copy. Please be in touch if you would like to purchase back copies of previous Tutorials or, this current Tutorial.
Join my Team:
Join just for yourself to get a discount, and/or build a business, be part of my team and meet friends who love to craft. The choice is yours, and I’m only too happy to chat with you OR, you might like to hop on over to my JOINING PAGE
Here’s a quick look at the offer!
- Choose $235 product for a $169 spend ($66 for FREE) from our current Catalogues.
- FREE Shipping
- FREE Business Kit, including current catalogues.
- And the opportunity to order from any existing catalogue at 20% discount.
Join my Classes:
Please contact me if you would like to join my paper-crafting classes. I run several class groups. You might like to arrange a private class for you and your friends, or you might like to join my online/virtual class with prepared class kits and PDF/web Tutorials.
Please chat to me about your ideas or queries.
Have Fun Crafting. Enjoy the samples and your own wonderful creativity.
- Facebook page is:
https://www.facebook.com/margistamps/ - Pinterest site is:
https://www.pinterest.com.au/margisank/ - Stampin’ Up! 24/7 Online Store is HERE
- My Stampin’ Up! website is HERE
- Click HERE for My Blog Website homepage:
http://www.margistamps.com/
……… till next time, stay safe, have fun!
![]()
LOVE IT. LIVE IT. SHARE IT.

