
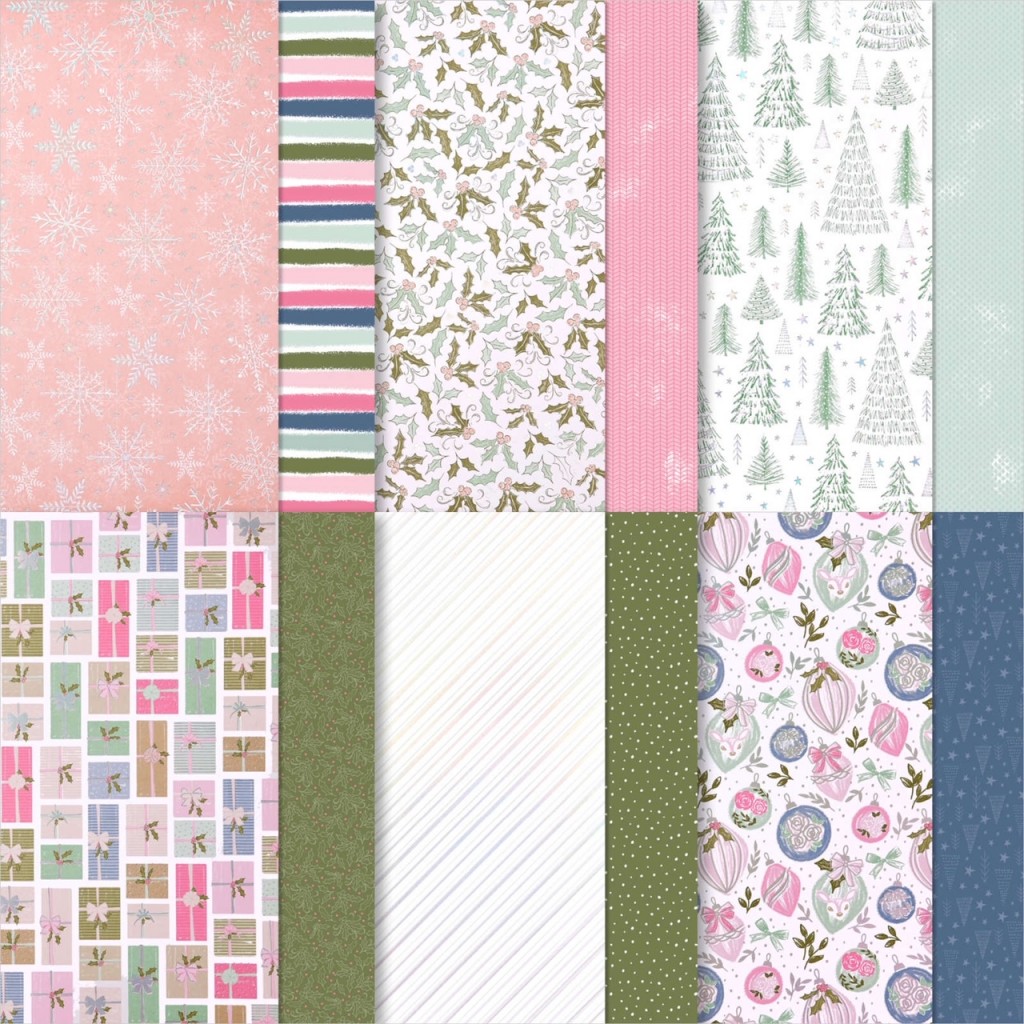
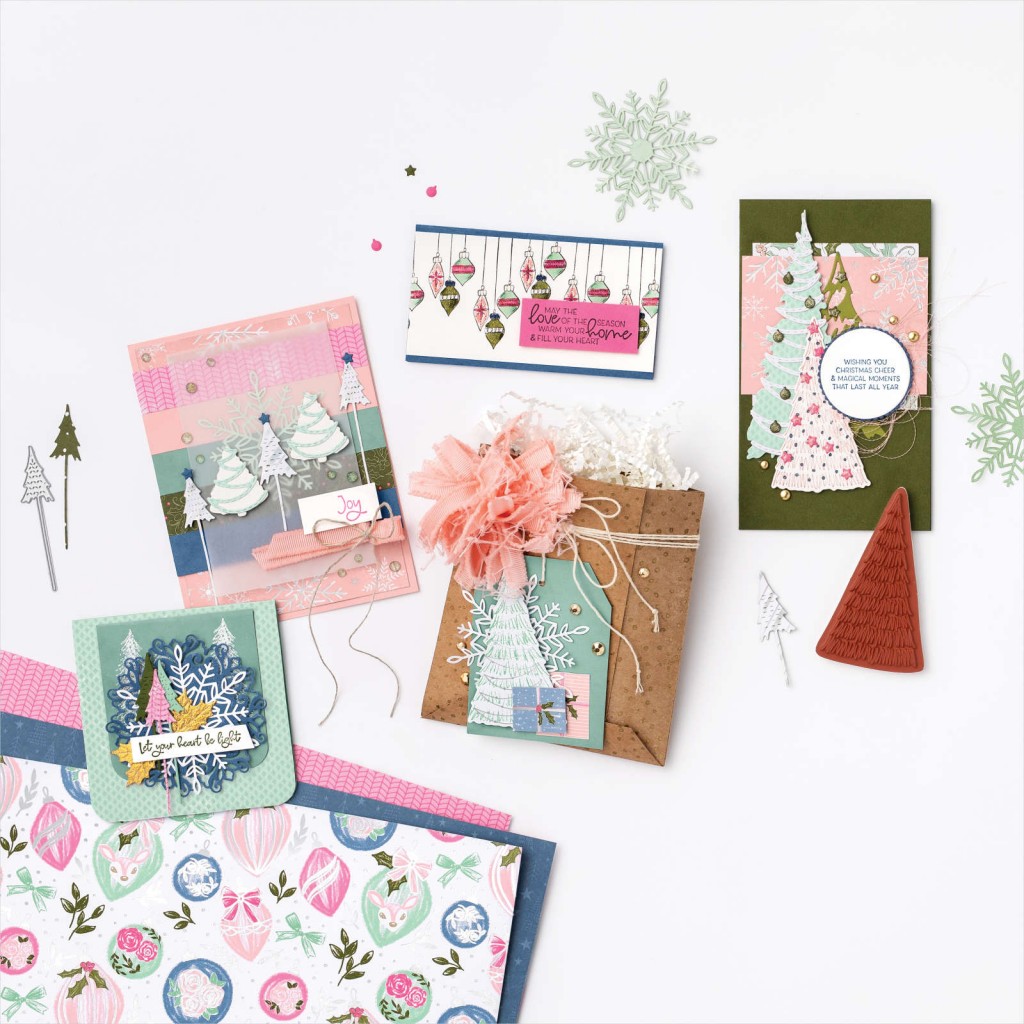
Whimsical Trees Bundle and Whimsy & Wonder Specialty Designer Paper by Stampin’ Up! give a totally different look to our more traditional Christmas trees and colours. In Whimsy & Wonder Paper we have pinks, blues and soft greens, highlighted with iridescent foil; they are indeed whimsical, as are the magical Christmas trees. We are pairing these products with Blushing Bride Frayed Grosgrain Ribbon, another product from Whimsy & Wonder Suite. All of these items are available in the July-December 2021 Mini Catalogue.
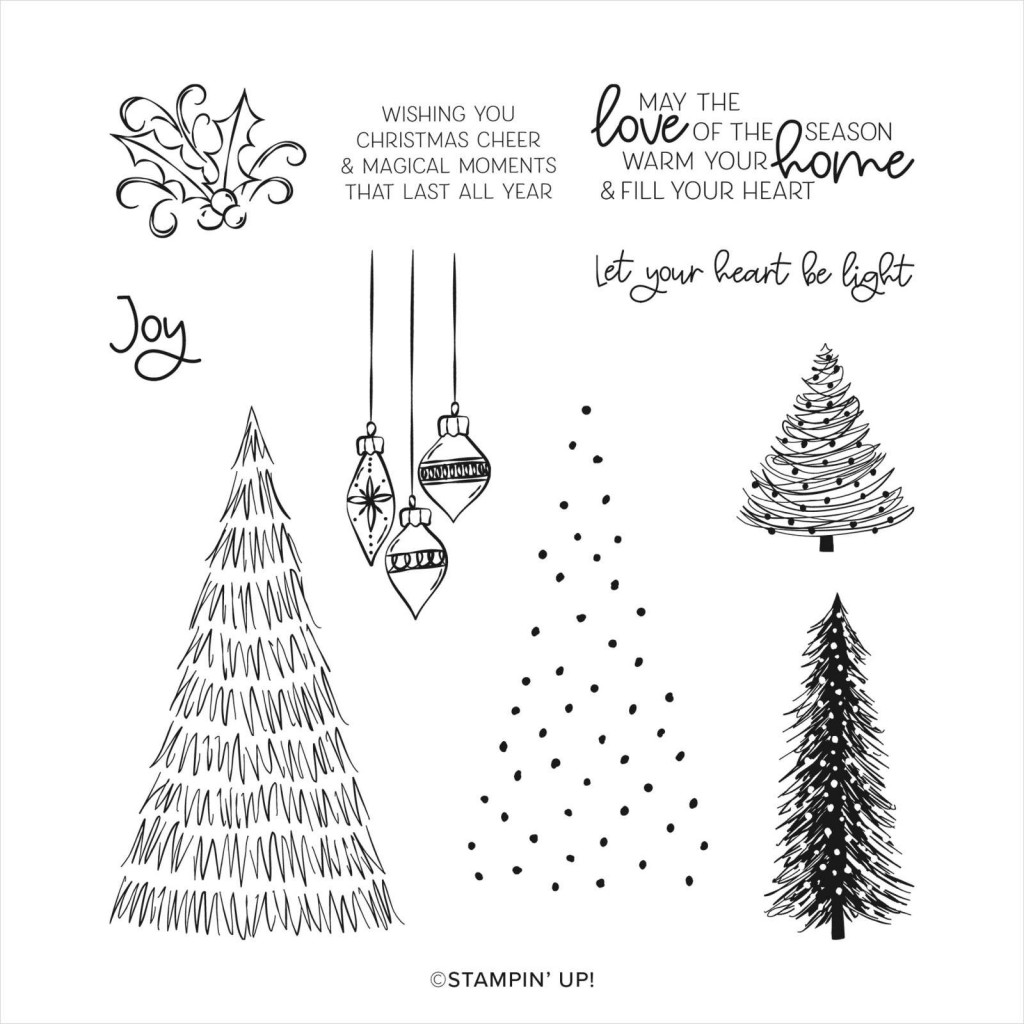
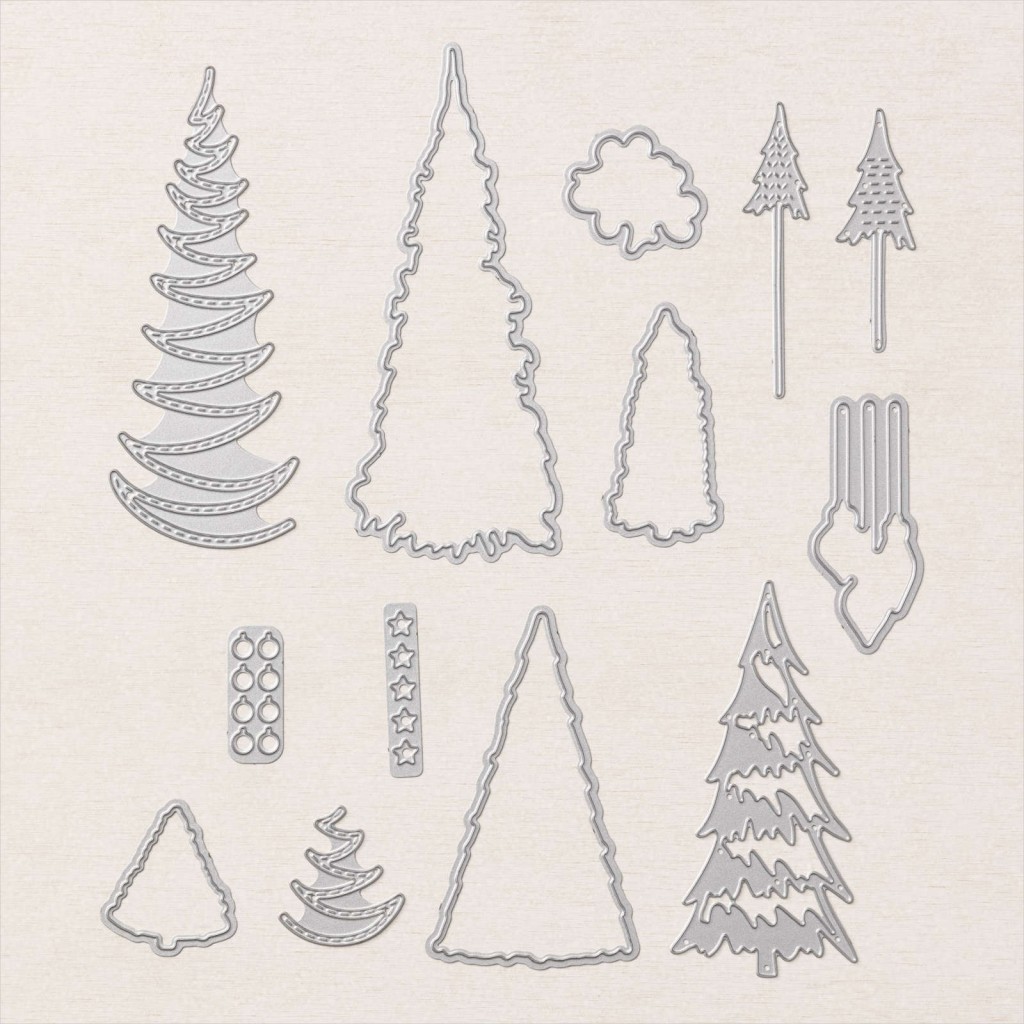
Whimsical Trees Bundle by Stampin’ Up!
Here’s the Bundle – Perfect for Christmas Cards
And HERE is the link in my 24/7 Online Store
Whimsy & Wonder Specialty Designer Series Paper
Whimsy & Wonder Suite – Examples
You might want to pop back to my previous Whimsy & Wonder blog HERE.
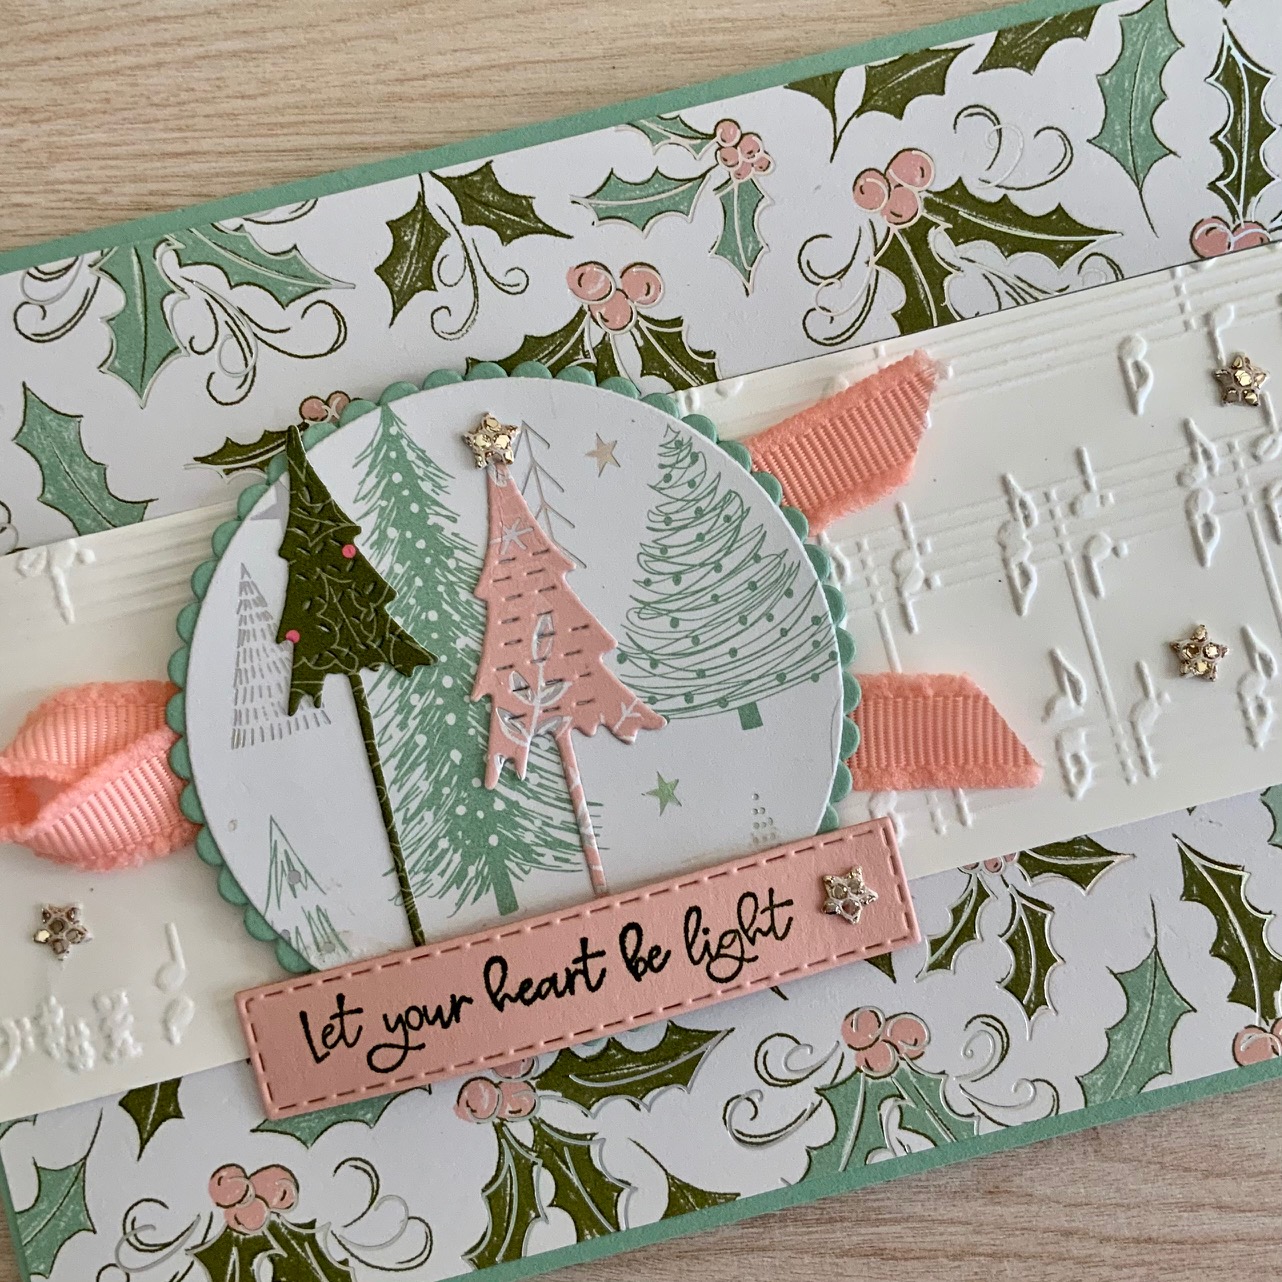
Whimsical Trees Card with Whimsy & Wonder SDSP and Merry Melody 3D Embossing Folder
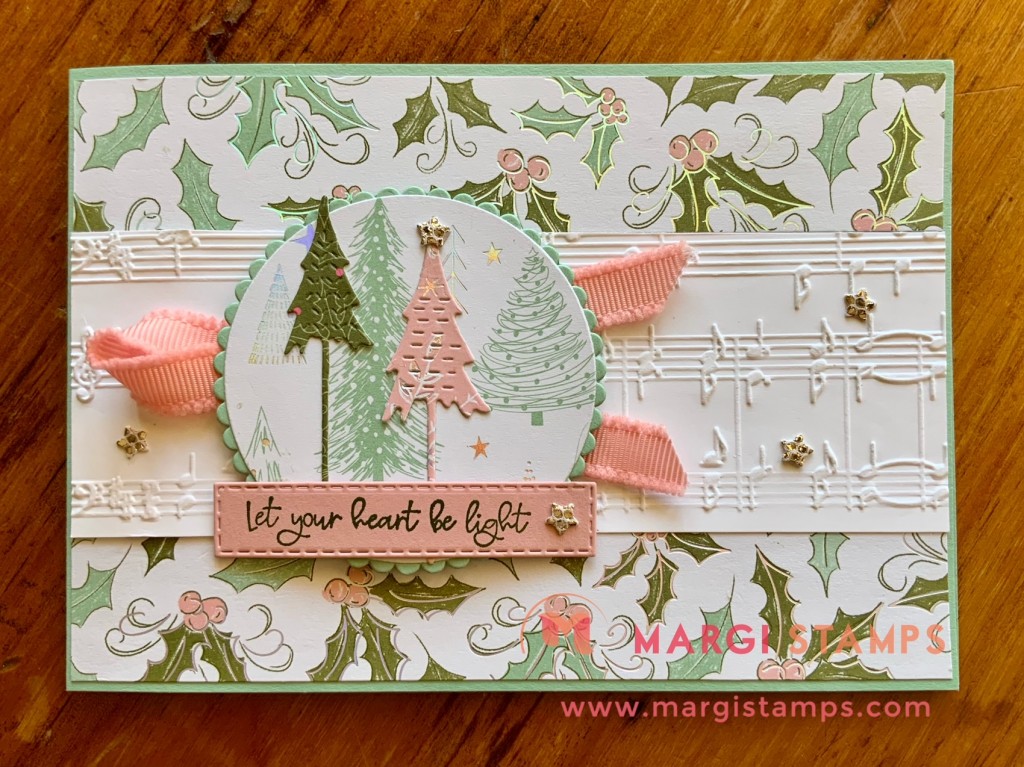
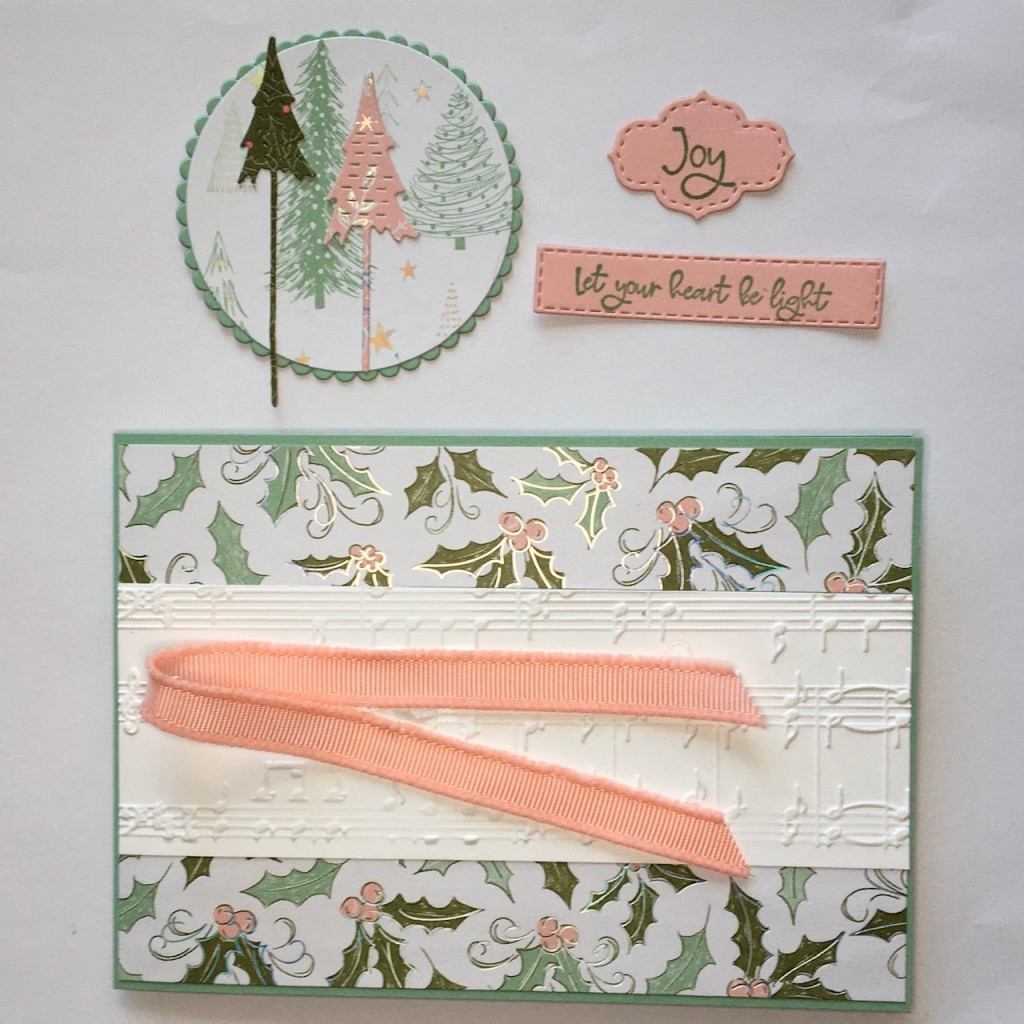
We are using Whimsical Trees Bundle, paired with Whimsy & Wonder Specialty Designer Series Paper, Blushing Bride Frayed Grosgrain Ribbon (all on Page 25 of the Mini Catalogue) and Merry Melody 3D Embossing Folder MC- P42) to highlight and provide a textured contrast to the iridescent foiled Whimsy & Wonder Paper. The little stars are die cut from Be Dazzling Specialty Paper. It is one the FREE Sale-a-Bration products (with qualifying order).
This design is perfect for our Online and Click & Collect class as well as In person, when we can get together.
The paper is a stand-out and perfect for our classes and making cards There are heaps of possibilities; from beginner to avid crafter. We have used the Paper, its images and fresh colours for the card front and to highlight the insert. Many of the images can be die cut. However, in this card, the trees are die cut from the reverse side of the paper to add contrast to the ‘circle’ of DSP trees. We are using two Layering Circles to frame our trees.
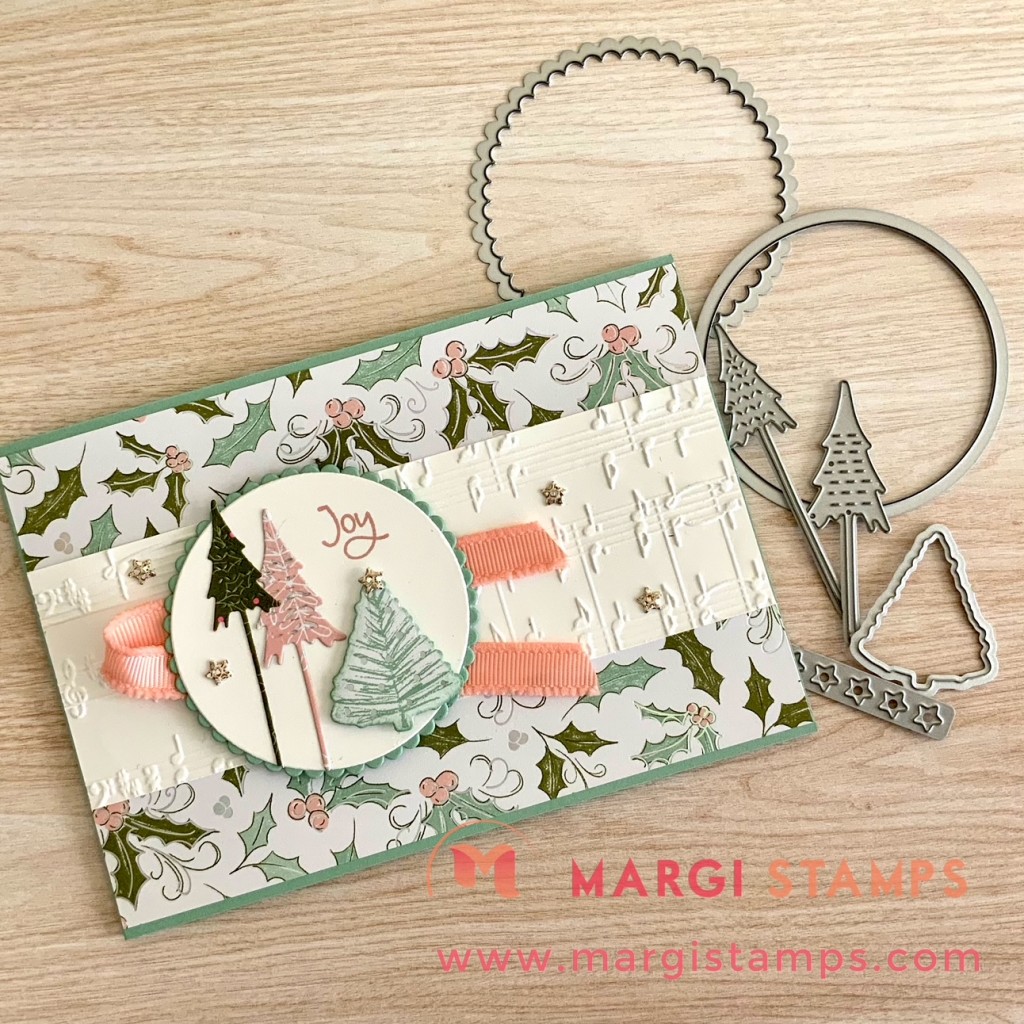
Here is an alternate idea for the card. I cut one of the trees from the DSP, paired it with the Whimsical die cut trees, and adhered these to a White circle. You might like to choose a tree from your DSP Tree circle to fussy cut. I’ve included another White circle in your kit, in case you want to try this.
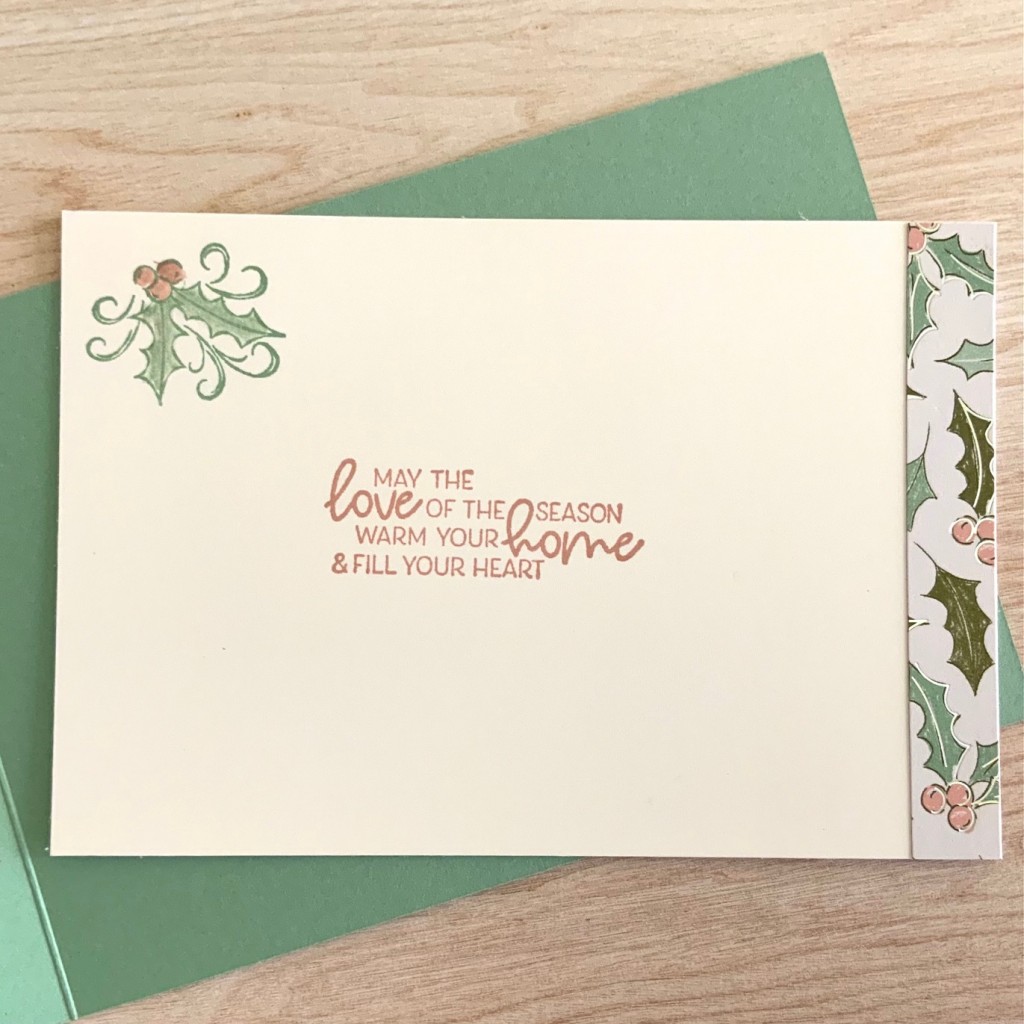
Here is the inside of the card. It is quite a simple design. I’ve used the Foliage stamp, a pretty greeting and a strip of SDSP and few swooshes with Wink of Stella!

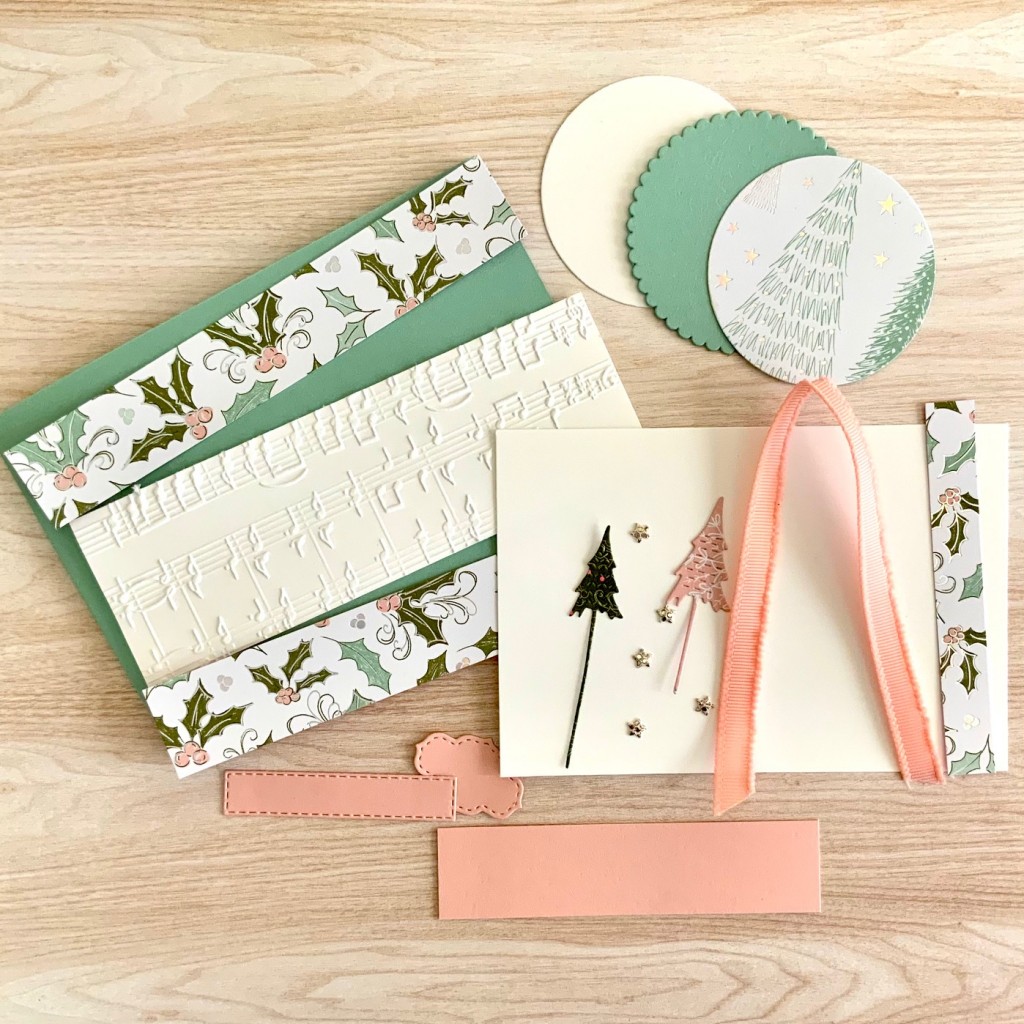
Here are your supplies, measurements, directions & hints
Stampin’ Up! Supplies
HERE is the link to all supplies (& picture) in my 24/7 Online Store.
- Stamp Sets, Dies & Embossing Folders: Whimsical Trees Bundle, Merry Melody 3D Embossing Folder, Layering Circle Dies, Stitched Rectangle Dies.
- Papers: Whimsy & Wonder Specialty DSP, Blushing Bride, Mint Macaron, Basic White card stock, Be Dazzling Specialty Paper (SAB).
- Inks: Blushing Bride, Mint Macaron and Mossy Meadow.
- Embellishments: Blushing Bride Frayed Grosgrain Ribbon, Wink of Stella.
- Tools: Mini Glue Dots, Multipurpose Liquid Glue, Cut & Emboss Machine, Paper Trimmer
Measurements
- Card Base: Mint Macaron, 29.7 x 10.5 cm scored in half at 14.85 cm.
- Card Insert: Basic White 13.9 x 9.5 cm, Whimsy & Wonder SDSP 9.5 x 1.3 cm.
- Card Front: Merry Melody embossed panel, Basic White 14.6 x 5 cm and SDSP, Whimsy & Wonder 2 of 14.6 x 2.6 cm
- Greeting Layer: there are three options for you. One plain piece of Blushing Bride cardstock and two die cuts; one is a Stitched Rectangle and the other is Stitched So Sweetly die cut. You will be able to choose what works best for your greeting.
- Embellishments: approx. 20 cm Blushing Bride Frayed Grosgrain Ribbon, Be Dazzling Specialty Paper.
Directions & Hints
Here are your class kit supplies, but read on below for preparation directions.
Front of Card
- Adhere your layers to the card front.
- Adhere Tree circle to Mint Macaron scalloped circle,
- Adhere die cut trees to circle, (trim the tree trunks overhanging the circle)
- Tack Ribbon to card front. You may want to trim your Ribbon.
- Stamp your chosen greeting to your greeting layer. I used Mossy Meadow for my greeting. You can see a couple of examples using Whimsical Trees Stamp Set.
- Adhere Circle element to your card front using Mini Dimensionals.
- Adhere Greeting layer
- Adhere Be Dazzling stars
Steps 1-5 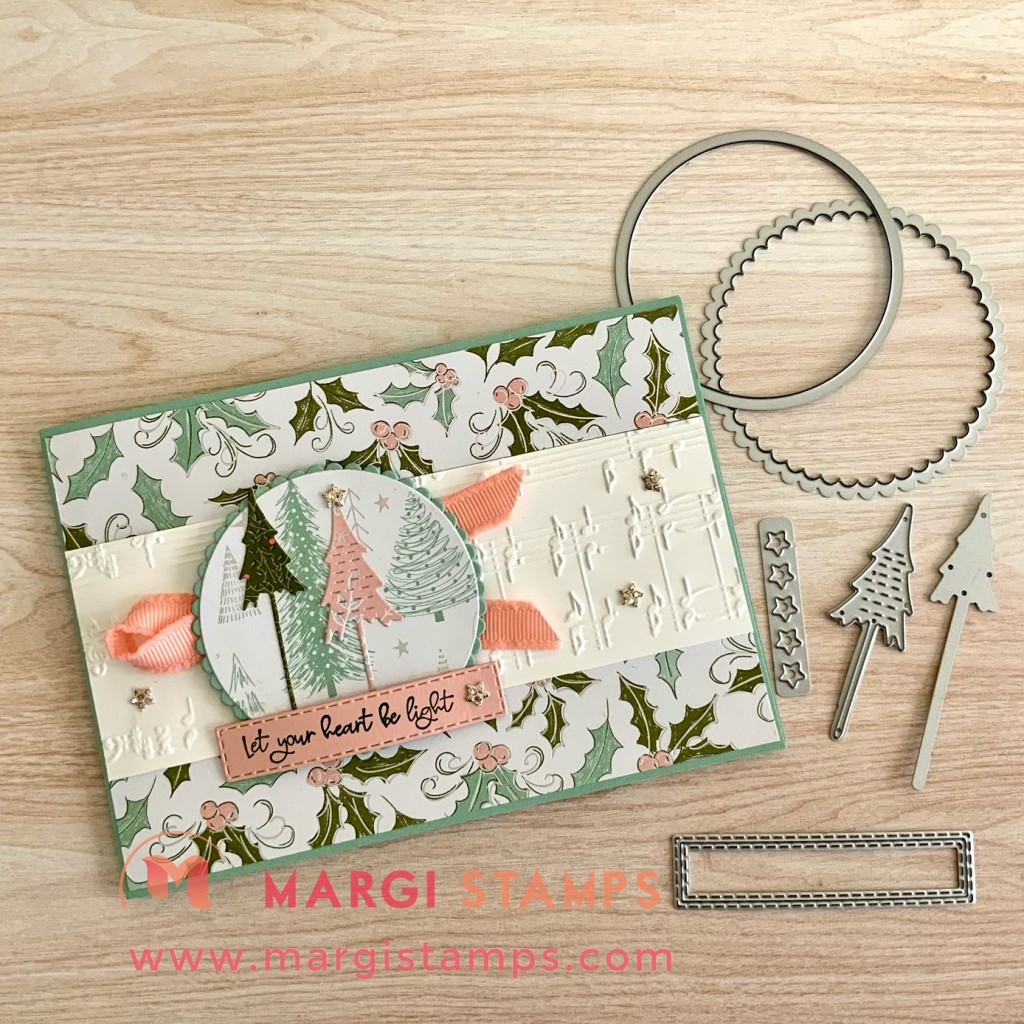
Steps 6-8
Inside of Card
- Adhere SDSP strip to RHS of White insert.
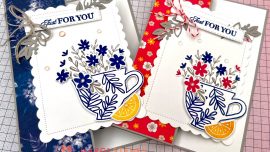
- Stamp decoration and greeting. I stamped the sprig of leaves and holly in Mint Macaron and the greeting in Blushing Bride. I used my Wink of Stella to add some colour and shimmer to the holly leaves and berries; Mint Macaron for the leaves and Blushing Bride for the berries.
- Adhere to card base.
Creative WOW Tutorial: Here is the August Preview
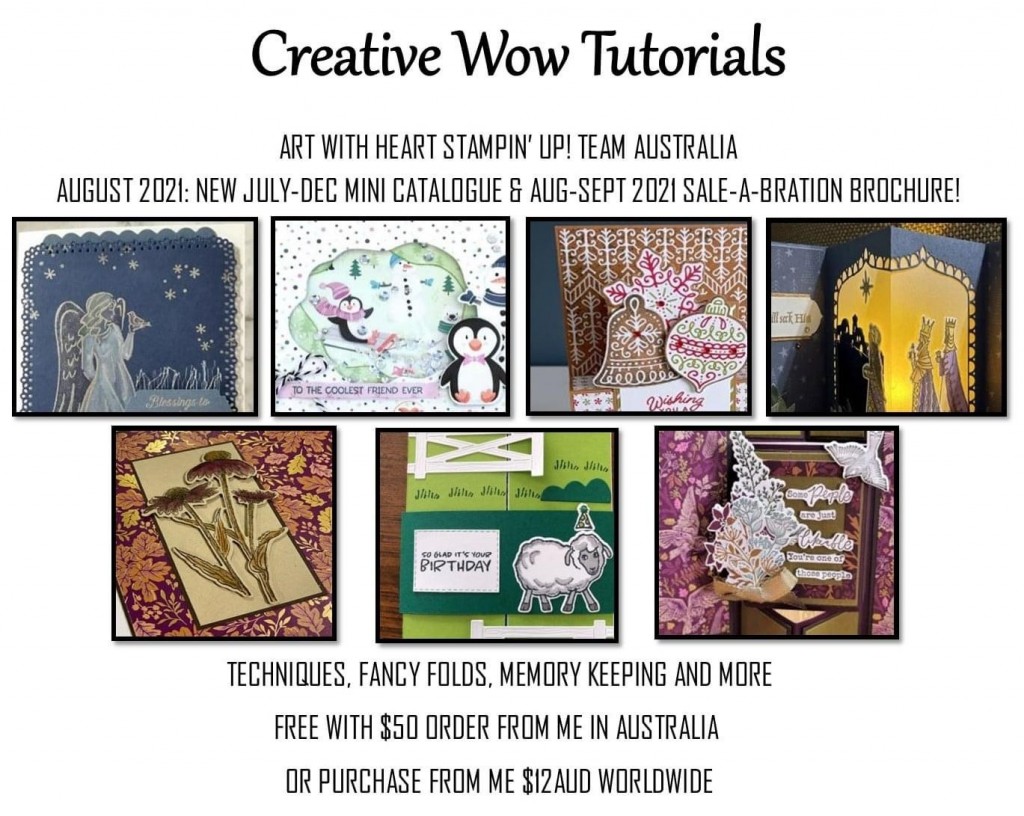
They all look fabulous,; this month is chock full of fabulous ideas and I’m looking forward to sharing with you.
I incorporated the Sale-a-bration Penguin Playmates DSP with Penguin Place Bundle and Diorama Dies to make the cute (& simple) shaker card. All based around dreaming of going to the snow!
Please contact me for your copy of all of these fabulous Tutorials, they are stacked full of great ideas. For those who placed an order in the last month, you should have your July Tutorials, OR, you can purchase any of the monthly additions from me for $12AUD.
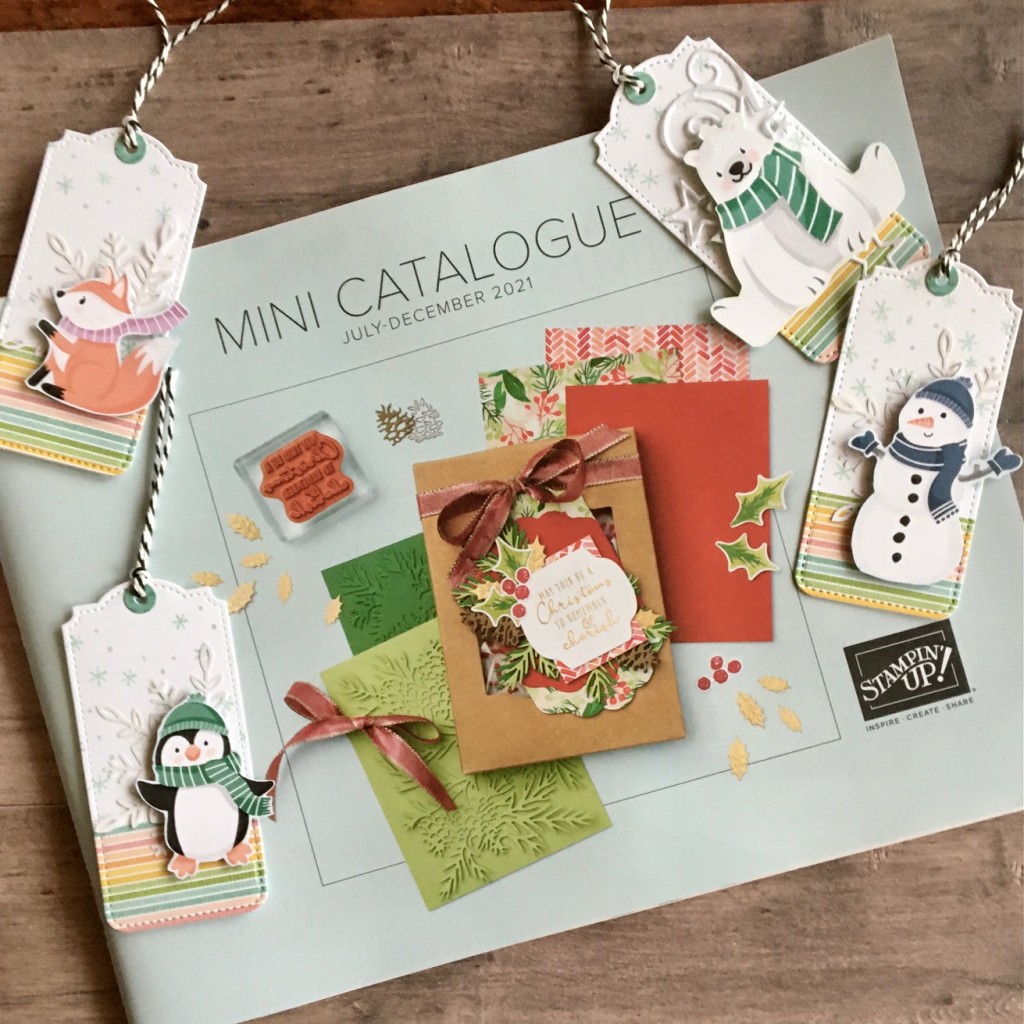
Mini Catalogue
It’s up and running and very exciting. Here is the direct link in my 24/7 Online Store.
If you don’t yet have your paper catalogue, and live in Australia, please reach out to me and I’ll post the Catalogue and Sale-a-Bration Brochure to you.
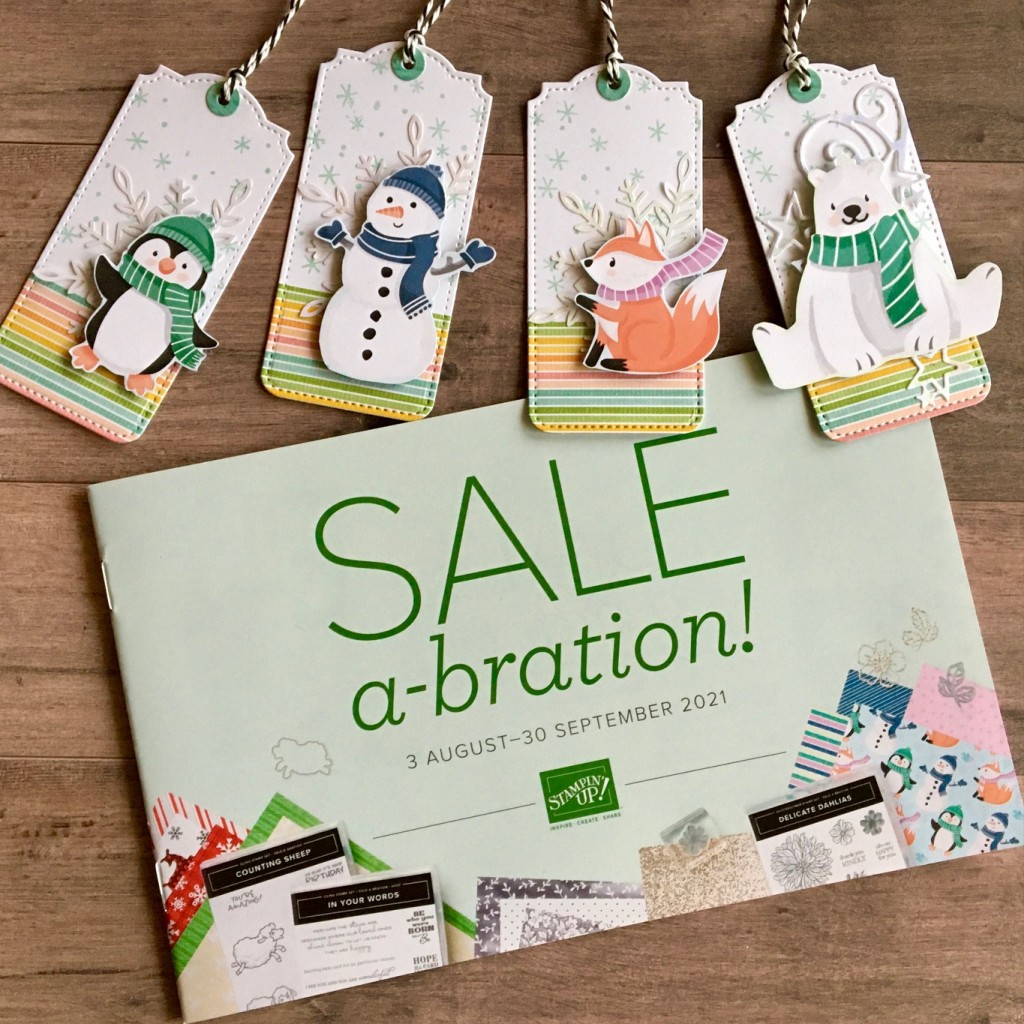
Sale-a-Bration
Sale-a-Bration runs 3 August – 30 September 2021. There are three great extra reasons to celebrate; SHOP, HOST & JOIN
SHOP
How do you earn Sale-A-Bration products? It’s simple! During SAB, any orders you place, $90 or more, will qualify you for free products. For every $90 AUD and $180 AUD you spend, you’ll be able to take your pick of Sale-A-Bration products to add to your order—for free!
HOST
Earn even more free products by hosting a party . Place any party or personal order over $500 and receive the exclusive In Your Words Stamp Set for FREE. It’s included in the SAB photo above!
JOIN
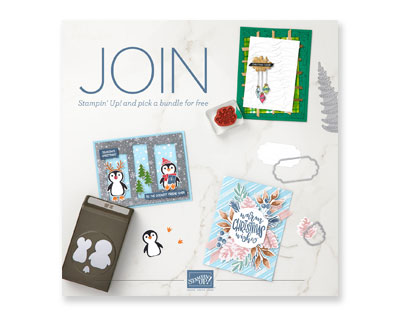
Join just for yourself to get a discount, and/or build a business, be part of my team and meet friends who love to craft. The choice is yours, and I’m only too happy to chat with you OR, you might like to hop on over to my JOINING PAGE
Here’s a quick look at the offer!
- Choose $235 product for a $169 spend ($66 for FREE) (incl. 2021-2022 Annual Catalogue and Mini {Christmas)}Catalogue), PLUS…
- FROM 3 August – 30 September- IN ADDITION, choose your FREE Bundle (valued up to $104.25)
- FREE Shipping
- FREE Business Kit, including current catalogues.
- And the opportunity to order from any existing catalogue at 20% discount.
You might like to pop on over to my blog post, where you can find further information and some general Q & A’s. Here is the link. While the previous promotion has ended the Q & A section addresses general issues.
Join my Classes
Please contact me if you would like to join my paper-crafting classes. I run several class groups. You might like to arrange a private class for you and your friends, or you might like to join my online/virtual class with prepared class kits and directions.
Please chat to me about your ideas or queries.
Have Fun Crafting. Enjoy the samples and your own wonderful creativity.
My business Facebook page is:
https://www.facebook.com/margistamps/
My Pinterest site is:
https://www.pinterest.com.au/margisank/
My Stampin’ Up Online Store is HERE
My Stampin’ Up website is HERE
My blog website is:
http://www.margistamps.com/
……… till next time, stay safe, have fun!
LOVE IT. LIVE IT. SHARE IT.

