

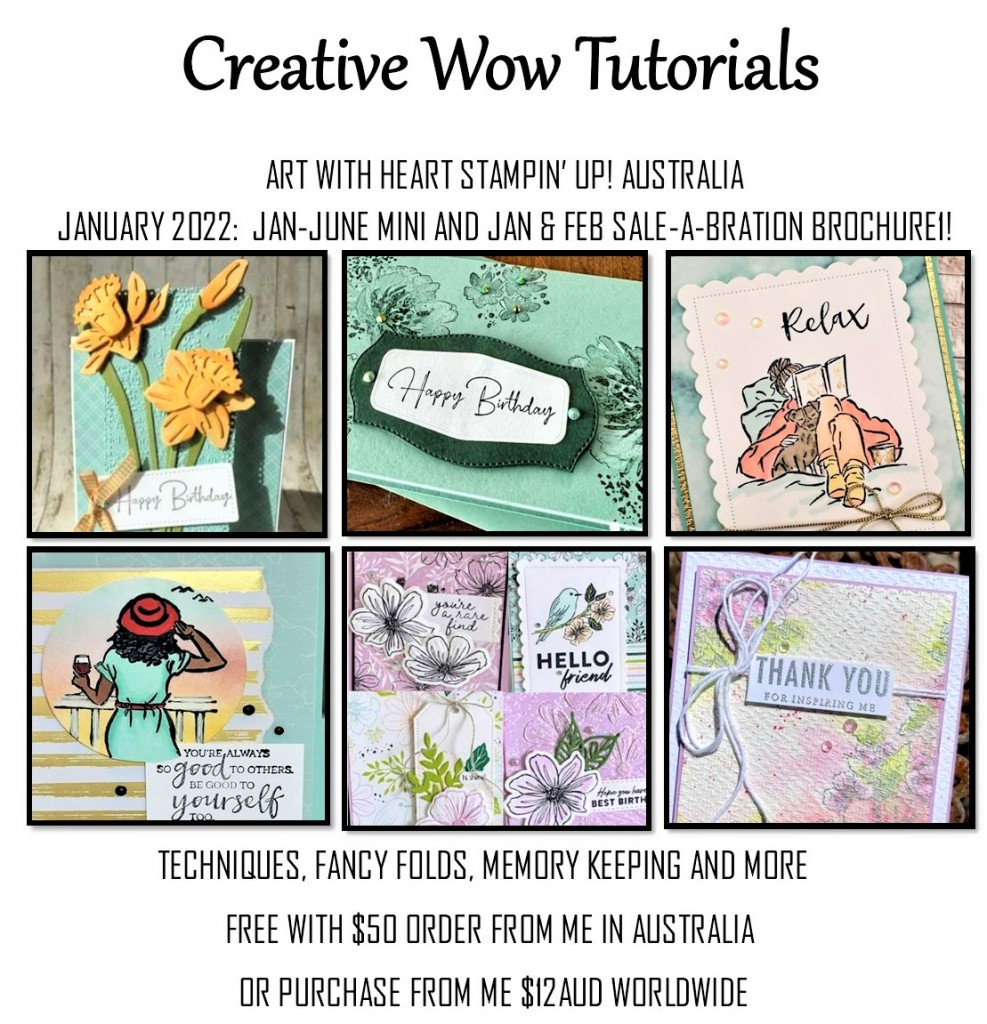
Happy New Year & Welcome to our first Class Kit for 2022.
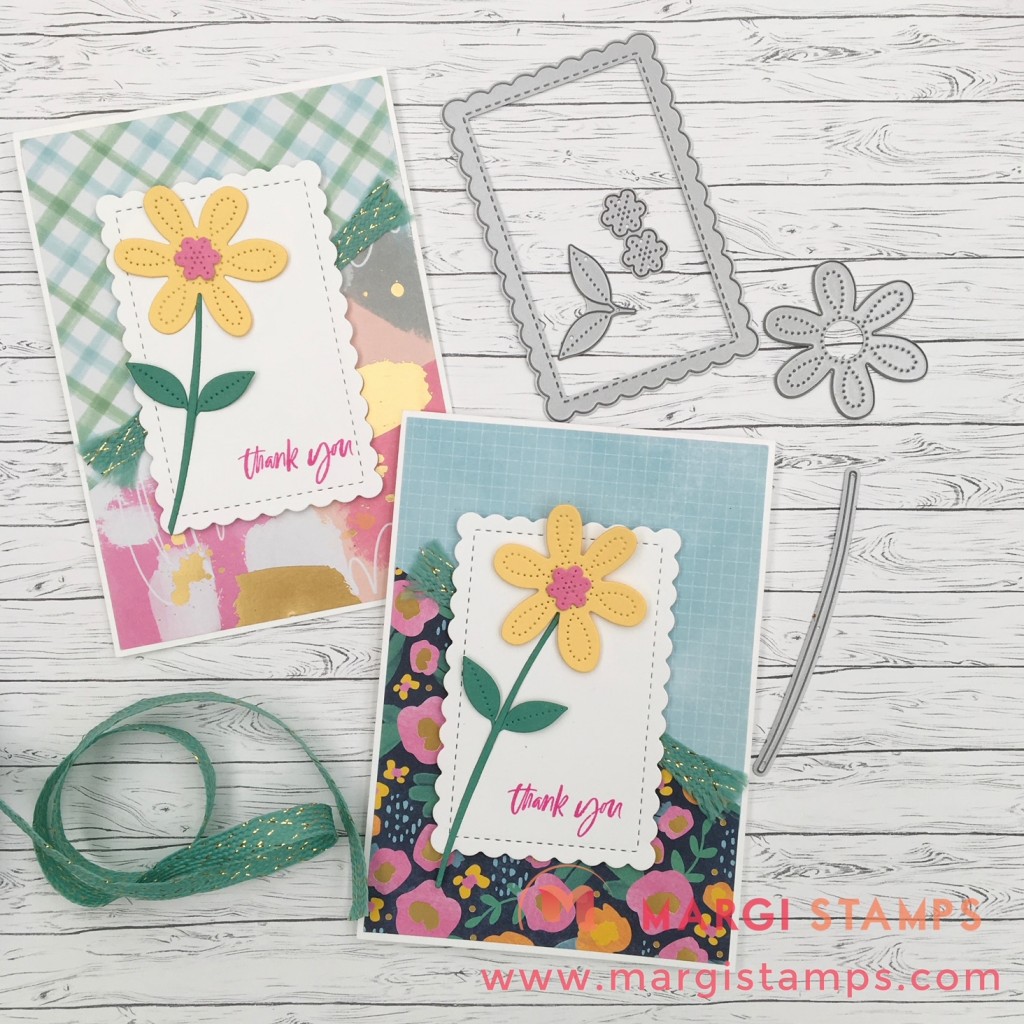
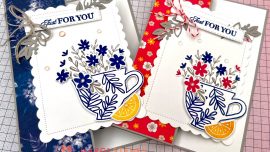
Create your own adventure #1. This is one of the class kits cards for January. The paper is Abstract Beauty Specialty Designer Series Paper. It is a new size of 48 sheets, of 4” x 6”. There are 4 each of 12 double sided designs. Each of the 12 designs has gold highlights on one side. The other side is ‘quieter’.
I have used two different sheets, cut diagonally (for this card design, we cut in pairs! And I’ve done it for you!) The paper in both of my examples is the same, but I have used different sides of the paper for each card.
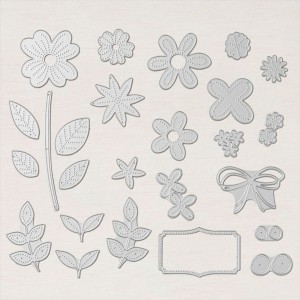
You will be able to choose which you prefer for your card. The dies used are Pierced Blooms and Scalloped Contours. Ribbon is Just Jade & Gold Braided Ribbon, all from the Annual Catalogue.
Read on for more details and Step-by-step Directions.
Abstract Beauty Specialty Paper & Pierced Blooms Card
We will be using the pretty Abstract Beauty Specialty Designer Series Paper, Pierced Blooms and Scalloped Contours Dies.
The inspiration for these cards are designs the new Mini Catalogue and Sale-a-Bration Brochure. There are always fabulous designs in our catalogues!
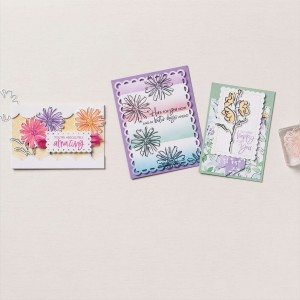
Here are my finished cards.
Let me show you the cards that inspired me. It’s called CASEing the Catty. Copy And Share Everything!
Abstract Beauty (Mini Catalogue p. 48) inspired me with the diagonal cut & ribbon while the flower card on page 15 of the Sale-a-Bration Brochure inspired me with the Pierced Blooms and layout.
Key Ingredients for Abstract Beauty & Pierced Blooms Card
Abstract Beauty Suite
I have used two items from the Abstract Beauty Suite; Abstract Beauty Specialty Designer Series Paper and Hello Beautiful Bundle.
HERE is the link to Abstract Beauty Specialty DSP
HERE is the link to Hello Beautiful Bundle
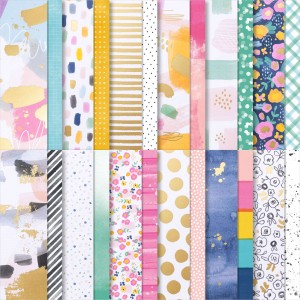
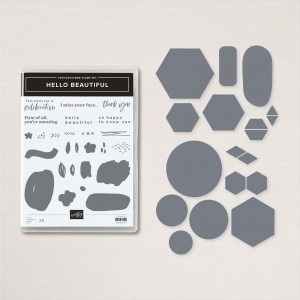
The paper is stunning as one side is foiled with gold while the other is ‘quieter’. We are using two sheets from the pack, cut on the diagonal and in pairs. You cut both at the same time, layered up as they will appear on the card (one gold facing up and one neutral facing up. The DSP will then lay up correctly on your card front. You can flip the paper to achieve a totally different look. I have cut all the paper for the kits!.
Scalloped Contours Dies
These dies are one of my go-to sets to add a bit of flair. They are part of Color & Contour Bundle I will use one of the flower images for the inside of the card.
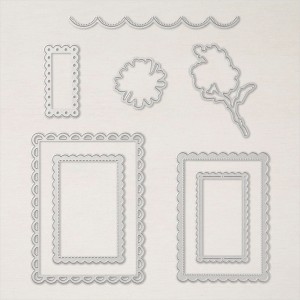
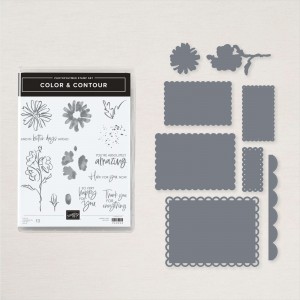
HERE is the link to Color & Contour Bundle in my 24/7 Online Store
Pierced Blooms Dies
These dies are also a favourite. The add different textures to the beautiful gold foiled abstract paper.
HERE is the product link in my 24/7 Online Store
Abstract Beauty Specialty Paper & Pierced Blooms Card Kit, Supplies & Directions
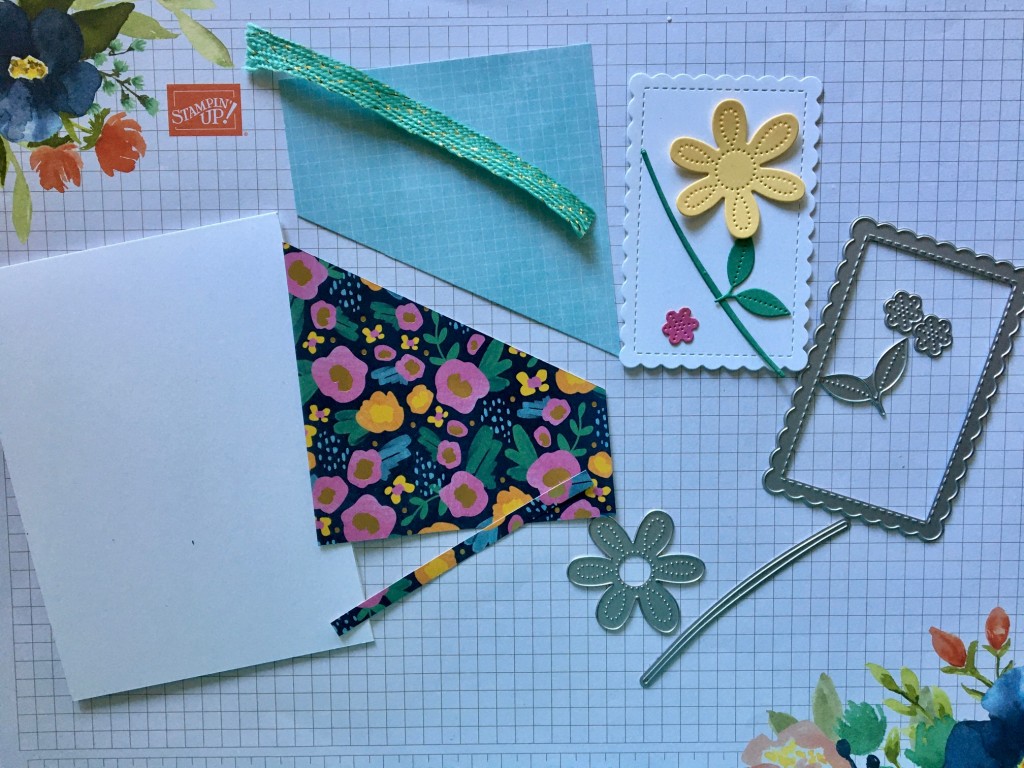
Here is your class kit.
Supplies
- Stamp Sets, Dies & Embossing Folders: Hello Beautiful Stamp Set, Color & Contour Bundle, Pierced Blooms Dies
- Papers: Abstract Beauty Specialty Designer Series Paper, Basic White, Basic White Thick, Just Jade and So Saffron Cardstock.
- Inks: Just Jade, Magenta Madness, So Saffron
- Other: Just Jade & Gold Ribbon, Multipurpose Liquid Glue, Tear & Tape, Dimensionals, Take Your Pick Tool, Trimmer, Cut & Emboss Machine.
HERE is the link to all products used.
Dimensions
- Card Base: Basic White Thick, 29.7 x 10.5 cm scored in half at 14.85cm
- Layering DSP: two complimentary patterns of Abstract Beauty Specialty DSP, 14.6 x10.1 cm (5 3/4″ x 4″) (this is enough for two cards)
- Scraps of DSP and Basic White, Just Jade and So Saffron cardstock
- Other: Just Jade & Gold Ribbon
Step by Step Directions
- Burnish card base
- Adhere more ‘neutral’ side of DSP to top of card base. These are the options.

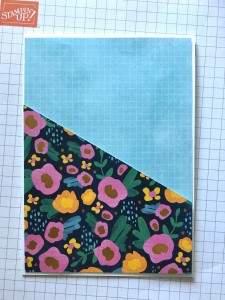
- Adhere ‘gold foiled’ DSP to bottom of card base. There will be a slight overlap.
- Adhere Just Jade & Gold Ribbon along diagonal line. I used Tear & Tape adhesive for a strong bond.
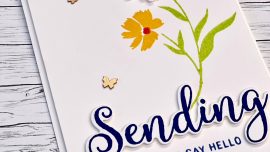
- Stamp chosen greeting on Scalloped Contour die-cut layer. I stamped a greeting from the Hello Beautiful Stamp Set in Magenta Madness Ink.
- Adhere flower centre to flower. (The flower centre is die-cut from the Abstract Beauty SDSP.)
- Position stem, leaves and flower on Basic White layer, then adhere with a combination of Multipurpose Liquid Glue and Mini Dimensionals. I adhered all elements with glue on the LHS card, but popped dimensionals under the flower on RHS card.
- Adhere this completed Basic White layer with Dimensionals.
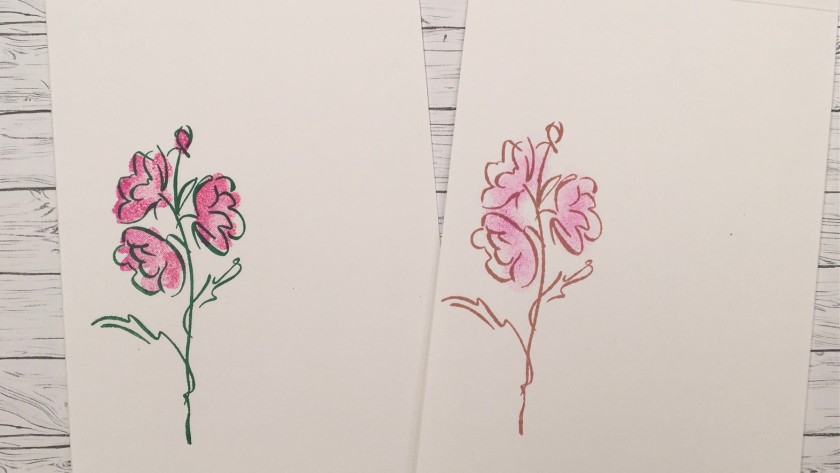
- Stamp chosen greeting and decoration on the inside of the card. I have used different colour combinations; one is quieter than the other.
Creative WOW Tutorial: Here is the January Sneak Peek
Join My Team – Sale-a-Bration
Join just for yourself to get a discount, and/or build a business, be part of my team and meet friends who love to craft. The choice is yours, and I’m only too happy to chat with you OR, you might like to hop on over to my JOINING PAGE.
Here’s a quick look at the offer!
* NOW-Choose $235 product for a $169 spend ($66 for FREE) (incl. January-June 2022 Mini Catalogue)
* From January 4, choose an additional TWO FREE stamp sets form any current catalogue
* FREE Shipping
* FREE Business Kit, including current catalogues.
* And the opportunity to order from any existing catalogue at 20% discount.
Join My Classes
Please contact me if you would like to join my paper-crafting classes. I run several class groups. You might like to arrange a private class for you and your friends, or you might like to join my online/virtual class with prepared class kits and PDF Tutorials.
Please chat to me about your ideas or queries.
Have Fun Crafting. Enjoy the samples and your own wonderful creativity.
My business Facebook page is HERE
My Pinterest site is HERE:
My Stampin’ Up Online Store is HERE
My Stampin’ Up website is HERE
My blog website is HERE:
……… till next time, stay safe, have fun!
![]()
LOVE IT. LIVE IT. SHARE IT.
