
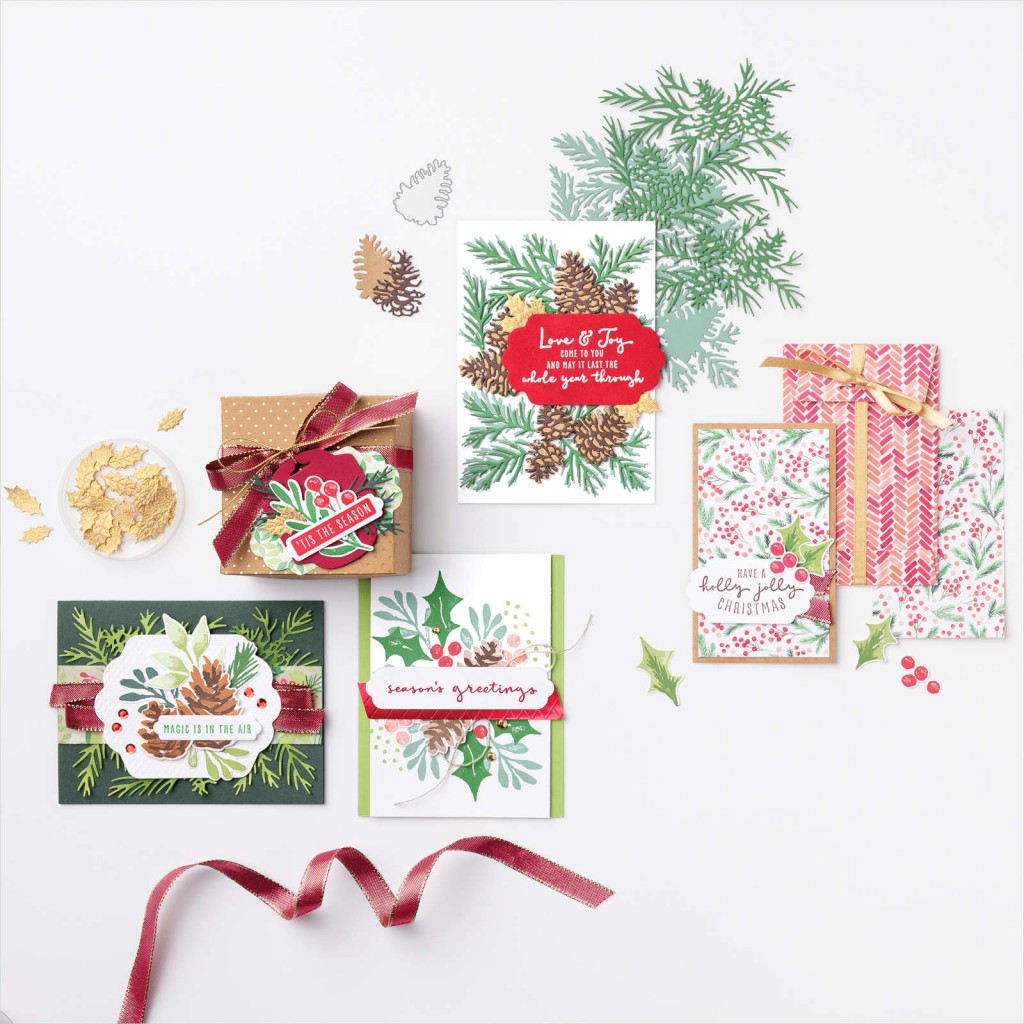
Showcasing Merriest Moments Bundle & Painted Christmas Paper by Stampin’ Up!. The Bundle is versatile and a dream to use. The Paper is bright and cheery and perfect for our Aussie Christmas. Merriest Moments Bundle can be the star of the show or the supporting act to our Painted Christmas Designer Series Paper.
Please read on for directions for three cards designed for Beginner, Casual and Avid crafters.
Merriest Moments Bundle by Stampin’ Up!

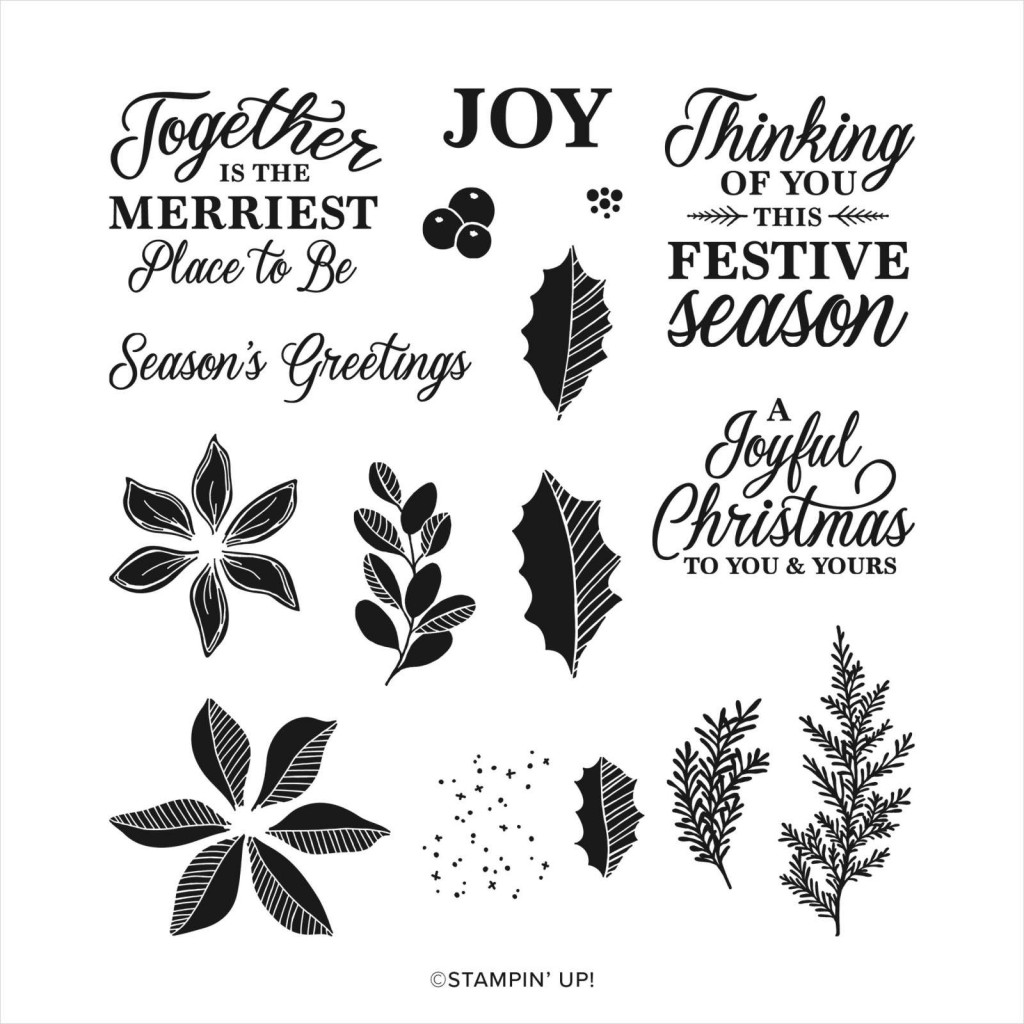
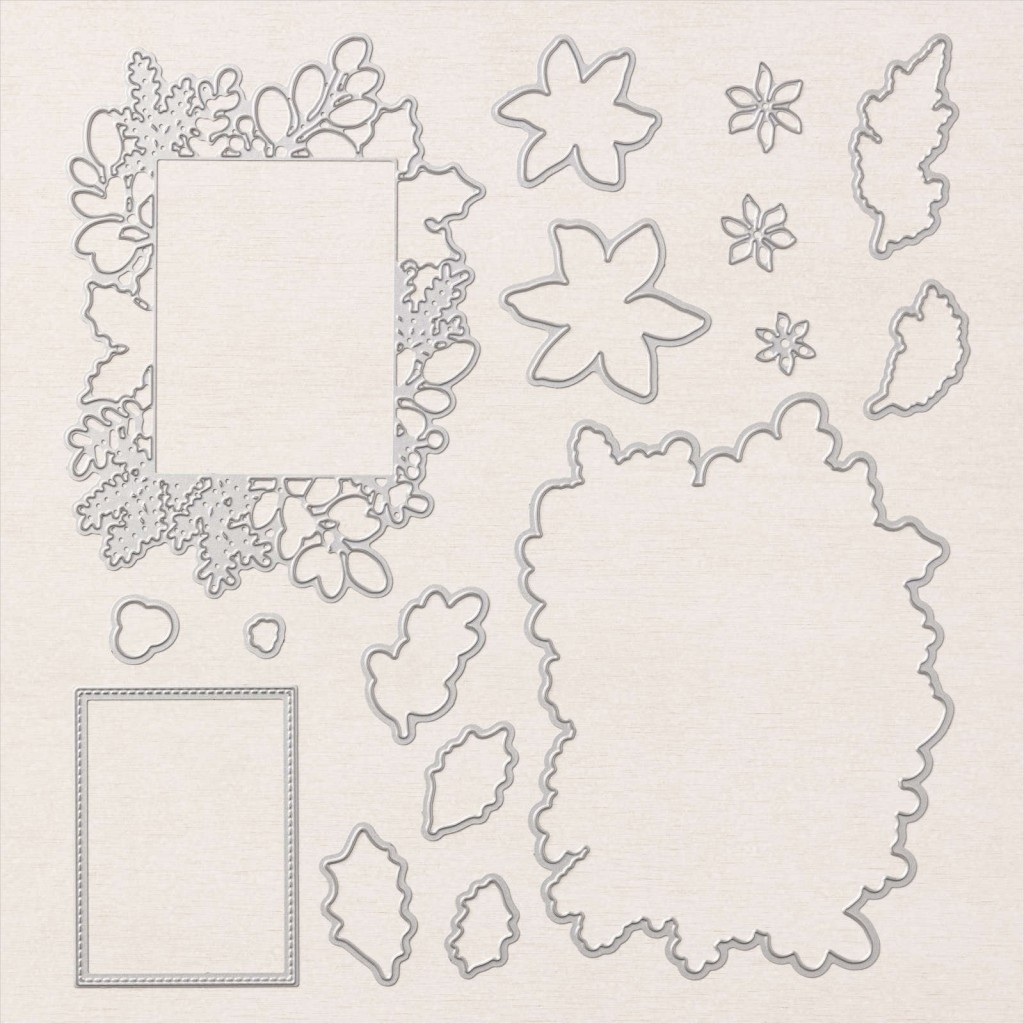
The Merriest Moments Bundle includes the Merriest Moments Stamp Set and Merriest Frames Hybrid Embossing Folder which also includes Merriest Frames Dies.
HERE is the direct link to the product in my 24/7 Online Store
MERRIEST MOMENTS PHOTOPOLYMER STAMP SET (10% off)
Send your loved ones some Christmas Cheer and create wonderful Christmas cards using the Merriest Moments Stamp Set. With this set you can create your very own Christmas bouquet . . . on paper!
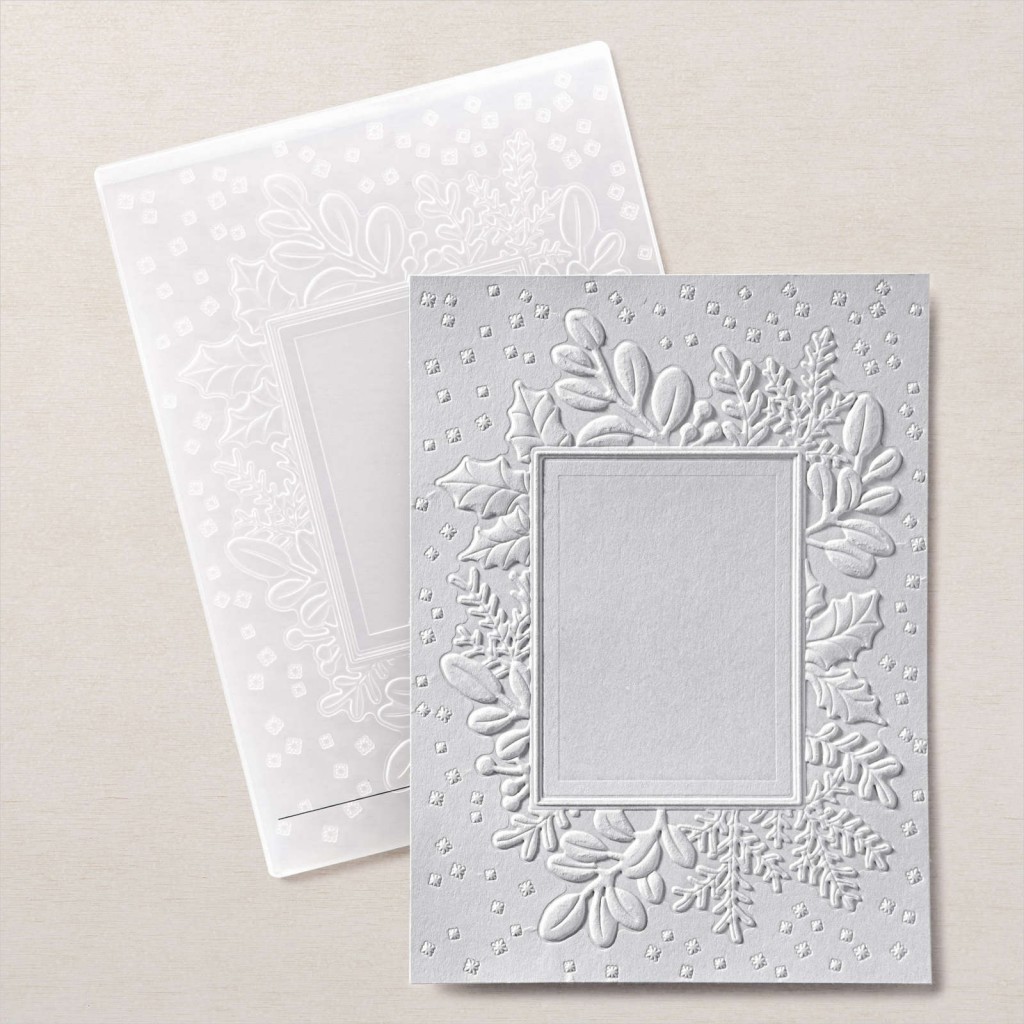
MERRIEST FRAMES HYBRID EMBOSSING FOLDER (10% off)
Create unique and festive frames with the Merriest Frames Hybrid Embossing Folder. It comes with one embossing folder and 16 Merriest Frames Dies.
There is more to this bundle than you might think at first glance. There are many options and I’ve explored a few of these options for you in this post.
The embossing folder can be used without die cutting. Or, you can cut and emboss. Or just die cut stamped images.
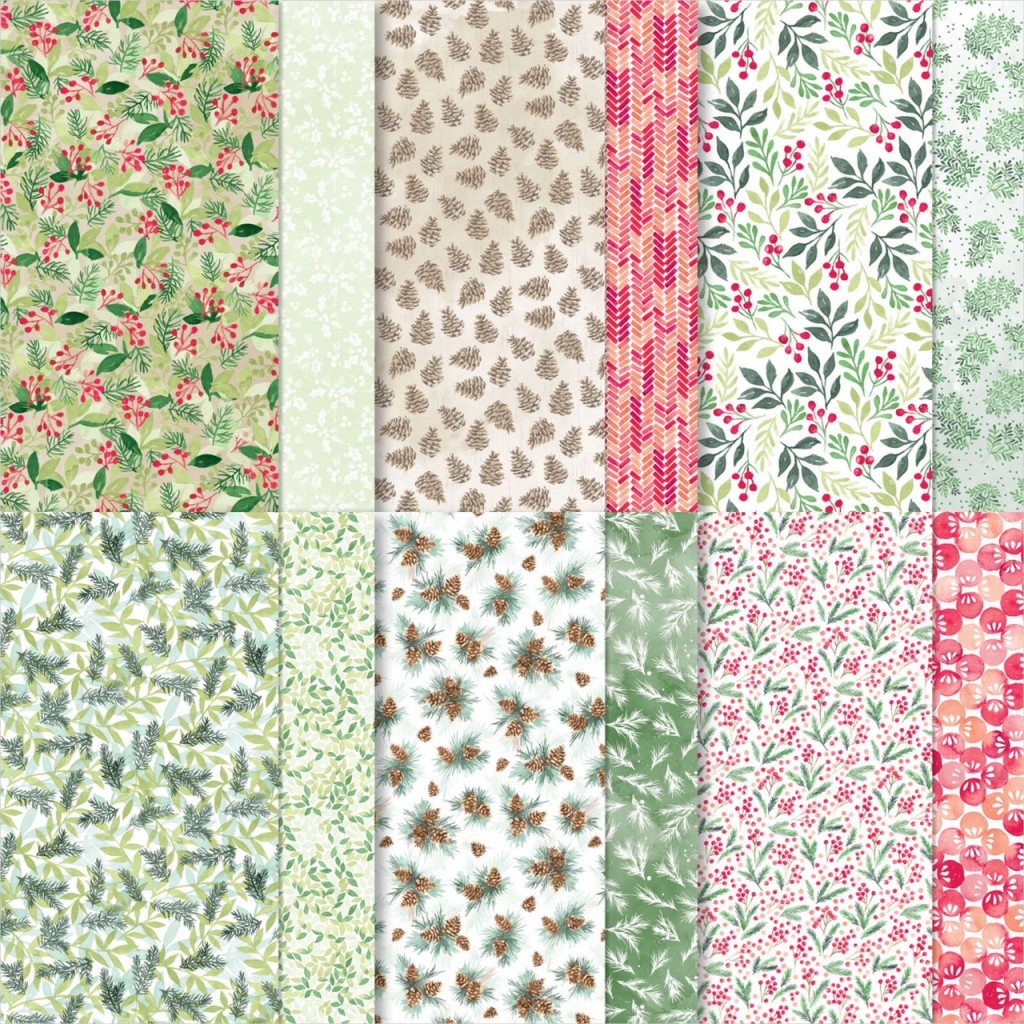
Painted Christmas Designer Series Paper.
For these cards I chose Painted Christmas Designer Series Paper. It is bright and fresh, there are many different greens reflecting our Southern Hemisphere Summer and Christmas.
HERE is the direct product link in my 24/7 Online Store
Merriest Moments Bundle & Painted Christmas Paper
I designed this round of class cards to showcase some of the different ways the bundle can be used. You might have heard the term ‘Stepping It Up’. We start with a simpler card and then step it up. Here are the three cards in this range.
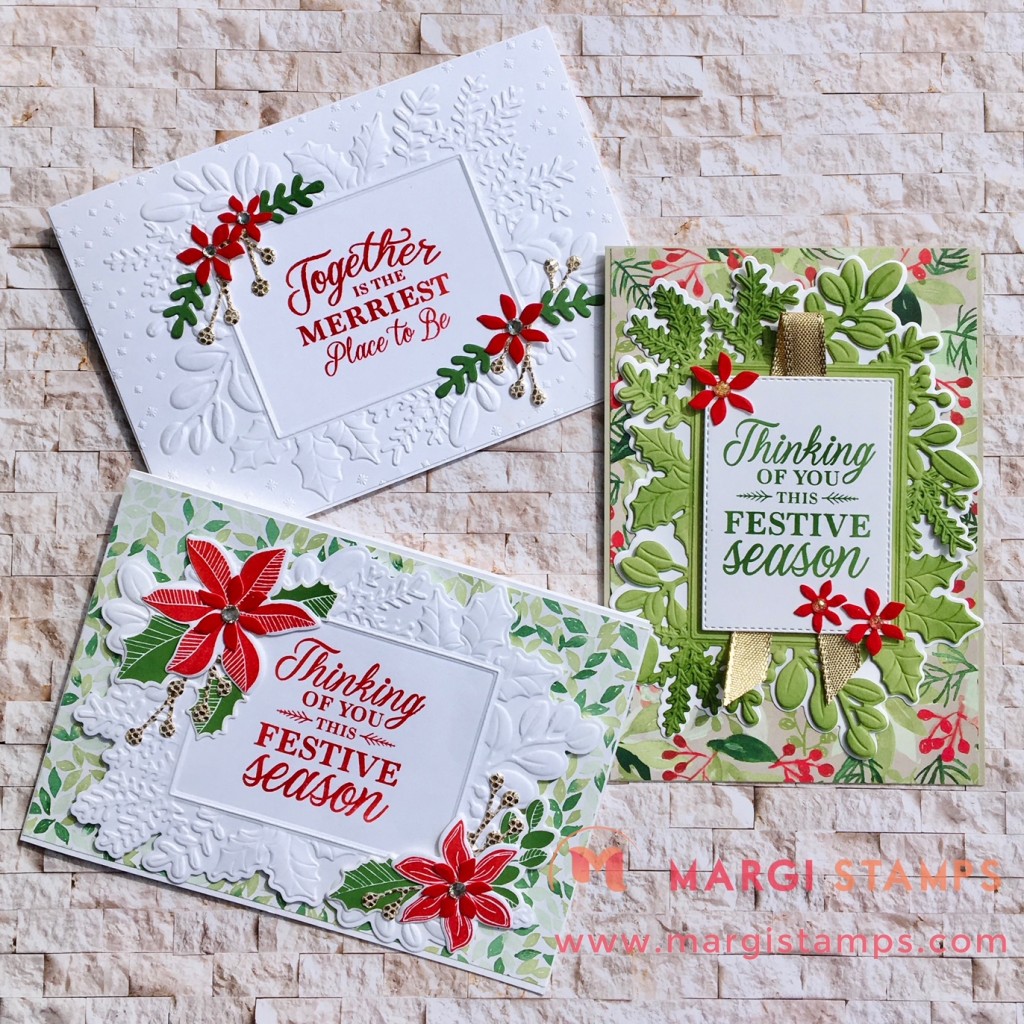
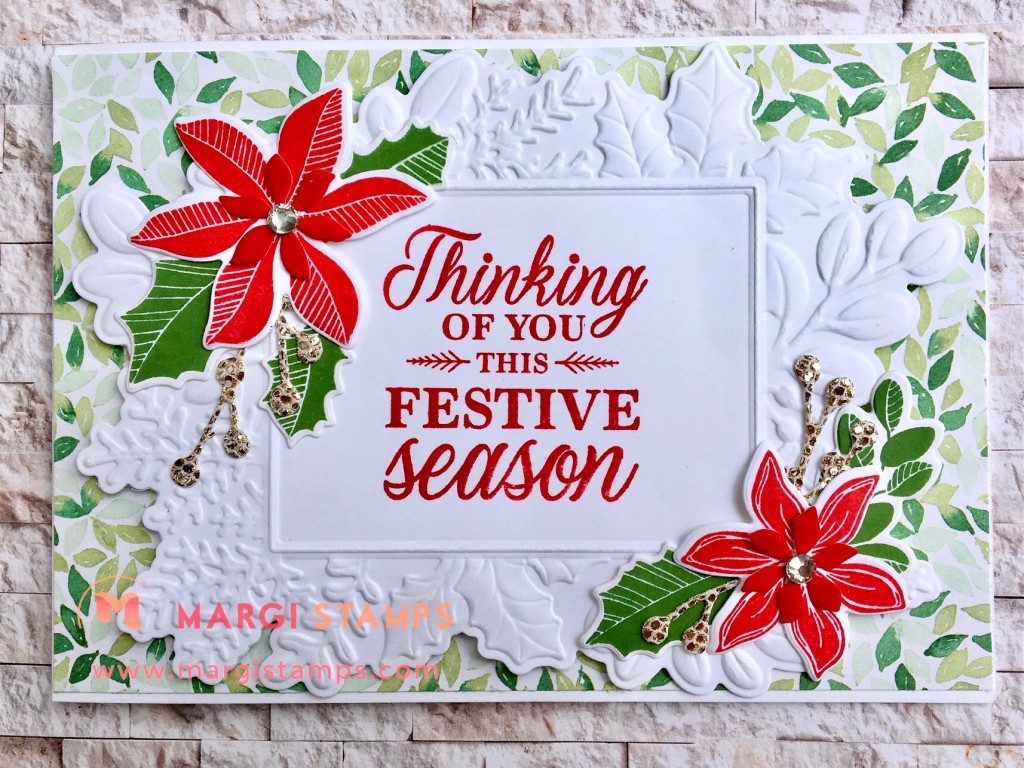
Card 1 (top LHS) is the White-on-White version, highlighting the detail and embossing achieved just using the embossing folder. We have also used the flower dies in Merriest Frames to die cut three differently sized flowers in Red Velvet. The Red Velvet Paper die cuts beautifully. The other elements are Garden Green sprigs using Forever Flourishing Dies and the Be Dazzling berries sprig using Poinsettia dies. I chose these other elements to minimise stamping as this is a kit card to be sent to you, my lovely class ladies. I have included details directions below – just scroll down to view.
Card 2 (bottom LHS) is the next ‘Step Up’. It is also the ‘bridge between Card 1 and Card 3, our class kit cards. You will notice that the White embossed layer is also die cut. As Merriest Frames is Hybrid Embossing Folder, you are able to cut and emboss at the same time. The larger and less detailed fits neatly into the embossing folder to cut and emboss in one pass on your die-cutting machine. This card also includes stamped and die cut images using Merriest Moments Stamp Set and the Merriest Frames Dies. I have included details directions below – just scroll down to view.
Card 3 (RHS) is the next ‘Step Up’ in this group of cards. We are using 2 layers of foliage frames, and an additional greeting layer. The three Red velvet flowers are still the heroes and are paired with pretty Gold Ribbon and some Genial Gems. I have included details directions below – just scroll down to view.
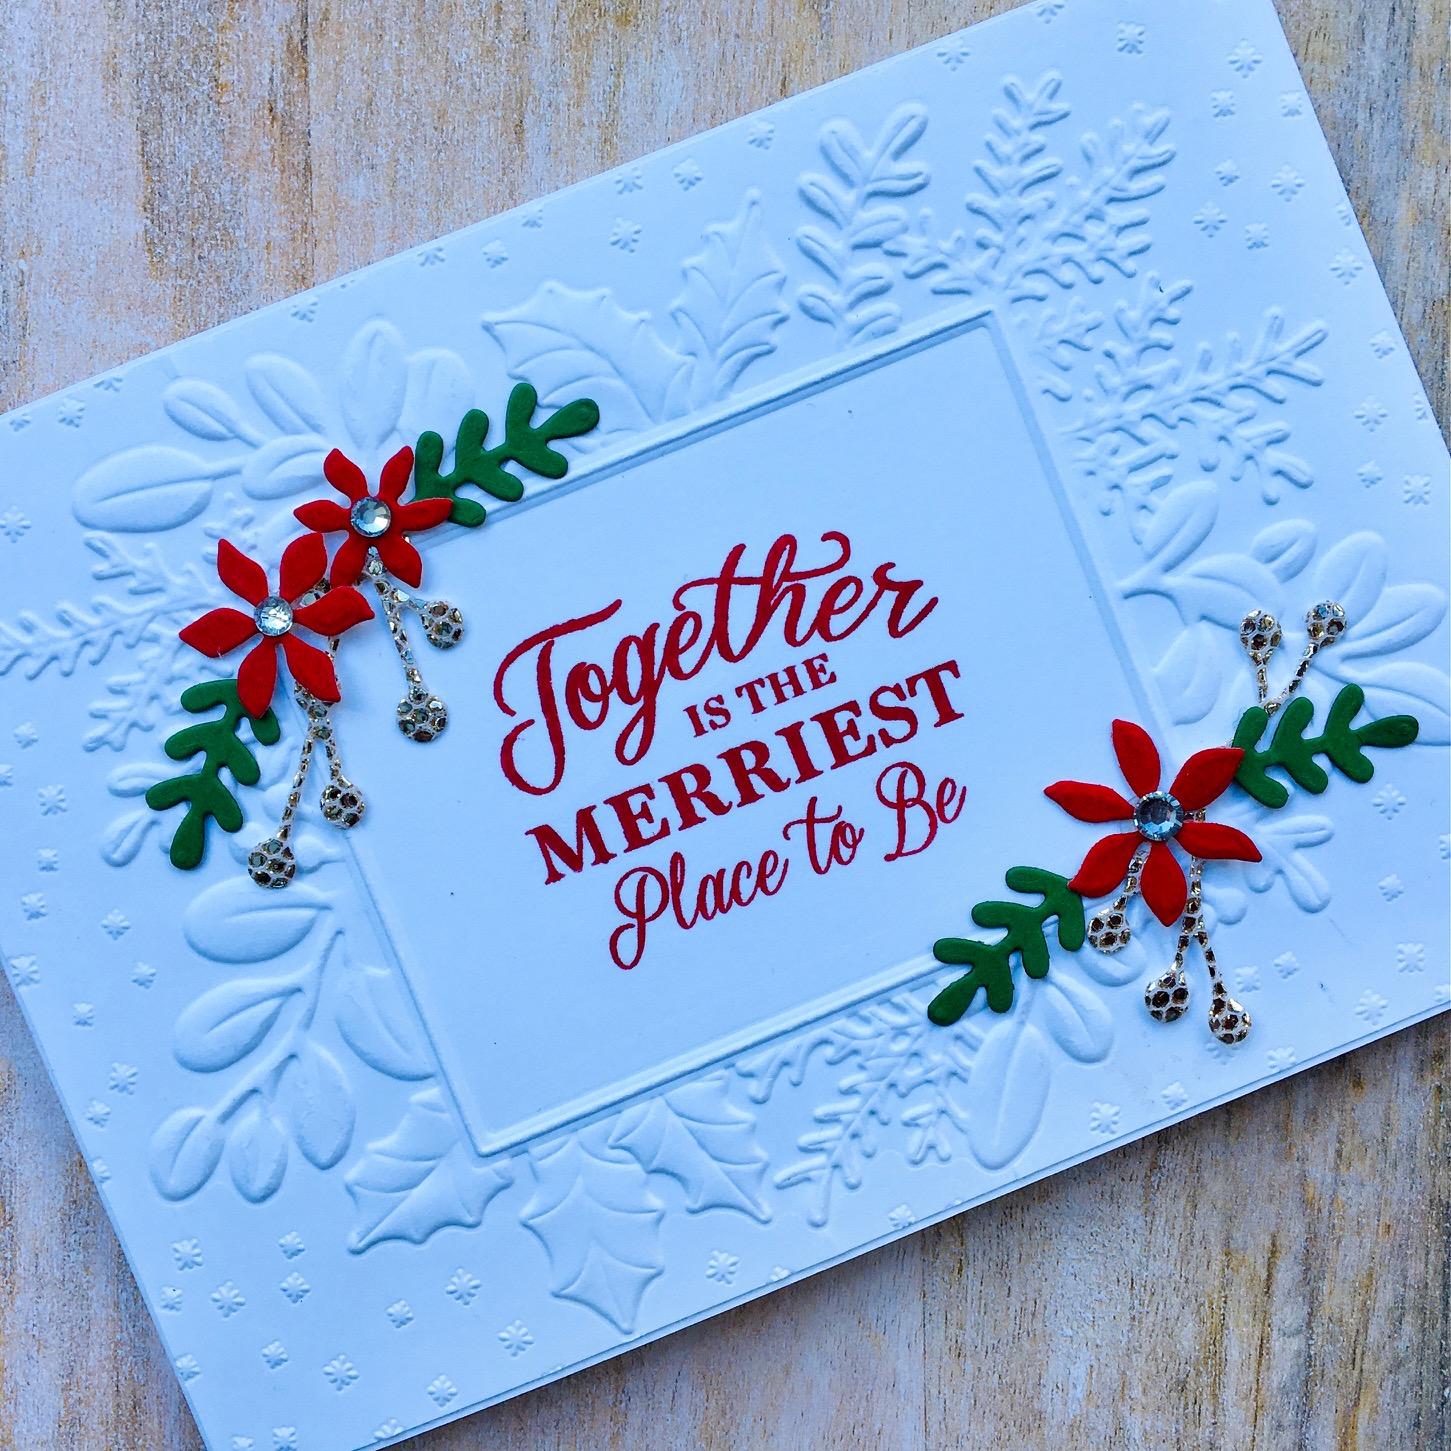
Card 1 – Merriest Moments Bundle & White on White (Class Card)

This is the first card in the class kits. You have all the elements to make this card in your kit.
HERE is the link to all supplies (& picture) in my 24/7 Online Store
Measurements
- Card Base: Basic White Thick 29.7x 10.5 cm scored at 14.85 cm
- Layer: Basic White, 14.8 x 10.4 cm, (Embossed for you)
- Scraps of Be Dazzling Specialty Paper (SAB) Red Velvet Paper, Garden Green cardstock
- 3 Basic Rhinestone Jewels
Directions
- Stamp your chosen greeting on the centre panel of the White embossed layer. I used ‘Together is the MERRIEST Place to Be’ from Merriest Moments Stamp Set.
- Adhere this embossed layer to your Basic White card base. There is a tiny margin around the edge.
- Adhere Basic Rhinestone Jewels to centre of flowers
- Trim your Be Dazzling die cut into three or four pieces.
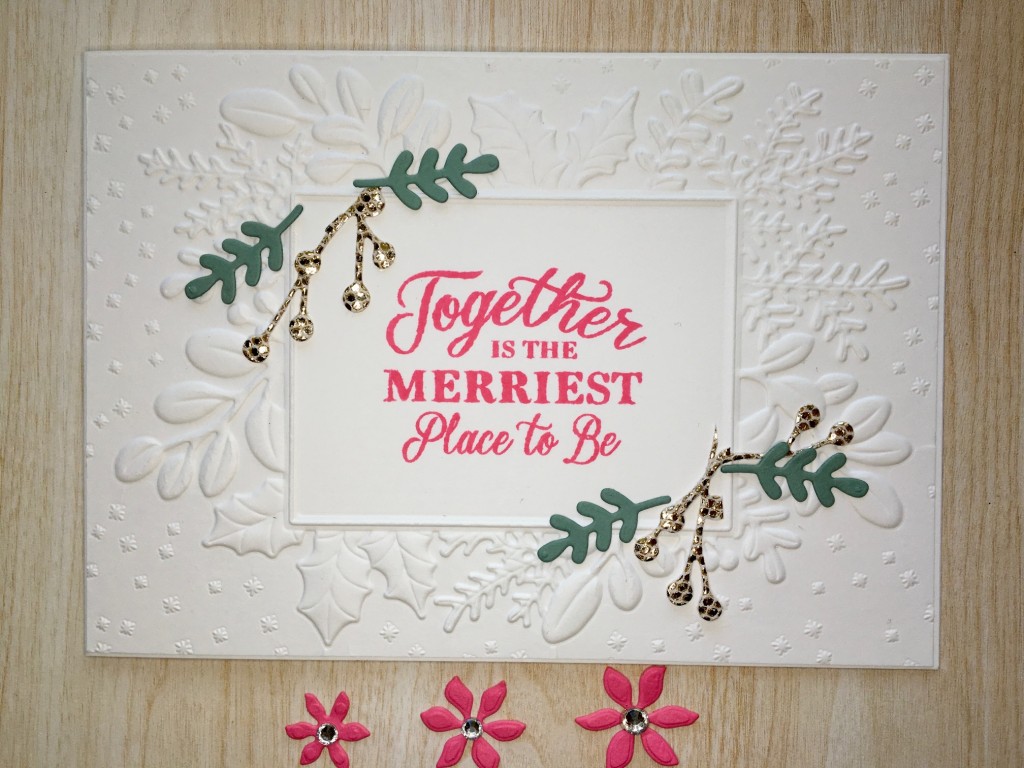
- Arrange the Garden Green leaf sprigs, Red Velvet flowers and Be Dazzling sprigs and adhere to card front. I used Multipurpose Liquid Glue for the leaf sprigs and Be Dazzling pieces and Mini Glue Dots under the centre of each flower.
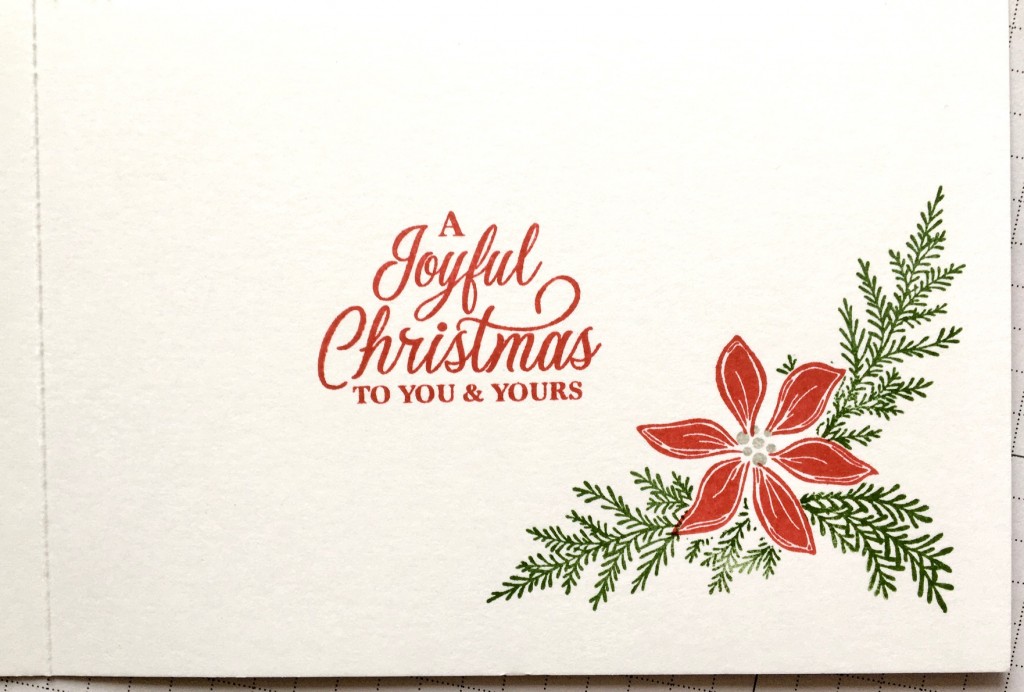
Inside of Card
- Here is an example for you. I stamped the smaller of the two flowers in Real Red, masked the flower and then stamped two different sized fronds in Garden Green. I stamped the flower centre in Smoky Slate.
Card 2 – Merriest Moments Bundle & Painted Christmas Paper (Step Up)
This card is the ‘Stepped Up’ version and the ‘bridge’ between our two class cards, Card 1 & Card 3.
HERE is the link to all supplies (& picture) in my 24/7 Online Store
Measurements
- Card Base: Basic White Thick 29.7x 10.5 cm scored at 14.85 cm
- Layer :Painted Christmas DSP 14.8 x 10.1 cm, Basic White 14.8 x 10.4 cm,
- Scrap Basic White for stamping, scraps of Be Dazzling Specialty Paper (SAB) & Red Velvet Paper,
- 3 Basic Rhinestone Jewels
Directions
- Adhere DSP to card base.
- Emboss and die cut in one pass your foliage frame. You will use the plain outline frame die. It will fit snuggly in the embossing folder.
- Stamp your chosen greeting on the centre panel of the White embossed and die cut layer. I used ‘Thinking of you the FESTIVE season’ from Merriest Moments Stamp Set.
- Stamp and die cut flowers and greenery. I stamped one of each sized flower in Real Red, 1 large, 1 medium and 2 small holly leaves, and 1 sprig of leaves in Garden Green.
- Die cut these stamped images.
- Adhere the embossed layer to the card front using dimensionals.
- Adhere Red Velvet flowers to stamped and die cut flowers with Mini Glue Dots.
- Adhere Basic Rhinestone Jewels to centre of flowers.
- Trim your Be Dazzling die cut into three or four pieces (see above).
- Arrange leaves, flowers and Be Dazzling sprigs and adhere to card front. I used Multipurpose Liquid Glue for the leaf sprigs and Be Dazzling pieces.
Card 3 – Merriest Moments Bundle & Painted Christmas Paper (Step Up x 2 Class Card)
HERE is the link to all supplies (& picture) in my 24/7 Online Store
You will notice in your kits that there are two cut and embossed pieces. The White piece is the same as the layer in Card 2, the Pear Pizzazz piece is more detailed. You could use both pieces on your Card 3, or you could keep the White layer aside and use it for another card. You would provide you own DSP layer and card base. That’s a option for you, but read on below to make the card shown in the picture above.
Measurements
- Card Base: Sahara Sand 29.7x 10.5 cm scored at 14.85 cm
- Layer :Painted Christmas DSP 14.8 x 10.1 cm, Basic White 14.8 x 10.4 cm and 7.5 x 5.5 cm, Pear Pizzazz 14.8 x 10.4 cm.
- Card Insert: Basic White 14.5 x 10.1 cm
- Embellishments: Scrap :Red Velvet Paper, Gold Shimmer Ribbon, Genial Gems,
Directions
- Adhere DSP to card base.
- Die cut greeting layer in Basic White using the small rectangle die from Merriest Frames Dies. (Your kit includes this piece.)
- Stamp chosen greeting on the die cut rectangle. I used ‘Thinking of you this FESTIVE season’ from Merriest Moments Stamp Set.
- Emboss and die cut in one pass your White foliage frame. You will use the plain outline frame die. It will fit snuggly in the embossing folder. (Your kit includes this piece.)
- Emboss your Pear Pizzazz piece. Don’t die cut yet.
- Die cut this piece using the detailed foliage frame die (see picture below) (Your kit included this embossed and die cut piece)

- Sponge or use blending brushes to colour edges of Pear Pizzazz piece.
- Adhere Pear Pizzazz layer to Basic White layer
- Adhere this combined layer to card front
- Tack ribbon on top of Pear Pizzazz layer
- Adhere greeting rectangle using dimensionals
- Adhere Genial Gems to centres of Red Velvet flowers
- Adhere these flowers to card front using Mini Glue Dots
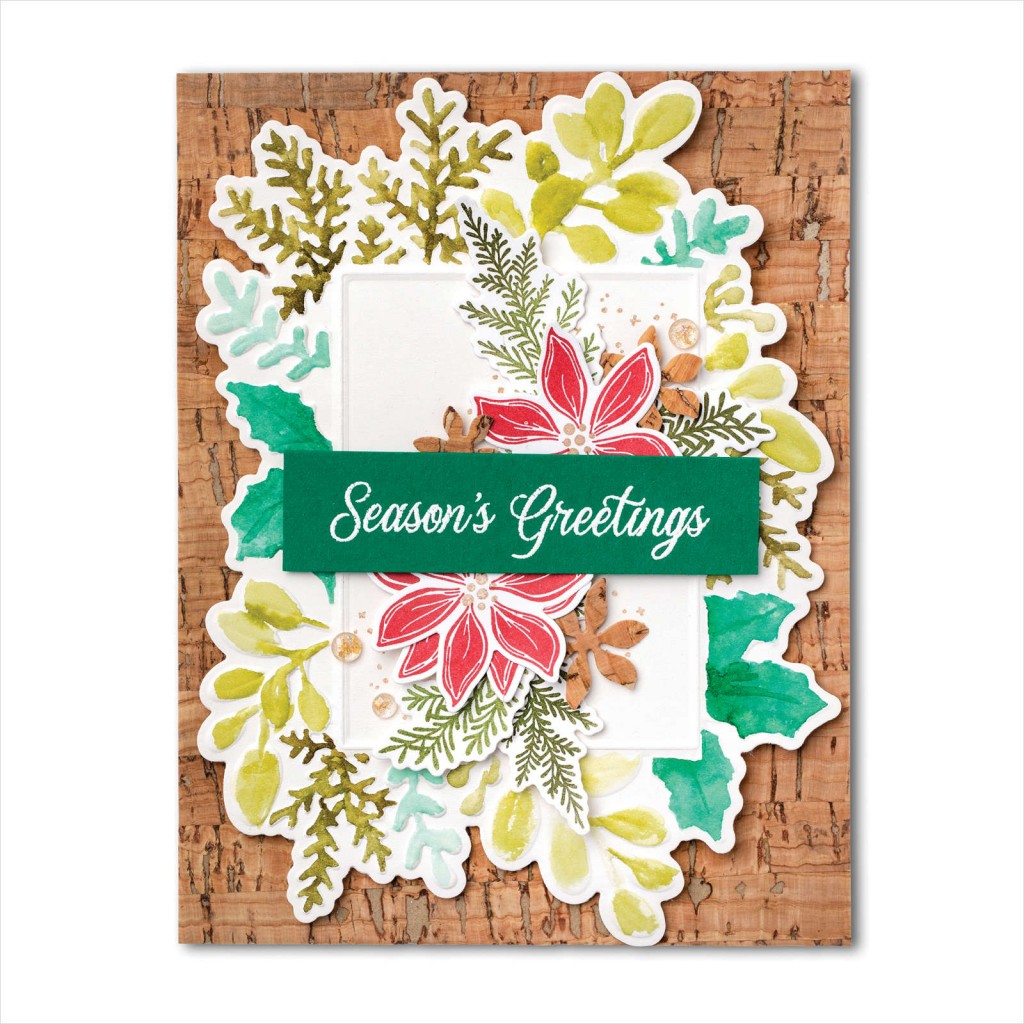
Merriest Moments Bundle Sample
Merriest Moments Bundle with Cork, Kraft and Gold!
This card is a very similar design to Card 3, but we’ve using white-on-white/neutrals for our focus, with introduced texture and mono colours of soft browns, in Cork, Kraft Paper, Gold embossing and Ribbon Trim. You might notice that there is no embossing on the Kraft layer, as it just provided a visual separation between the two white layers.
HERE is the link to all supplies (& picture) in my 24/7 Online Store
‘Expressions In Color’ Paper Pumpkin Available from 8 September.
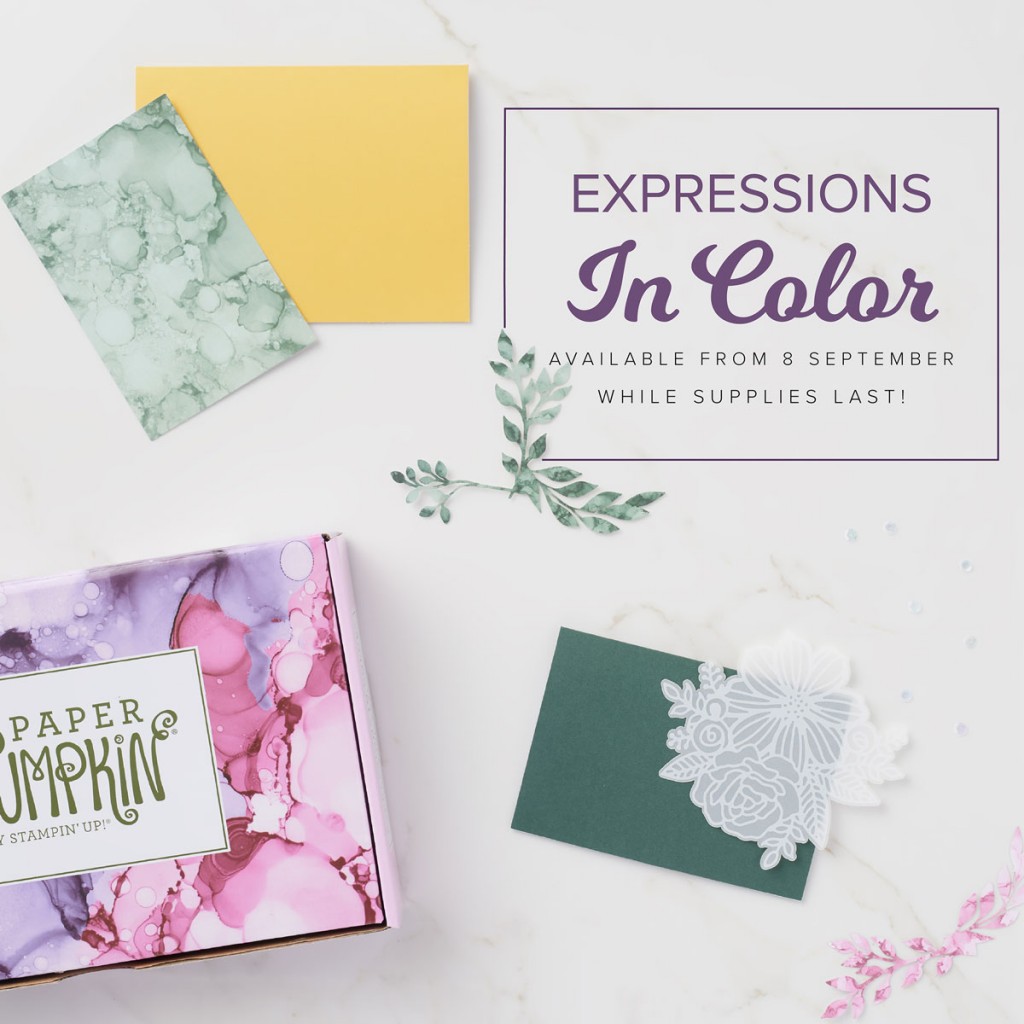
MAKE A SPLASH! – while stocks last!
Dream and discover In Color with this global Paper Pumpkin kit! With inspiring ink-stained elements and a stamp set with sentiments for any occasion, sending a splash of smiles is simple.
About the kit:
• Contains enough supplies to create nine cards and coordinating envelopes.
• Includes an exclusive stamp set and two Classic Stampin’ Spots.
• Features colours from our 2020–2022 and 2021–2023 In Color collections!
• Coordinates with products from our Expressions in Ink Suite.
• Comes in a cute, colourful, and collectible box!
Creative WOW Tutorial: Here is the September 2021 Sneak Peek
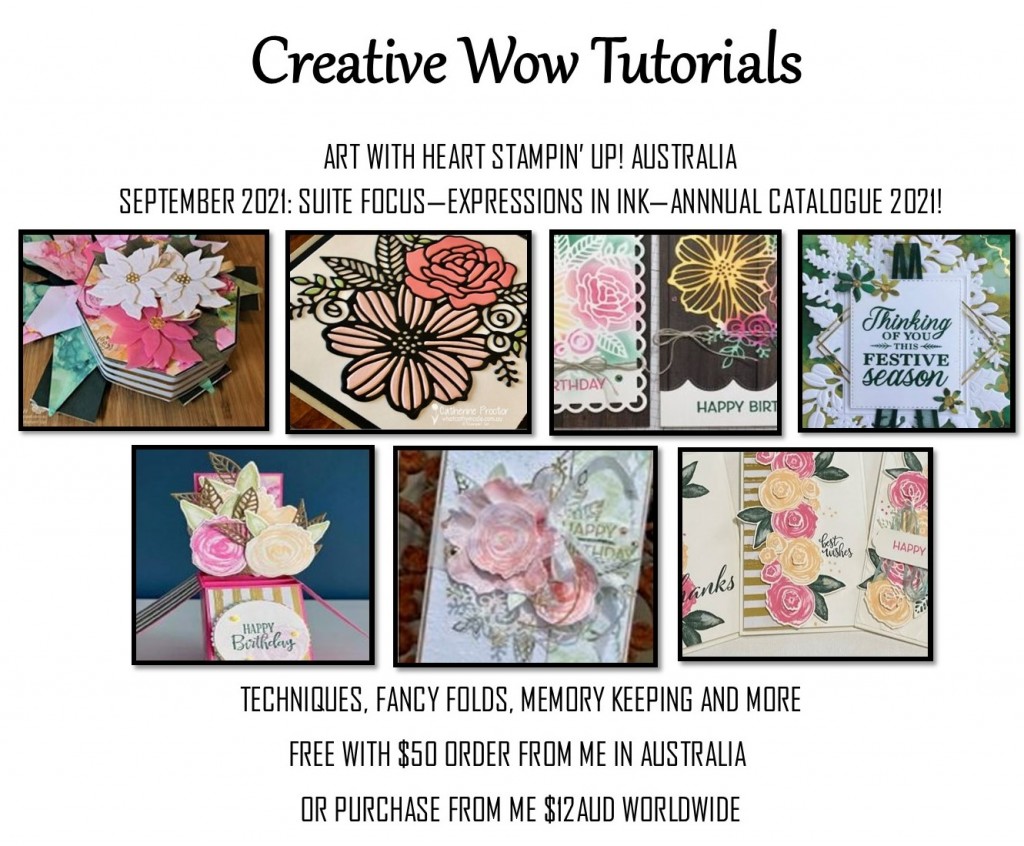
Can you spot my contribution this month?
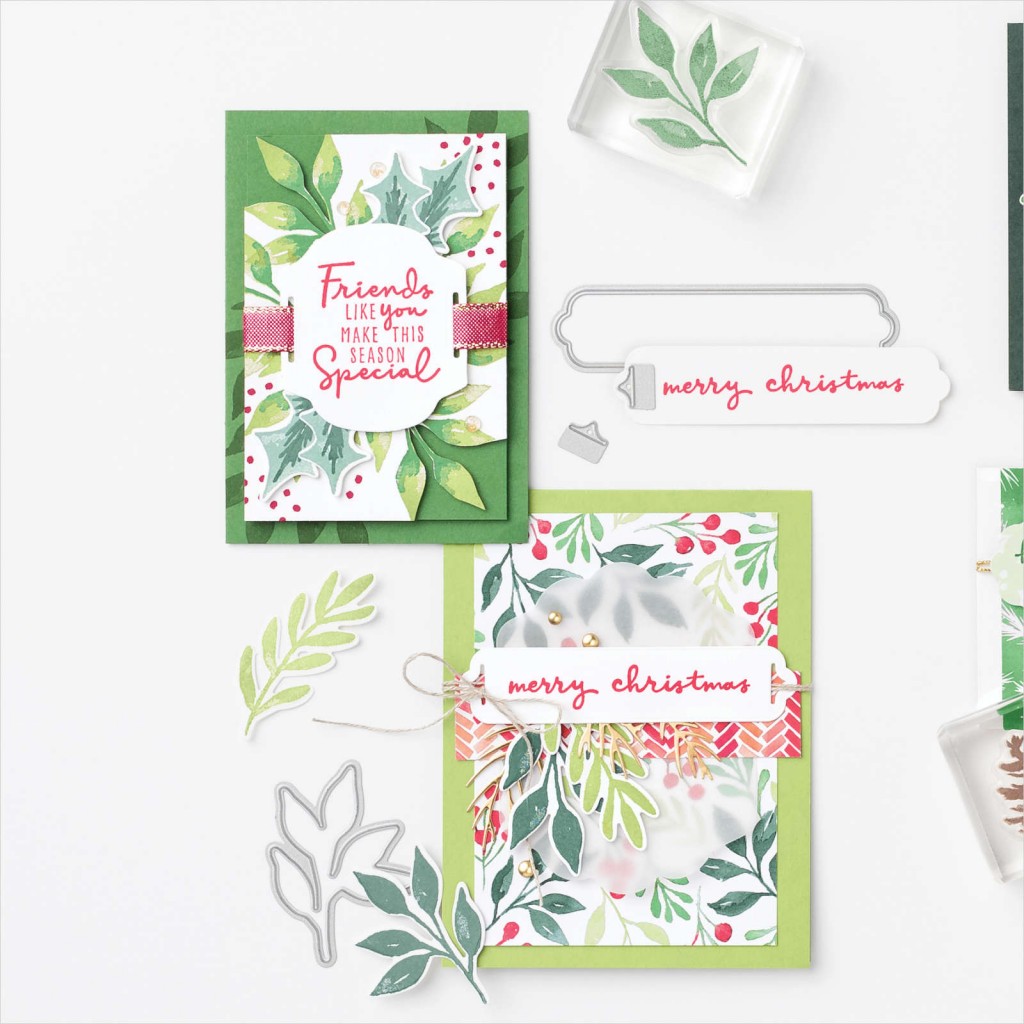
This selection of Tutorials is based around our Expressions in Ink Specialty Designer Series Paper, Artistically Inked Bundle and links to the upcoming Expressions in Color Paper Pumpkin (see above).
There are stunning designs and many different ideas, from standard cards, fancy folds, 3D cards, ornaments, and gift packaging.
I have emailed all the Tutorials for the previous months. As the files are quite large, please let me know if you have not received your copy. Please be in touch if you would like to purchase back copies of previous Tutorials or, this current Tutorial.
Join my Team:
Join just for yourself to get a discount, and/or build a business, be part of my team and meet friends who love to craft. The choice is yours, and I’m only too happy to chat with you OR, you might like to hop on over to my JOINING PAGE
Here’s a quick look at the offer!
- Choose $235 product for a $169 spend ($66 for FREE) from our current Catalogues.
- During Sale-a-Bration, FROM 3 August – 30 September- IN ADDITION, choose your FREE Bundle (valued up to $104.25)
- FREE Shipping
- FREE Business Kit, including current catalogues.
- And the opportunity to order from any existing catalogue at 20% discount.
Join my Classes:
Please contact me if you would like to join my paper-crafting classes. I run several class groups. You might like to arrange a private class for you and your friends, or you might like to join my online/virtual class with prepared class kits and PDF/web Tutorials.
Please chat to me about your ideas or queries.
Have Fun Crafting. Enjoy the samples and your own wonderful creativity.
My business Facebook page is:
https://www.facebook.com/margistamps/
My Pinterest site is:
https://www.pinterest.com.au/margisank/
My Stampin’ Up Online Store is HERE
My Stampin’ Up website is HERE
My blog website is:
http://www.margistamps.com/
……… till next time, stay safe, have fun!
LOVE IT. LIVE IT. SHARE IT.
