
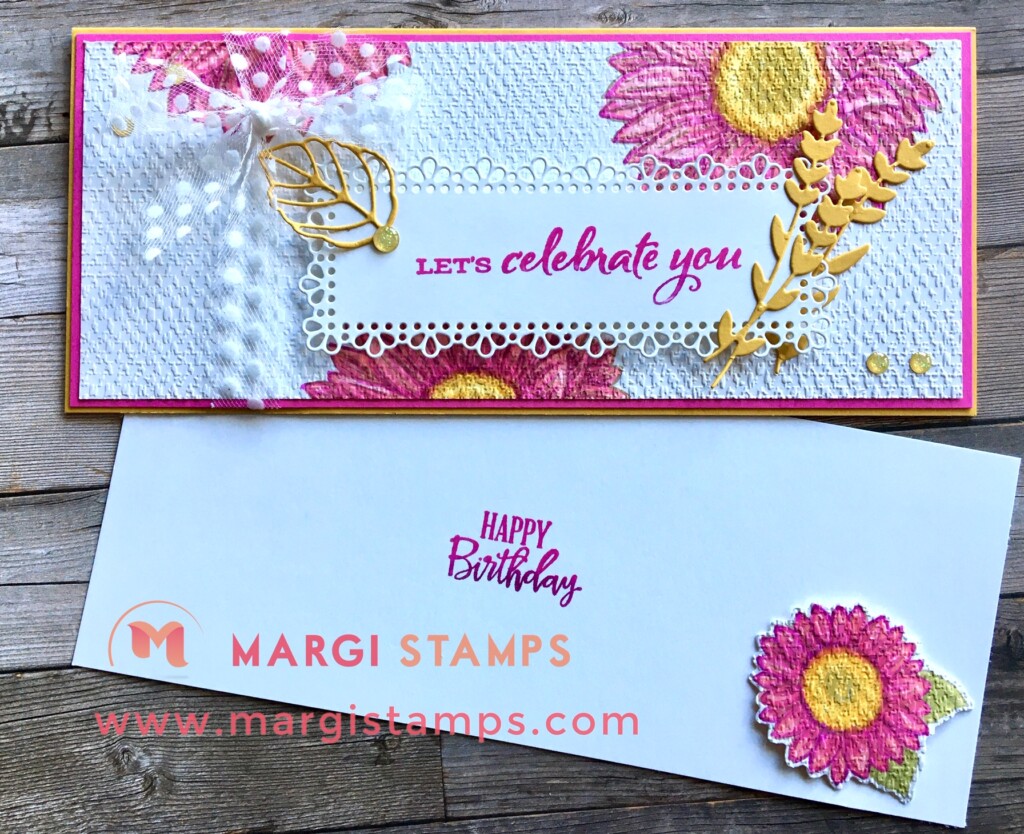
Celebrate Sunflowers as Spring Flowers.
Our garden is awash with the colours of Spring and I wanted to capture some of this beauty in my card designs.
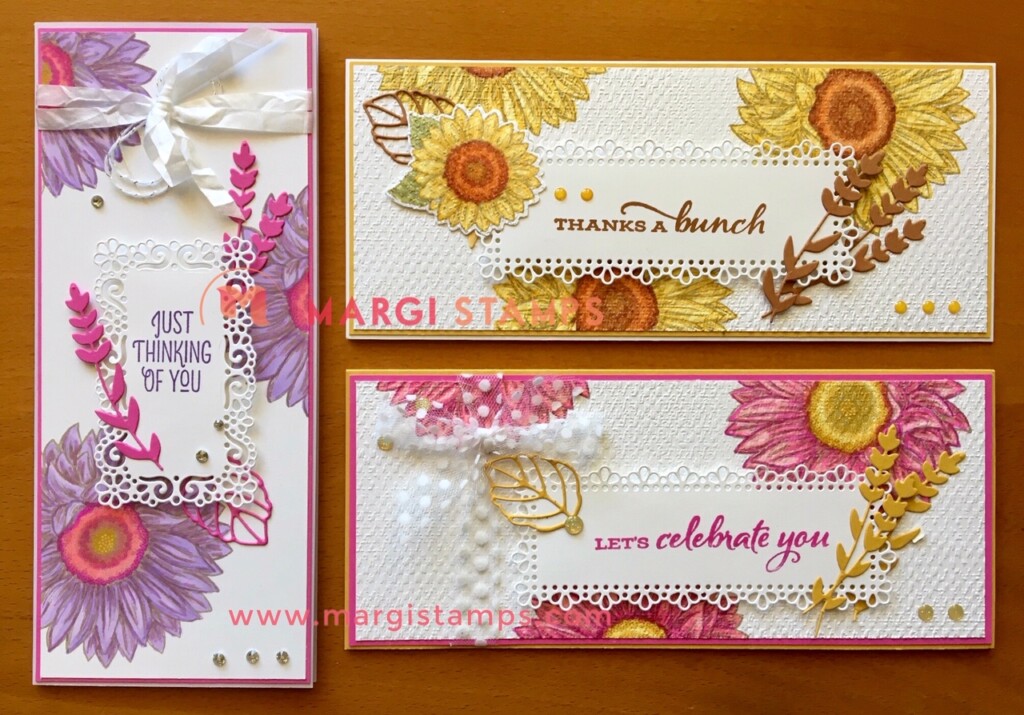
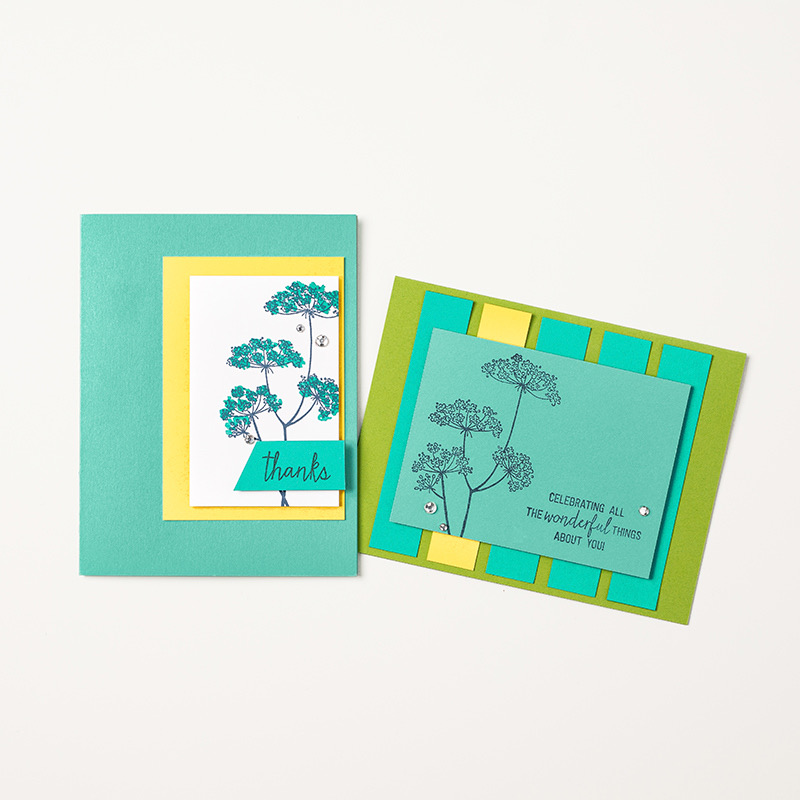
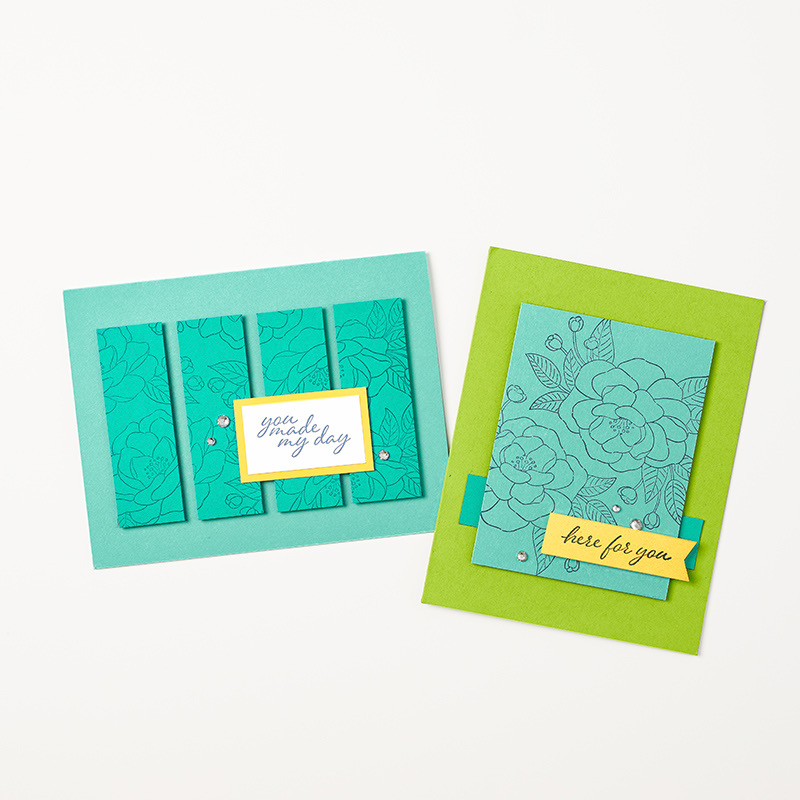
We made a version this design in our online/contactless card classes using Celebrate Sunflowers Bundle, Artistry Booms DSP and Silver Foil.
I’m sharing the details of the Blends version here as an add-on for my class ladies and to share with you all.
My slimline design is based on one sheet of Whisper White cardstock, complimentary coloured mounts, and card bases. The finished card fits in a standard DL envelope.
The starting point is the card base. It measures 21 x 18 cm, scored at 9 cm. The matts are 20.6 x 8.6 cm and the card front layer is 20.2 x 8.2 cm. We use the remaining piece of the Whisper White to stamp the smaller sunflower & leaf, three times. I’ve listed some useful hints and all the ingredients below.
Let’s Get Started.
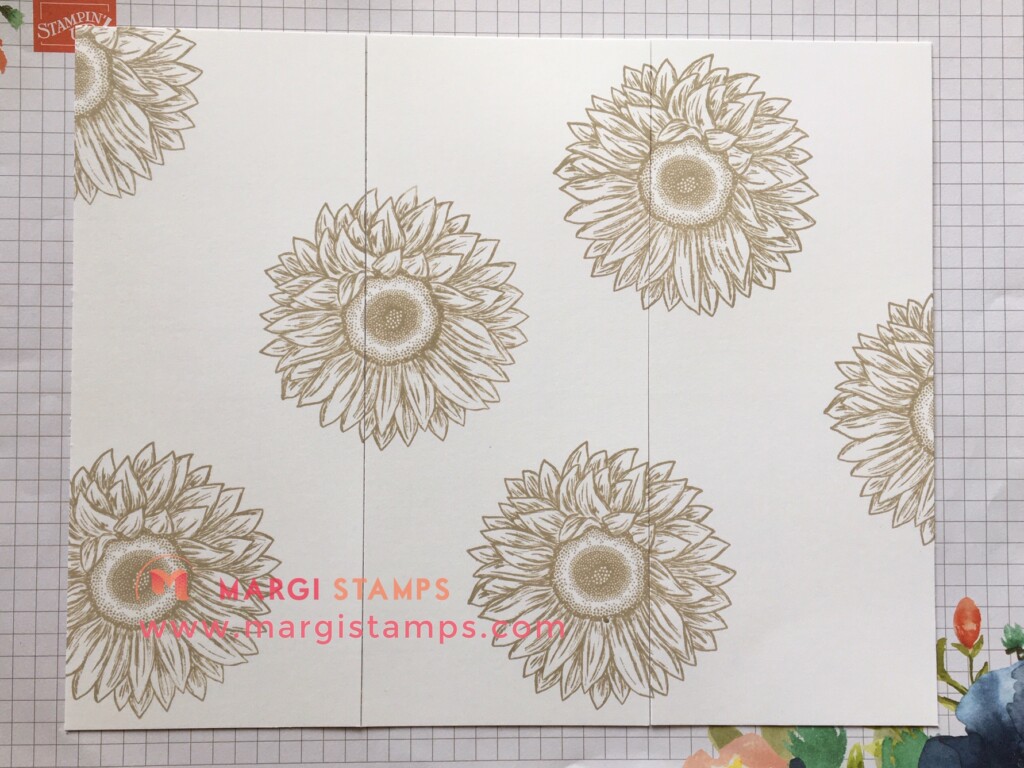
You’ll need one sheet of A4 cardstock, trimmed to 20.2 x 24.6 cm. (We also use the remaining piece; 21 x 5.1cm).
Cut into 3; each 20.2 x 8.2 cm. Lay these on your grid paper and stamp your sunflower images in Sahara Sand. Stamp 3 small sunflower & leaf groups on your remaining strip of Whisper White cardstock 21 x 5.1 cm. (See photo below)
Choose your colour schemes.
To give you some examples, I’ve included a photo of my finished card front pieces and small flower & leaf groups in the photo below. Please refer to the list of the Blends used for each card front colourways.
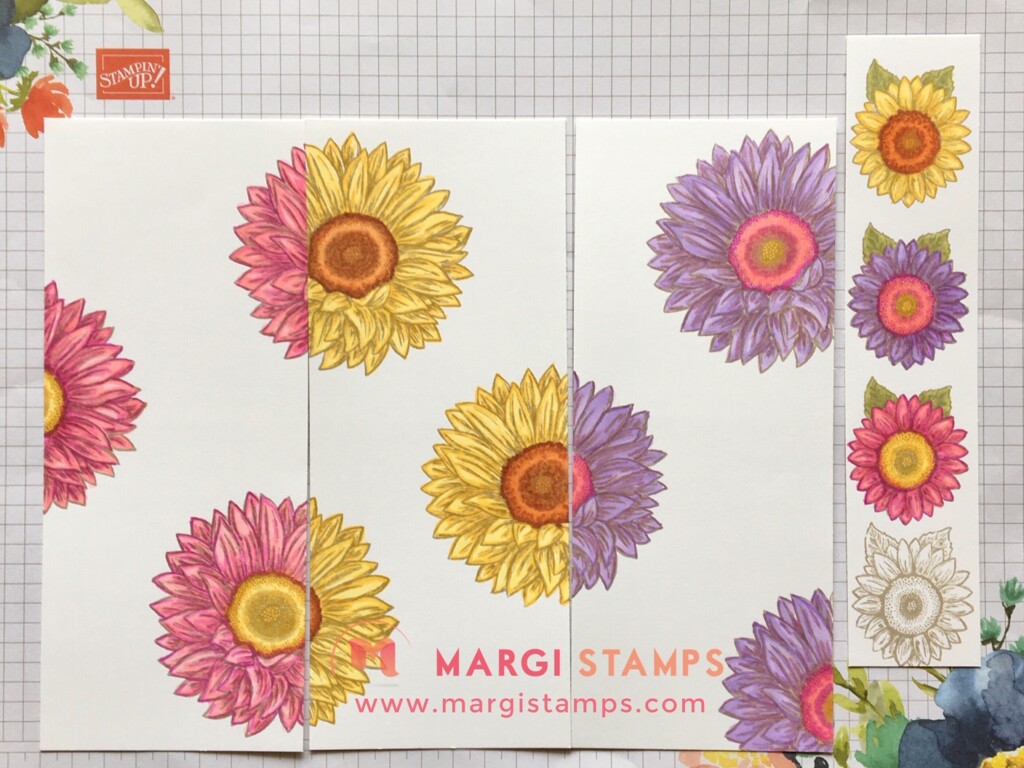
Blends used for each colourway and card front. I used a combination of Light (L) and Dark (D) Blends (as shown).
- Pink Card Front
- Petals; Flirty Flamingo (L & D) Magenta Madness (L)
- Centre; Daffodil Delight (L&D) Mango Melody (D)
- Mauve Card Front
- Petals; Purple Posy (L), Highland Heather(L&D) Rich Razzlebery (L)
- Centre; Flirty Flamingo (L&D) Magenta Madness (L), Mango Melody(D)
- Yellow Card Front
- Petals; Daffodil Delight (L&D), Mango Melody (D)
- Centre; Pumpkin Pie (L&D) Cajun Craze (L&D)

Blends Colouring Hint: use the stamp marking as your guide (See Below)
With Blends, colour each of the flowers on your three card front pieces and the smaller flower groups.
Petals
Leaving some white spaces on your petals, (1) swoosh all petal markings with your lightest colour, (2) highlight the shadows in your petals with your highlight or darkest colour, (3) repeat the petal markings and the petal outline with your medium colour, (4) go over it all with your lightest colour. You should have light and shade, however it you want some more white space, use your colour lifter. (Example of steps 1-4 below).
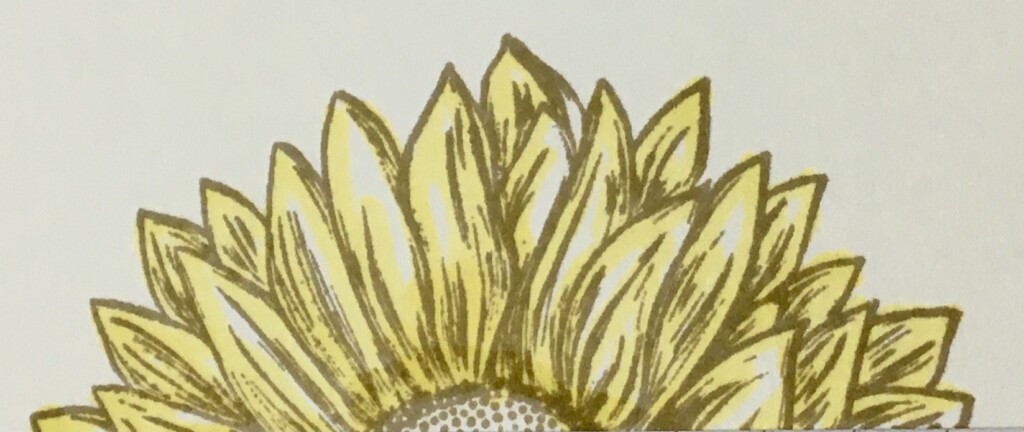
Image 1 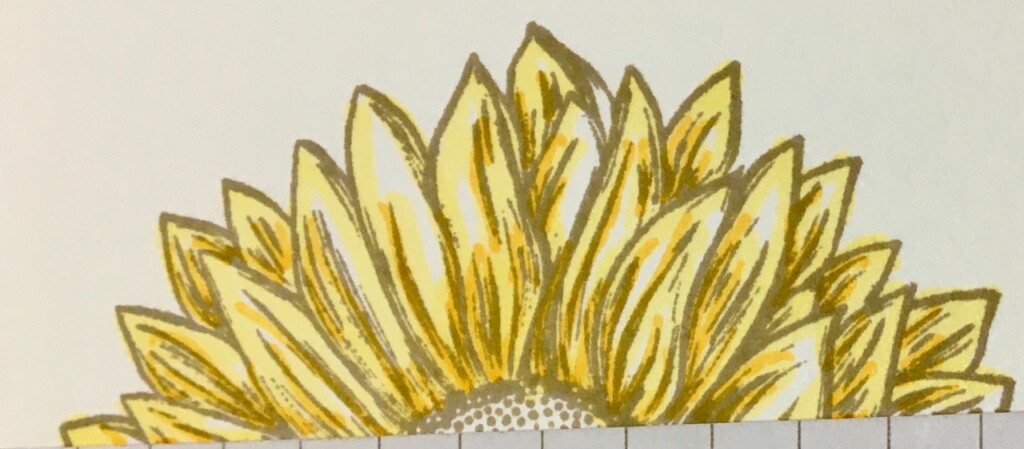
Image 2 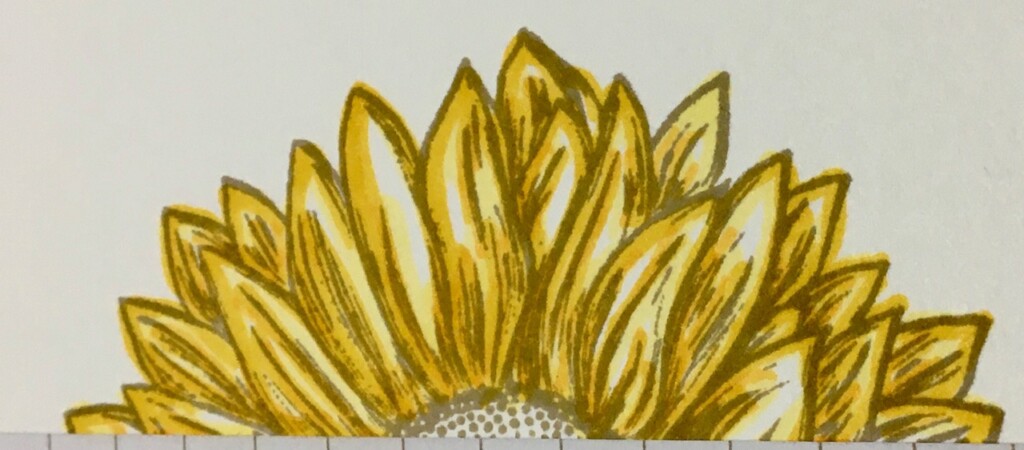
Image 3 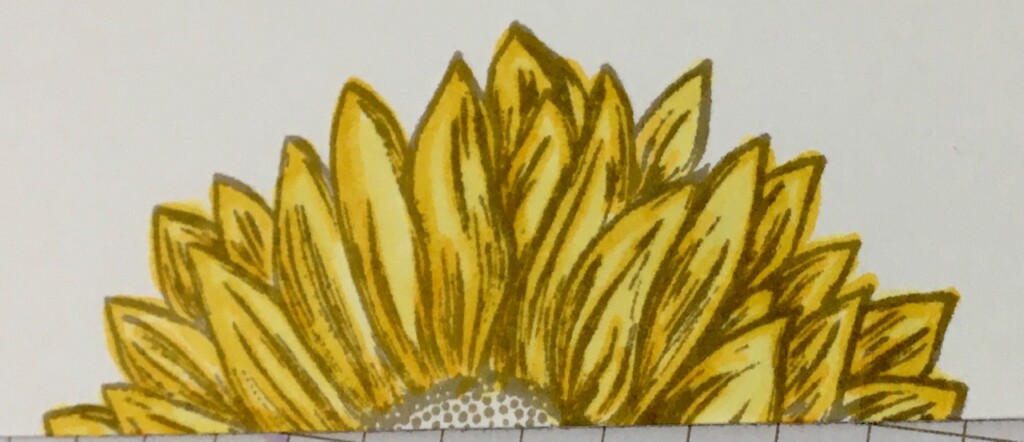
Image 4
Centre
Colour the entire centre with your lightest colour, highlight with the darkest colour, mimicking the dots in the stamped image, go over the whole lot (& blend is desired) with your medium colour.
Leaves
Pick out the leaf detail in Old Olive (L) and Mossy Meadow (L), go over the whole lot in Old Olive (L)
Assemble your Cards
- Choose your layout; portrait or landscape, for each card.
- In Whisper White, die cut 1 long Ornate Layers die for each landscape card front, and 1 short Ornate Layers die cut for each portrait layout.
- Die cut grass/foliage and leaf from co-ordinating cardstock scrap for each card. I used Bumblebee, Cinnamon Cider and Magenta Madness for my cards,
- Stamp desired greetings on Ornate Layers pieces,
- Emboss card fronts and small sunflowers with Tasteful Textile Embossing Folder, if desired. I have embossed some of my examples. *** (See below for embossing hint)
- Adhere this layer to matt, adhere ribbon trim if desired.
- Adhere to card base.
- Adhere greeting layer to card front with dimensionals.
- Adhere Flowers for Every Season Gems, Gold Glitter Enamel Dots, Basic Rhinestones as shown.
*** Embossing hint so you don’t end up with a line. Emboss approx. half of your card front, wind backwards. Rotate your card front and emboss the remaining section, wind backwards. Do not pass the whole way through your embossing machine. I used my new Cut & Emboss machine and it worked brilliantly!
Inside of Card
Here’s an example of the inside of one of my cards.
Supplies List
The links will take you directly to my store or, please contact me to place your order.
Product List")


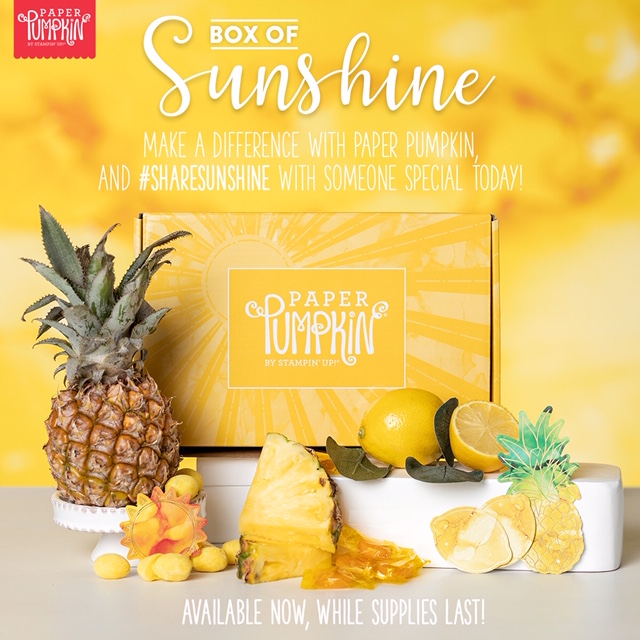
Paper Pumpkin; available from August 11 while stocks last.
We’re excited to share a special global Paper Pumpkin kit! This exclusive Sara-inspired Paper Pumpkin kit is here to help you #sharesunshine. It includes supplies for eight handmade cards and is specially designed to help you create a box full of cheer. Once you’ve made all the cards, use any leftover pieces to decorate the box. Fill it with yellow goodies, add the included adhesive label, address it to someone special, and brighten their life with a little sunshine!
We think this will sell quickly- please contact me to order on August 11 or here is the link .
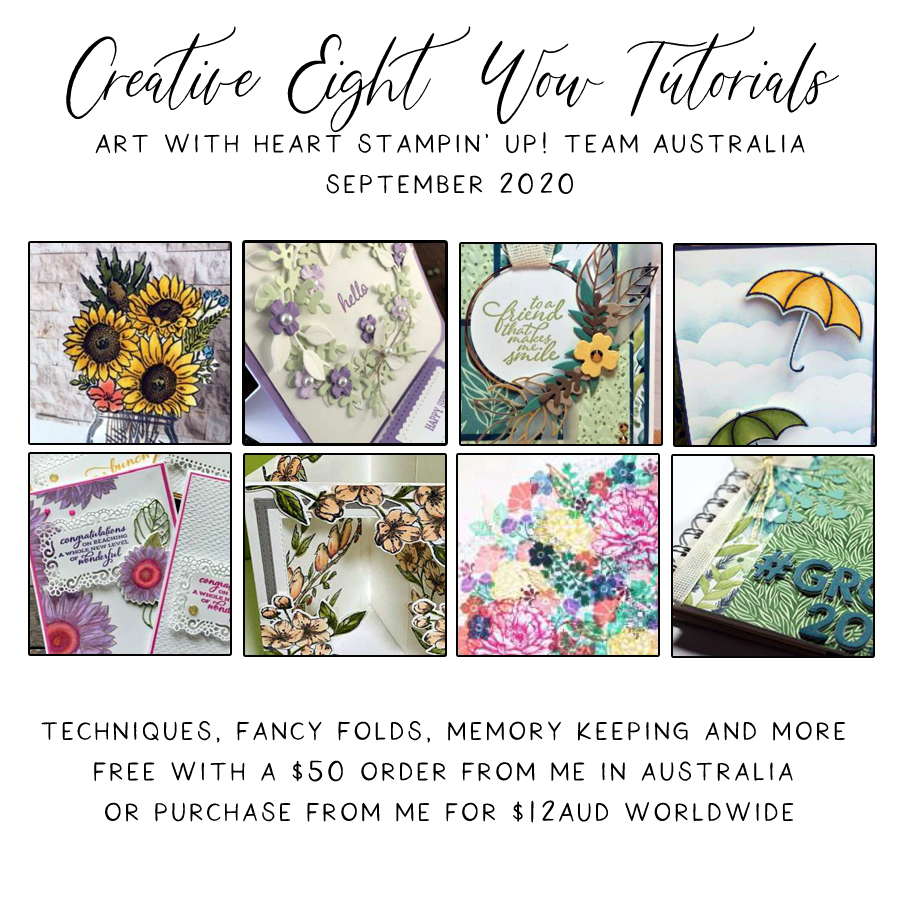
Creative Eight WOW Tutorial – Here is the September 2020 Sneak Peak
Get & Go – Join Stampin’ Up! in September
This is the SEPTEMBER offer to you.
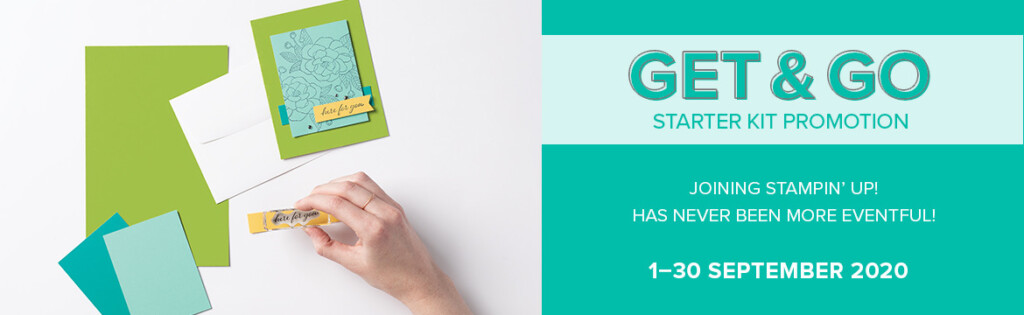
You may have been contemplating Joining my Team or you may just like our fabulous SEPTEMBER Promotion. During the month of September, and on top of the other great value, you will also receive enough cardstock to make 16 cards, a pack of Rhinestone Basic Jewels, the So Much Love stamp set and the Queen Anne’s Lace stamp set FOR FREE!
Here’s a quick look at the offer!
- Choose $235 product for a $169 spend ($66 for FREE) (incl. new Mini Christmas Catalogue)
- FREE Shipping* FREE Business Kit
- FREE SEPTEMBER Get & Go Promotion ($99+ for FREE- see above)
- And the opportunity to order from any existing catalogue at 20% discount.
More Questions….Here is the link to take you to more information.
Join my Classes
Please contact me if you would like to join my paper-crafting classes. I run several class groups. You might like to arrange a private class for you and your friends, or you might like to join my online/virtual class with prepared class kits and PDF Tutorials.
Please chat to me about your ideas or queries.
Have Fun Crafting. Enjoy the samples and your own wonderful creativity.
My business Facebook page is: https://www.facebook.com/margistamps/
My Pinterest site is: https://www.pinterest.com.au/margisank/
My Stampin’ Up Online Store is HERE
My Stampin’ Up website is HERE
My blog website is: http://www.margistamps.com/
……… till next time, stay safe, have fun!
LOVE IT. LIVE IT. SHARE IT.
