

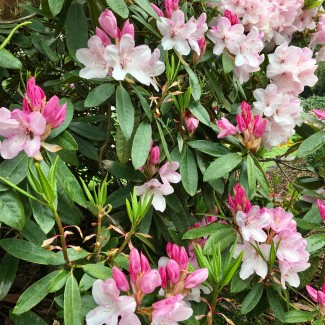
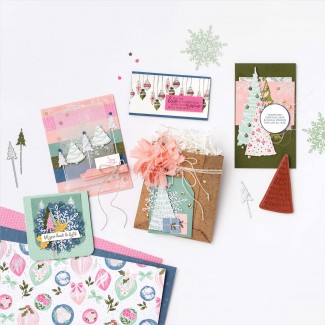
Welcome to your Make it With Margi October Tutorial Card #3. Inspired by Nature, we pair Whimsical Trees Bundle with Whimsy & Wonder Specialty Designer Series Paper. There are two options for you. One is the Blushing Bride (pale pink) version and the other is our vibrant Polished Pink (bright pink). I was inspired by the brilliant colour of our Pink Pearl Rhododendron. The colours of Nature match the colours in our Whimsy & Wonder Specialty Paper beautifully.
If you’re not in my class groups, you are welcome to enjoy these designs and your own creativity. If you would like to join one of my groups (online – at the moment) and live in Australia, please contact me. I would love to hear from you.

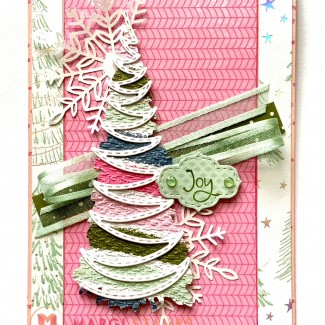
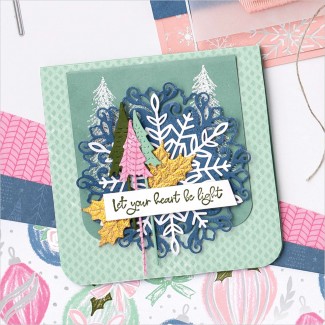
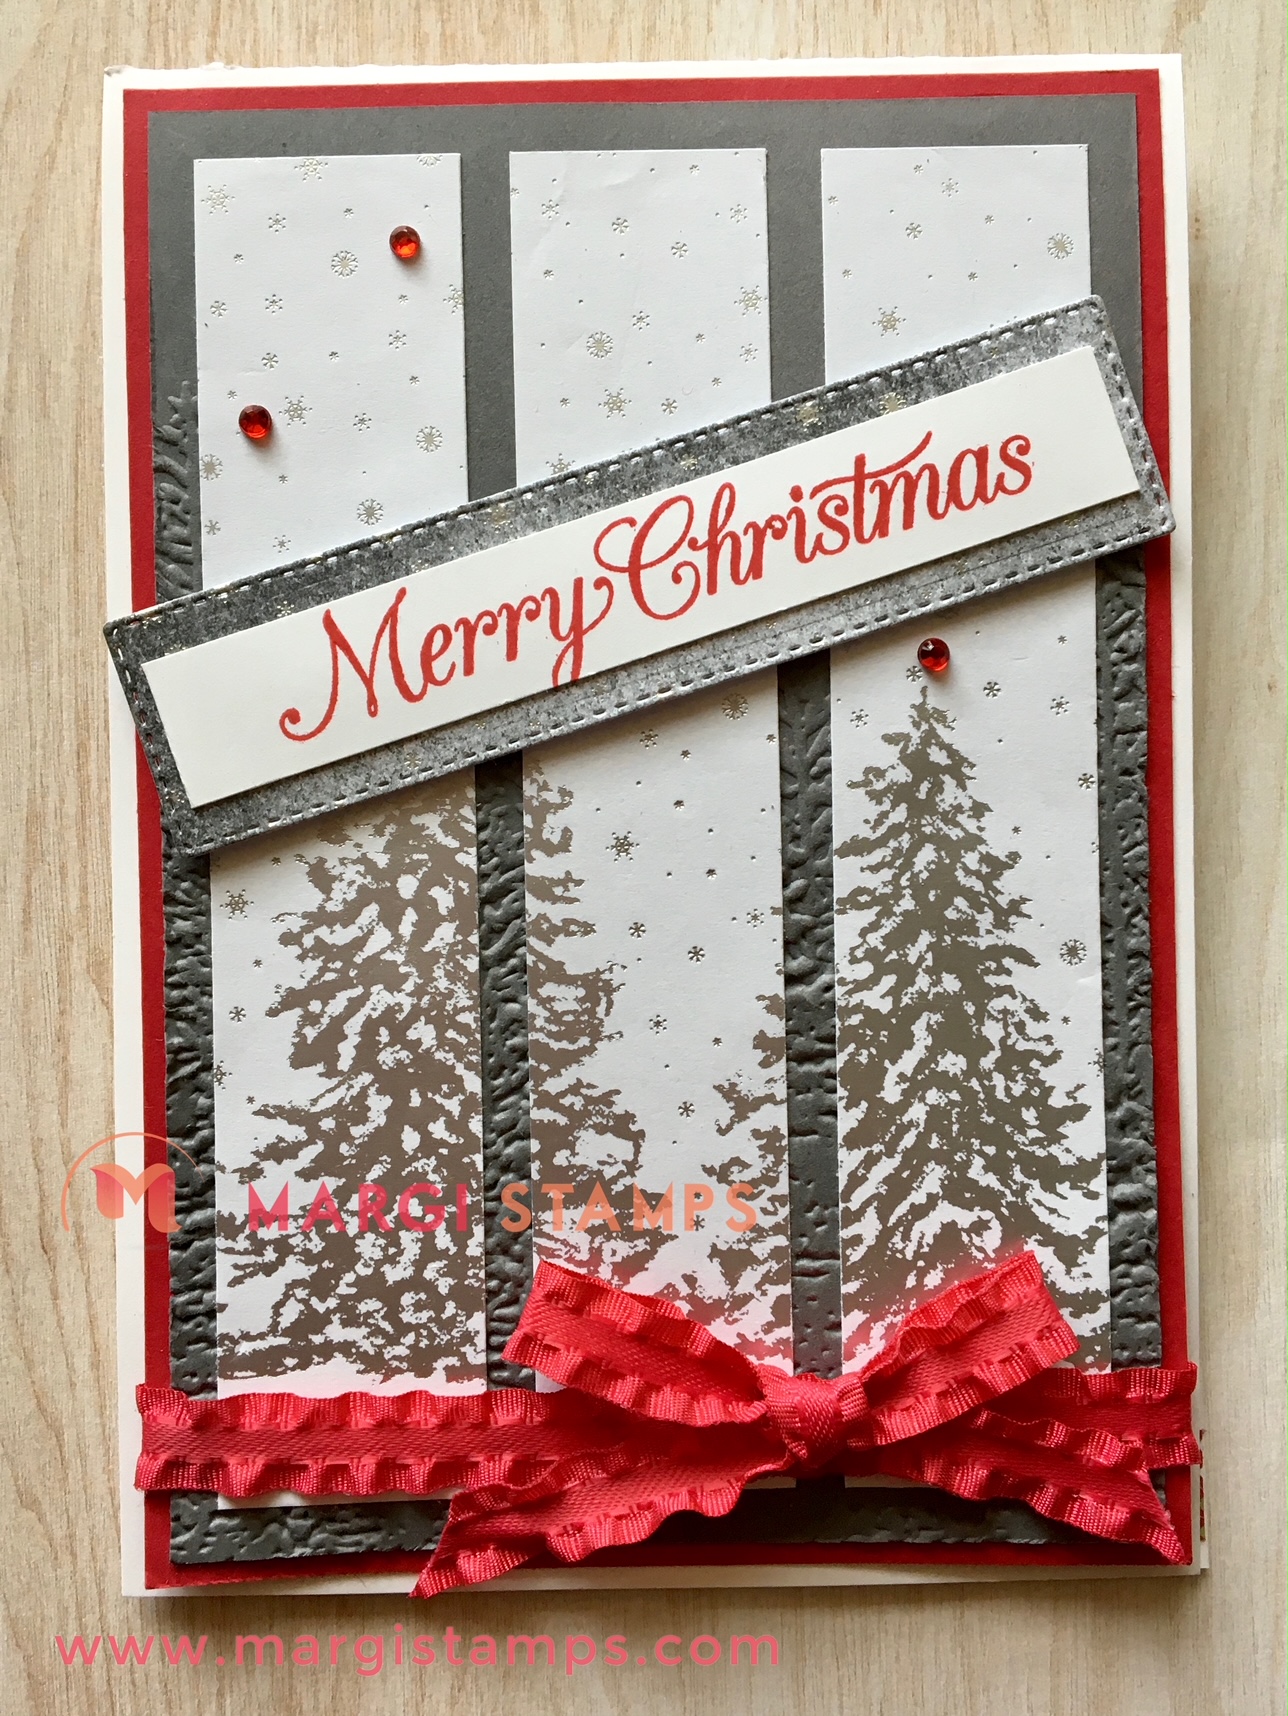
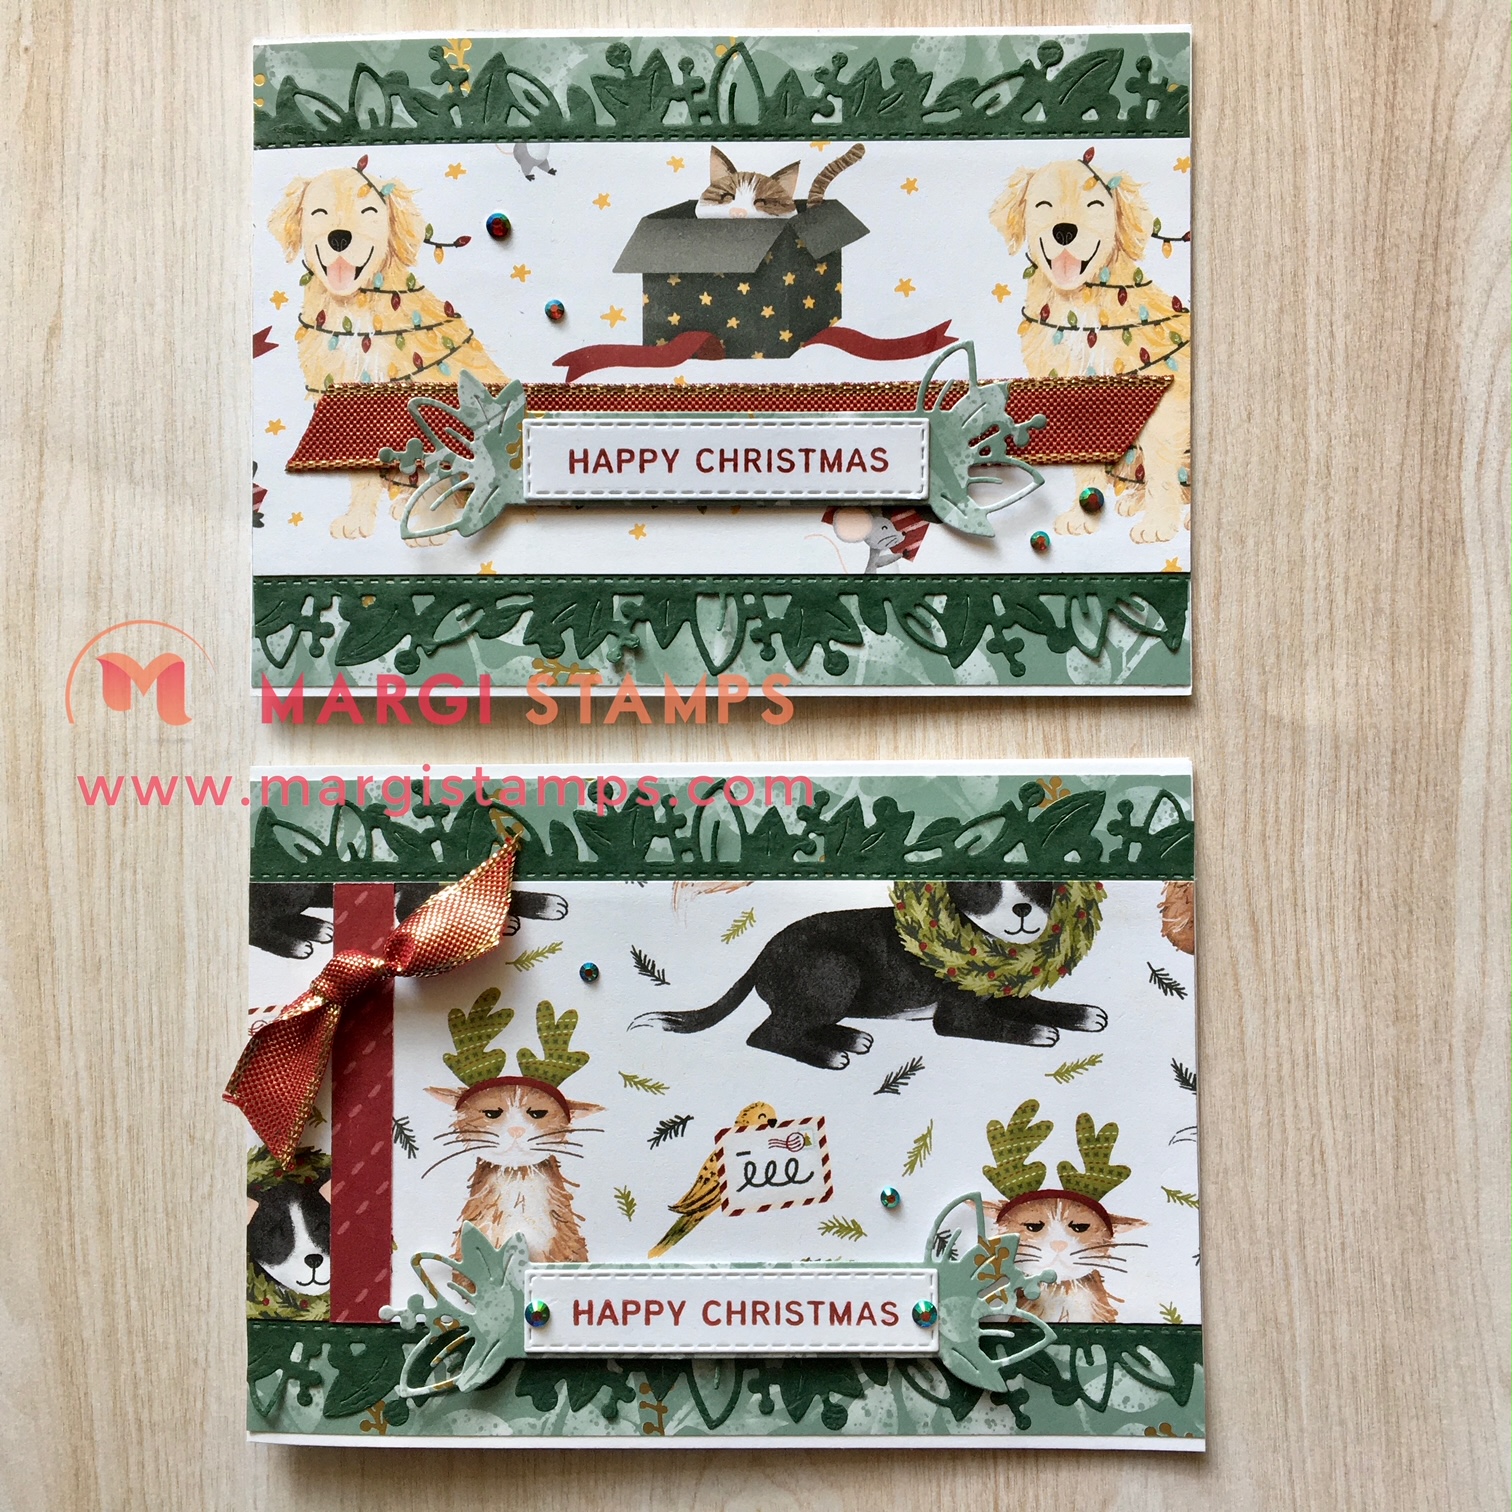
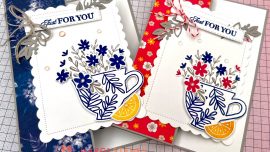
Whimsical Trees Bundle with Whimsy & Wonder Specialty Designer Series Paper Card
There are two options shown; with similar layout. I’ve just flipped the paper. You might like to create other options. The paper is stunning and foiled with iridescent highlights; once again, it doesn’t just have to be for Christmas.
INGREDIENTS FOR SWEET STOCKINGS AND EDEN’S GARDEN CARD.
Let’s step through the ingredients used for our Card. Most are in the July-December 2021 Mini Catalogue, and some staples are in the Annual Catalogue.
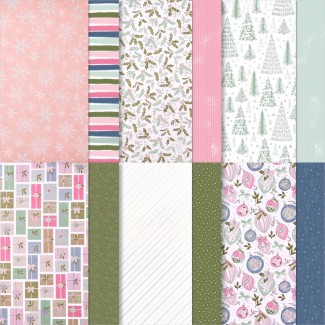
WHIMSY & WONDER SPECIALTY DESIGNER SERIES PAPER
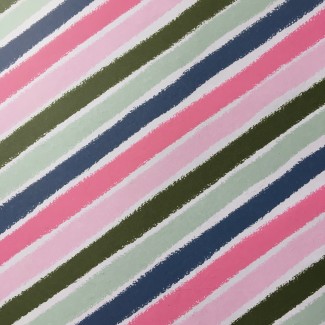
Conventional patterns meet an unconventional colour scheme in the Whimsy & Wonder Designer Specialty Series Paper. This paper is a lovely choice for those who want to celebrate the spirit of the season. Images include gifts, trees, snowflakes, and more. And once the holidays are done, use the versatile stripes and tone-on-tone patterns for all of your projects. This papercrafting staple is great scrapbook paper, card making paper, and more!
Click HERE is the product link in my 24/7 Online Store.
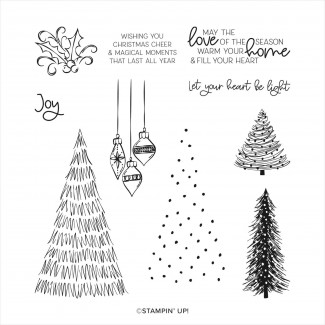
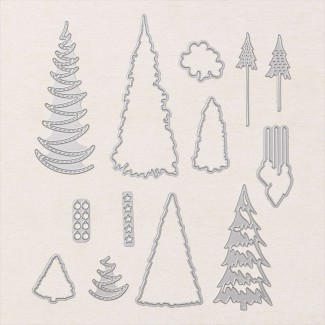
WHIMSICAL TREES BUNDLE
EMBELLISHMENTS: WONDERFUL SNOWFLAKES & SOFT SUCCULENT RIBBON
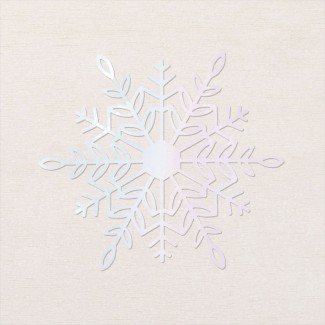
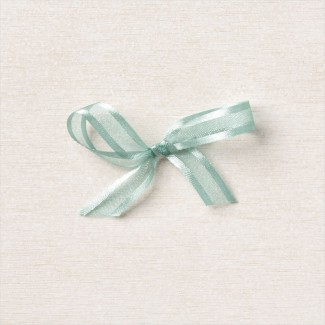
Wonderful Snowflakes are part of the Whimsy & Wonder Suite and are also shot with iridescent highlights. Soft Succulent Ribbon is a fabulous match for the paper and adds it’s own satin shimmer.
Click HERE for Wonderful Snowflakes
Click HERE for Soft Succulent Open Weave Ribbon
WHIMSICAL TREES BUNDLE WITH WHIMSY & WONDER PAPER.
Here is your class kit

SUPPLIES
- Stamp Sets, Dies & Embossing Folders: Whimsical Trees Bundle, (featured in the example Stitched So Sweetly Dies. Rectangle Dies).
- Papers; Whimsy & Wonder Specialty DSP, Blushing Bride and Basic White card stock.
- Inks: Blushing Bride (or Polished Pink), Mossy Meadow and Soft Succulent or Mint Macaron stamp pads
- Other: Soft Succulent Open Weave Ribbon, Genial Gems, Mini Dimensionals, Multipurpose Liquid Glue, Tear & Tape, Mini Glue Dots, Take your Pick Tool, Trimmer, Cut & Emboss Machine
HERE is the direct link to all current products in my 24/7 Online Store for Blushing Bride (pale) card.
HERE is the direct link to all current products in my 24/7 Online Store for Polished Pink (bright) card.
DIMENSIONS
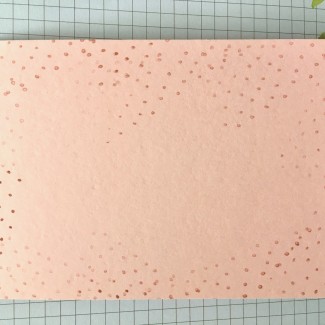
- Card Base: Blushing Bride, 29.7 x 10.5 cm scored at 14.85 (I have done this for you),
- Layering DSP: Diagonal Stripe 10.1 x 9.5 cm, Holly & Berries 14.5 x 7.5cm (3″), Mossy Meadow with white dots, 10.1 x 1.3cm,
- DSP Strip for greeting: Mint Macaron diamond pattern 7.5 x 2.5 cm (you’ll be able to cut your own greeting layer. I used the smallest Stitched So Sweetly Die, but you might choose a larger greeting from your supplies and therefore need a larger die cut.
- Card Insert: Basic White 14.5 x10.1 cm, two strips trees DSP (each 14.4 x 1.3cm
- Other: Wonderful Snowflake, ( cut into two pieces), Soft Succulent Open Weave Ribbon, 2 Genial Gems.
STEP BY STEP DIRECTIONS – Blushing Bride Card

- Burnish card base score line, stamp tree dots in Blushing Bride.
- Stamp greeting on chosen die cut in Mossy Meadow Ink.
- Adhere Basic White zig zag tree garland decoration to die cut tree using glue. I put a tiny bit of glue in all of the points of the zig zag to attach it to the die cut.
- Pop the greeting layer and tree to one side while you assemble your card and base layers!
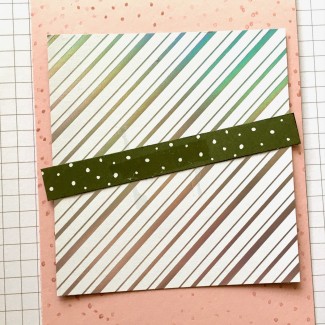
- Adhere Striped DSP to card front The narrower sides are the width, the longer side are the length. Then tack Mossy Meadow DSP strip to Striped DSP.
- Fold ribbon and tack to this piece.
- Then adhere Holly and Berries DSP onto card front using glue.
- Cut Wonderful Snowflake into two pieces. I had one larger piece (LHS of Card) and one smaller piece (RHS of Card)
- Arrange your design, adhere snowflake pieces with Glue, tree and greeting with Dimensionals.
- Then adhere Gems.

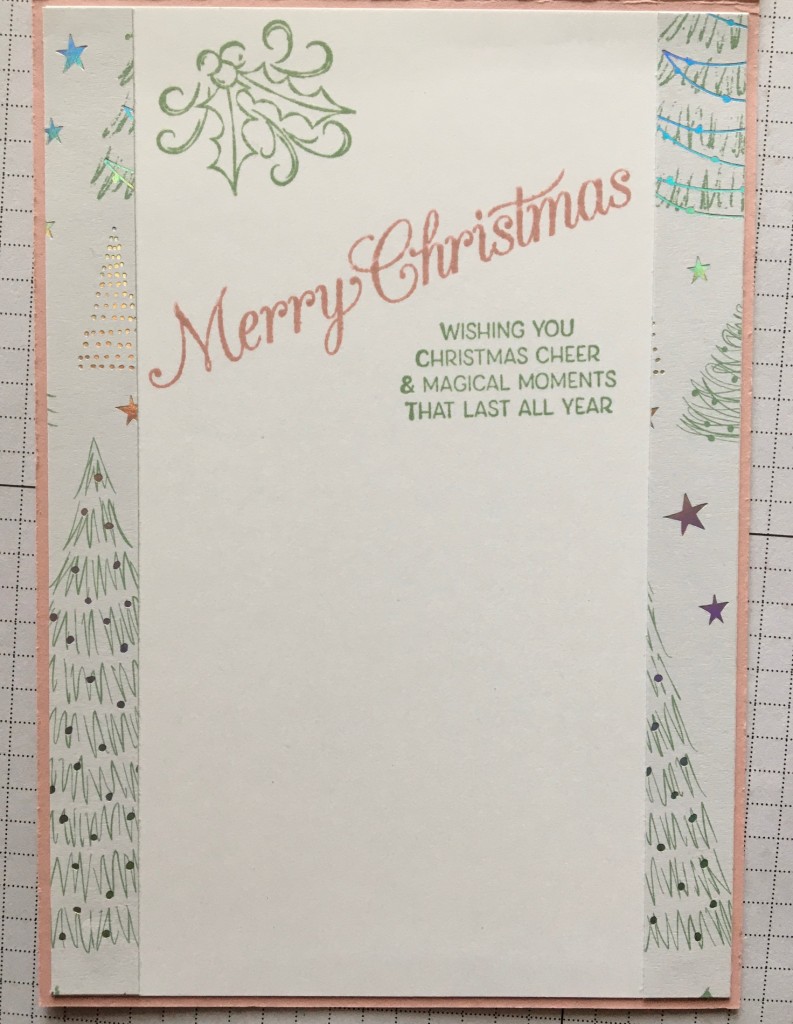
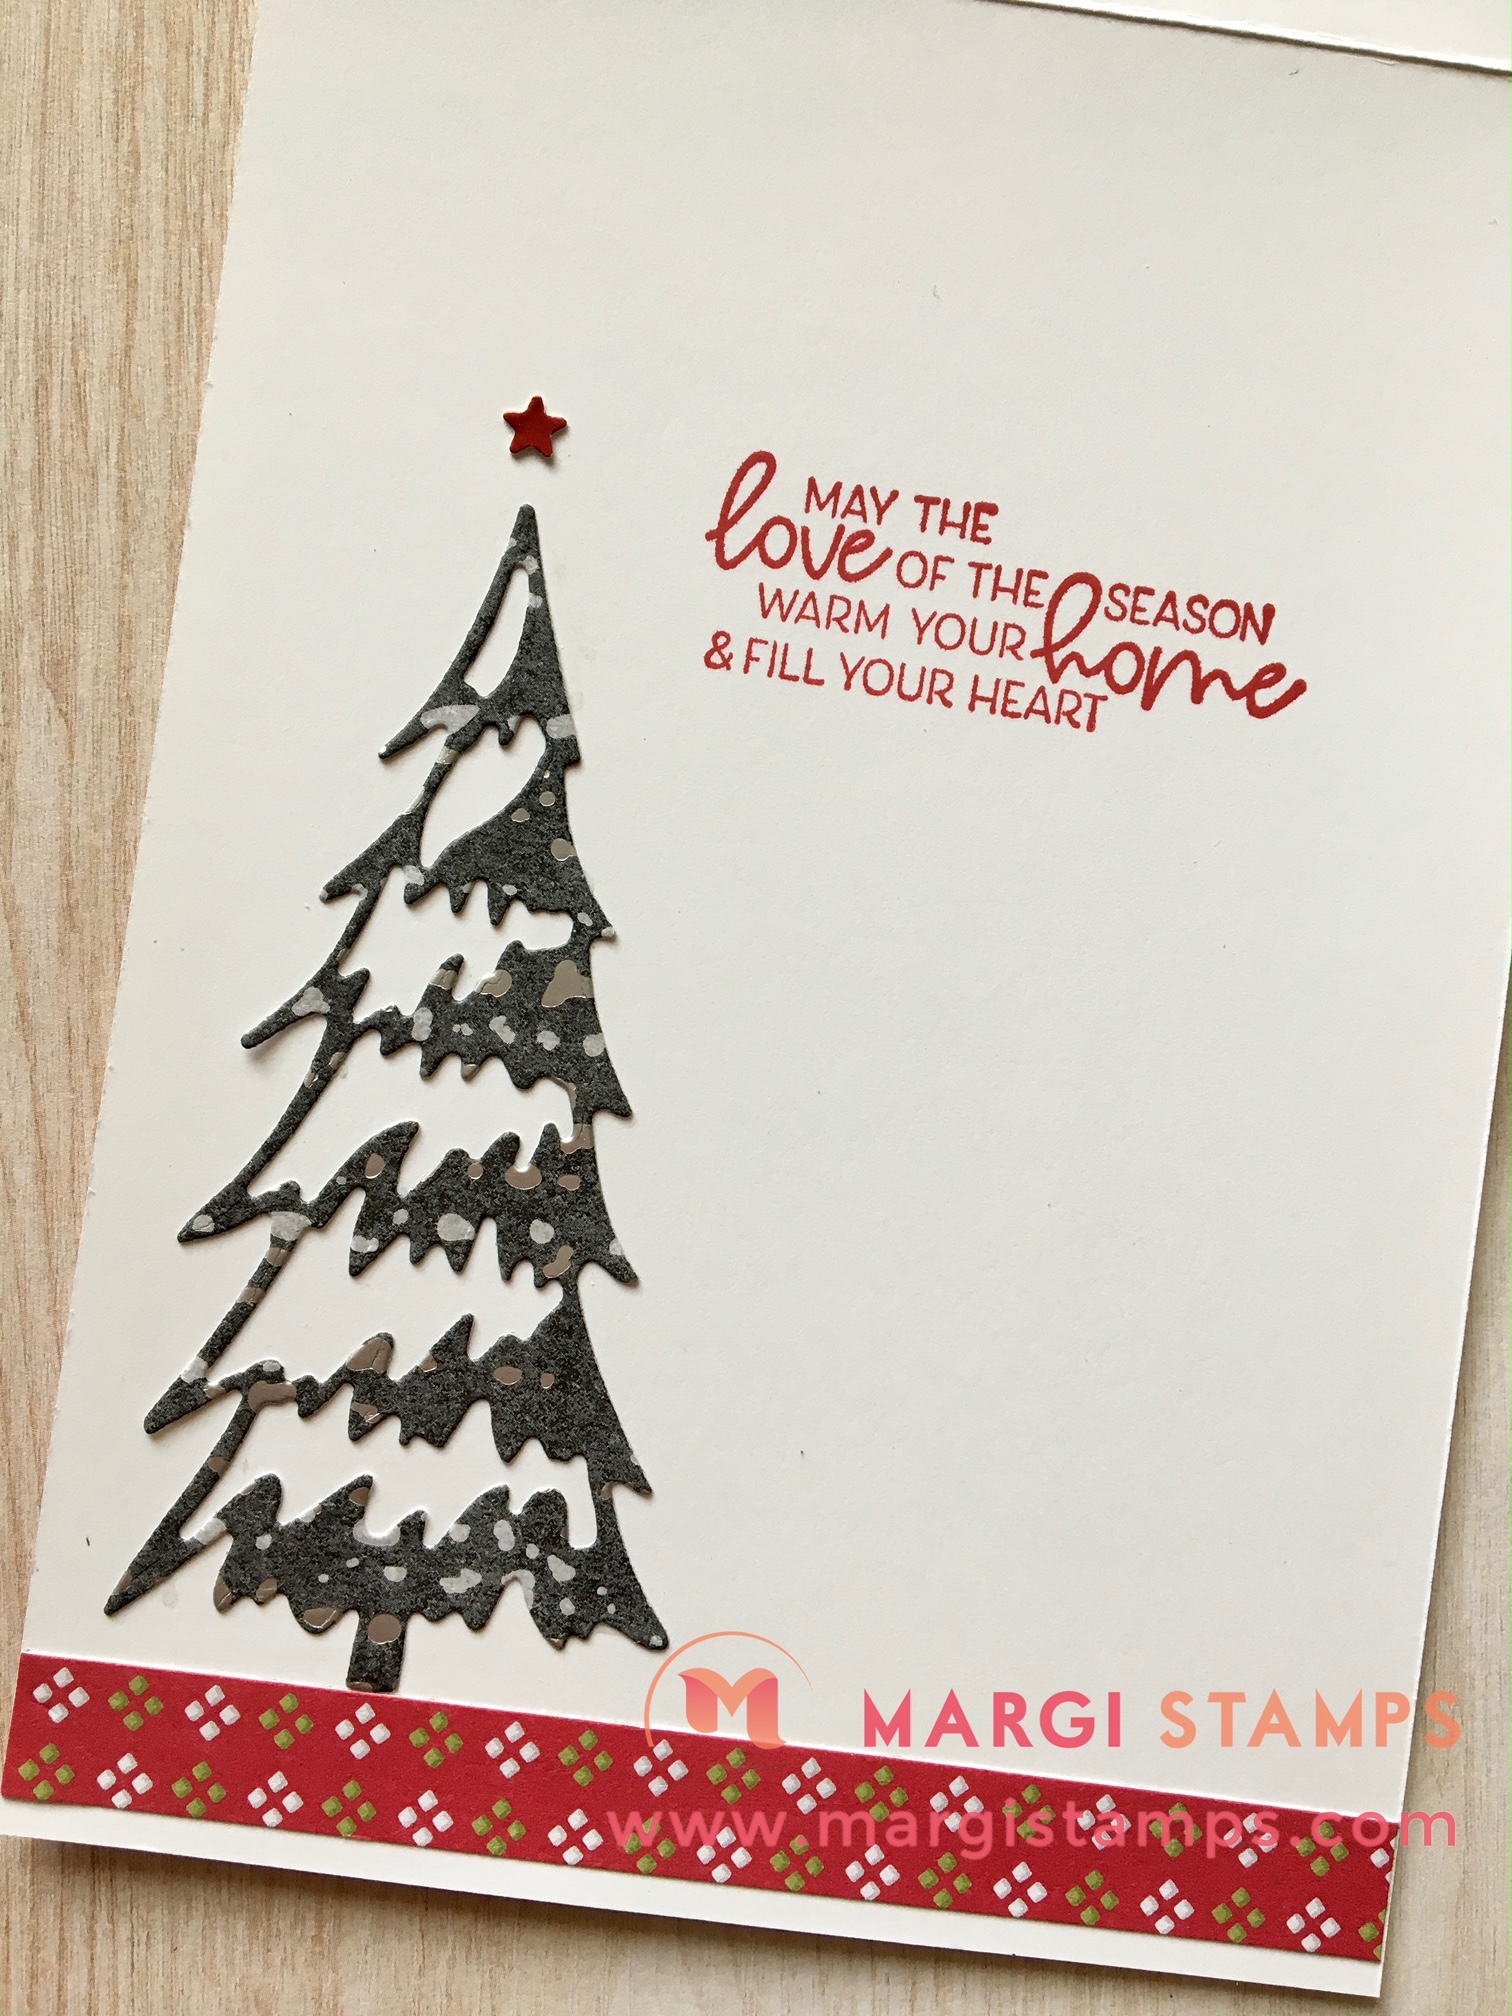
Inside of Card
- Adhere DSP strips to each side of Basic White insert.
- Stamp chosen greetings. I have used the Holly & Berries and one of the greetinsg from Whimsical Trees Bundle. The large Merry Christmas is from Poinsettia Petals.
- Adhere to card base.
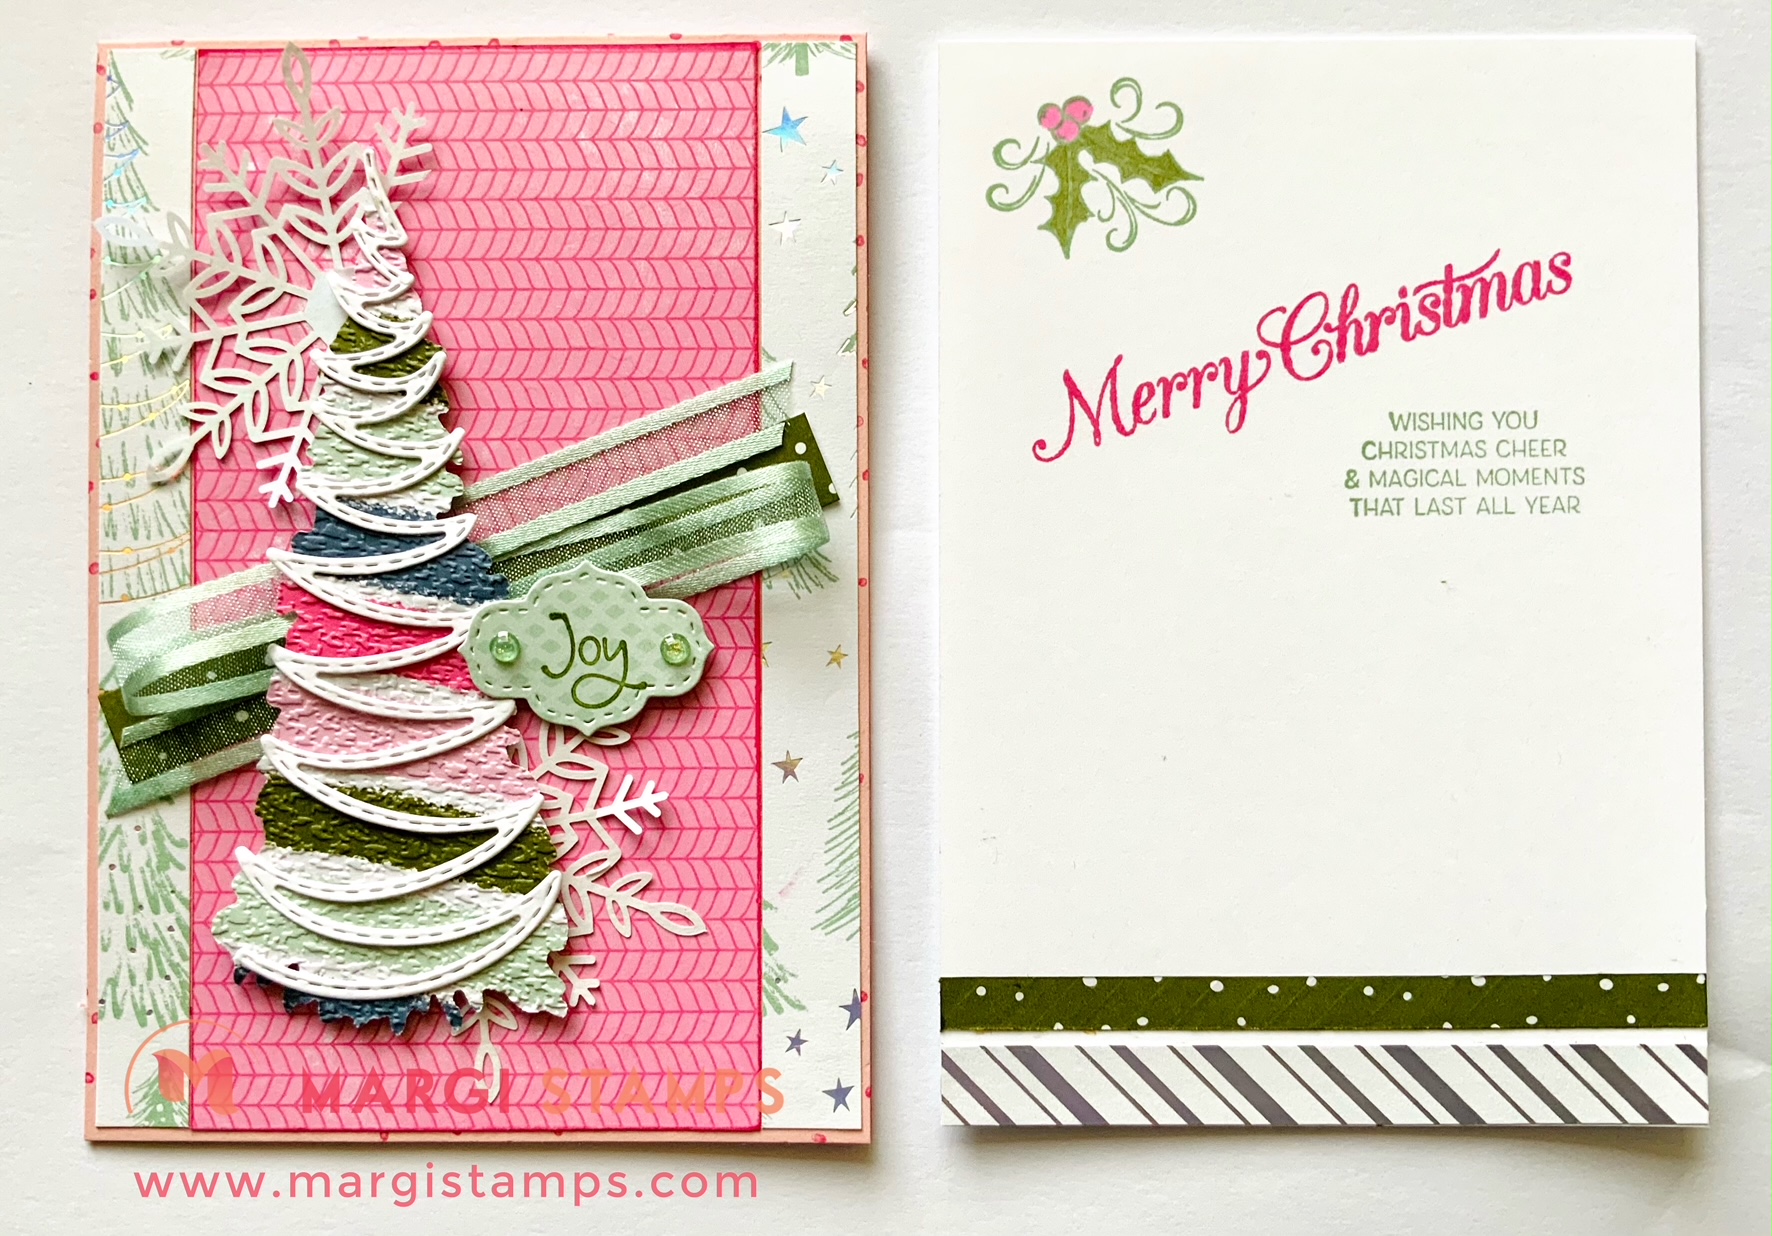
STEP BY STEP DIRECTIONS – Polished Pink Card
The different steps are in bold
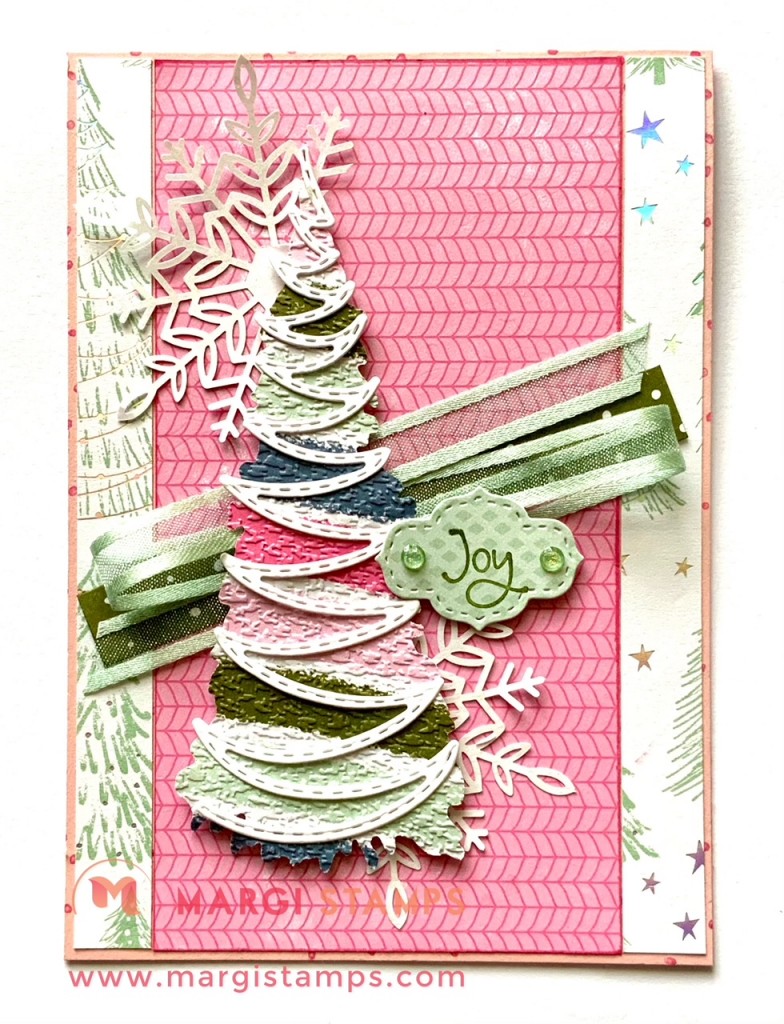
- Burnish card base score line, stamp tree dots in Polished Pink ink.
- Stamp greeting on chosen die cut in Mossy Meadow Ink.
- Run your tree through your embossing machine to provide some texture to your tree and remove ‘the wrong side’ look. HINT: I used Tasteful Textile 3D Embossing Folder.
- Adhere Basic White zig zag tree garland decoration to die cut tree using glue. I put a tiny bit of glue in all of the points of the zig zag to attach it to the die cut.
- Pop the greeting layer and tree to one side while you assemble your card and base layers!
- Flip the Holly & Berry DSP to the other side and sponge/colour all edges with Polished Pink ink. Adhere two strips of Tree DSP and your new ‘Polished Pink’ piece to the card front.
- Then tack Mossy Meadow DSP strip to your card front.
- Fold ribbon and tack to this piece.
- Cut Wonderful Snowflake into two pieces. I had one larger piece (LHS of Card) and one smaller piece (RHS of Card)
- Arrange your design, adhere snowflake pieces with Glue, tree and greeting with Dimensionals.
- Then adhere Gems.
Inside of Card
- Cut two strips from the diagonal striped DSP, one at 10.1 x 1 cm and the other 10.1 x 0.7cm. Sponge/colour the edges of the narrower piece with Mossy Meadow ink. Adhere these strips to the insert.
- Stamp chosen greetings. I have used the Holly & Berries and one of the greetings from Whimsical Trees Bundle. The large Merry Christmas is from Poinsettia Petals. Colour the holly leaves with Light Mossy Meadow Blend and the berries with Light Polished Pink Blend.
- Adhere to card base.
Recap CARD #1 October Tutorial; Peaceful Place Specialty Paper & Evergreen Forest Embossed Card and Samples.
HERE is the link back to the tutorial.
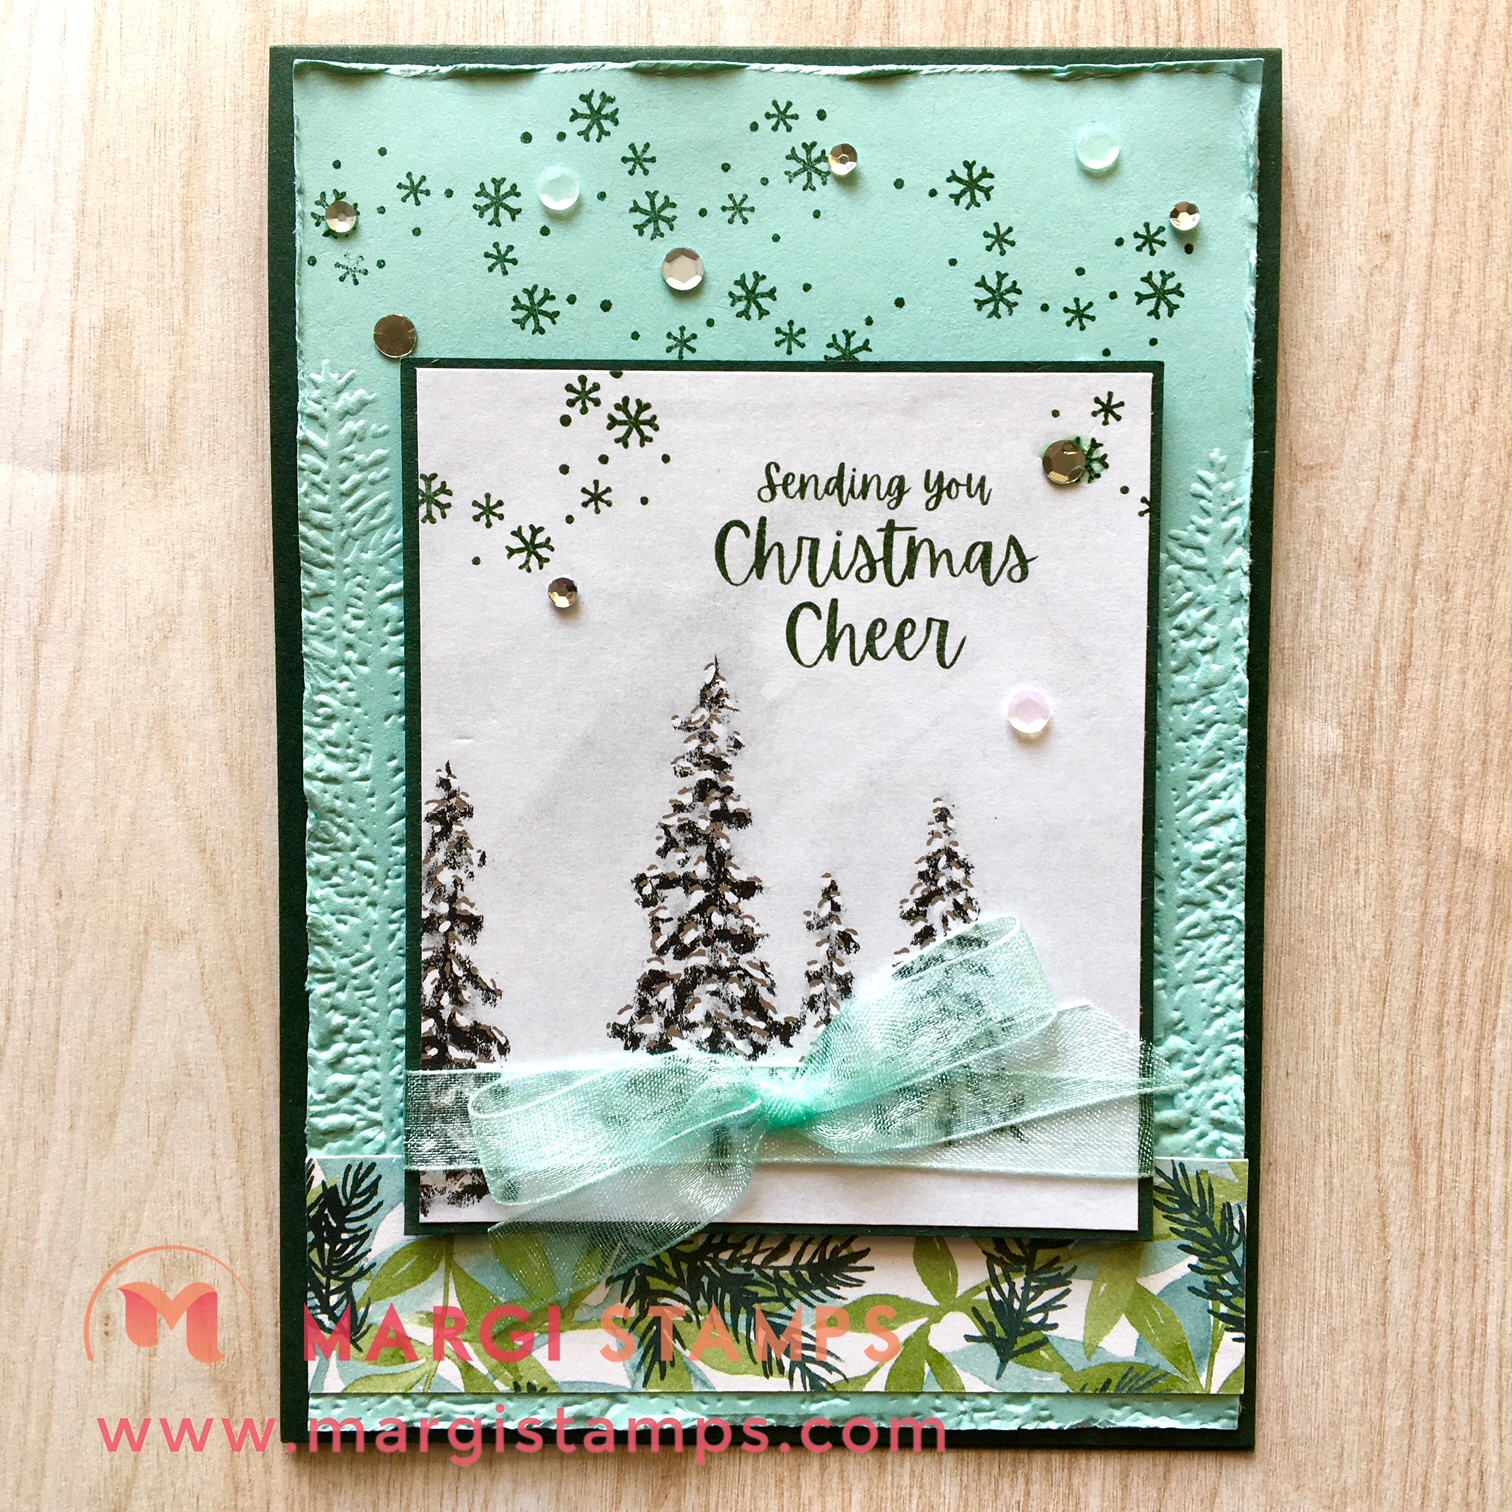
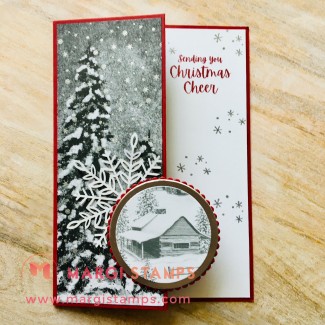
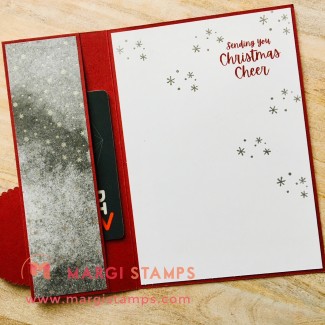
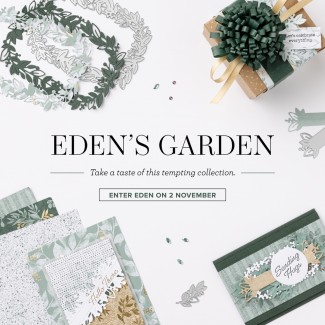
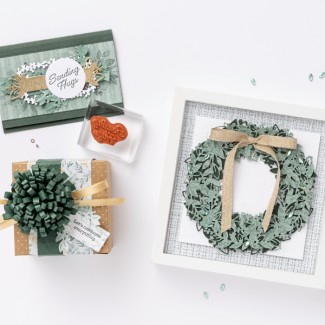
Recap CARD #2 October Tutorial; Sweet Stockings Paper meets Eden’s Garden Collection.
HERE is the link back to the tutorial.
CREATIVE WOW TUTORIAL: HERE IS THE OCTOBER 2021 SNEAK PEEK
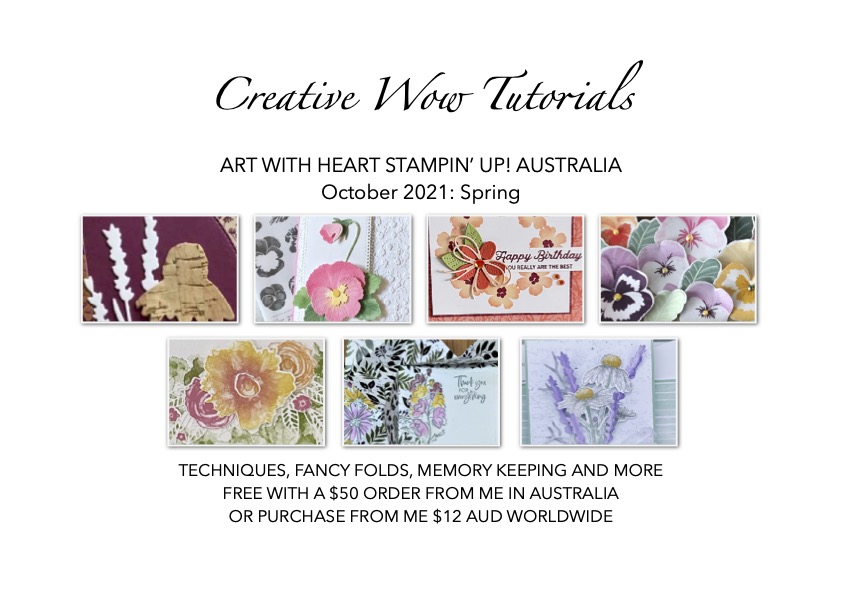
CAN YOU SPOT MY CONTRIBUTION THIS MONTH?
This selection of Tutorials is based around our Flower, Spring and our gorgeous creations.
There are stunning designs and many different ideas, from standard cards, fancy folds, 3D cards, ornaments, and gift packaging.
I have emailed all the Tutorials for the previous months. As the files are quite large, please let me know if you have not received your copy. Please be in touch if you would like to purchase back copies of previous Tutorials or, this current Tutorial.
Join my Team:
Join just for yourself to get a discount, and/or build a business, be part of my team and meet friends who love to craft. The choice is yours, and I’m only too happy to chat with you OR, you might like to hop on over to my JOINING PAGE
Here’s a quick look at the offer!
- Choose $235 product for a $169 spend ($66 for FREE) from our current Catalogues.
- FREE Shipping
- FREE Business Kit, including current catalogues.
- And the opportunity to order from any existing catalogue at 20% discount.
JOIN MY CLASSES:
Please contact me if you would like to join my paper-crafting classes. I run several class groups.
You might like to arrange a private class for you and your friends, or you might like to join my online/virtual class with prepared class kits and PDF/web Tutorials.
Please chat to me about your ideas or queries.
Have Fun Crafting. Enjoy the samples and your own wonderful creativity.
Facebook page is:
https://www.facebook.com/margistamps/
Pinterest site is:
https://www.pinterest.com.au/margisank/
Stampin’ Up! 24/7 Online Store is HERE
My Stampin’ Up! website is HERE
My blog website is:http://www.margistamps.com/
……… till next time, stay safe, have fun!
![]()
LOVE IT. LIVE IT. SHARE IT.

